This site contains affiliate links, view the disclosure for more information.
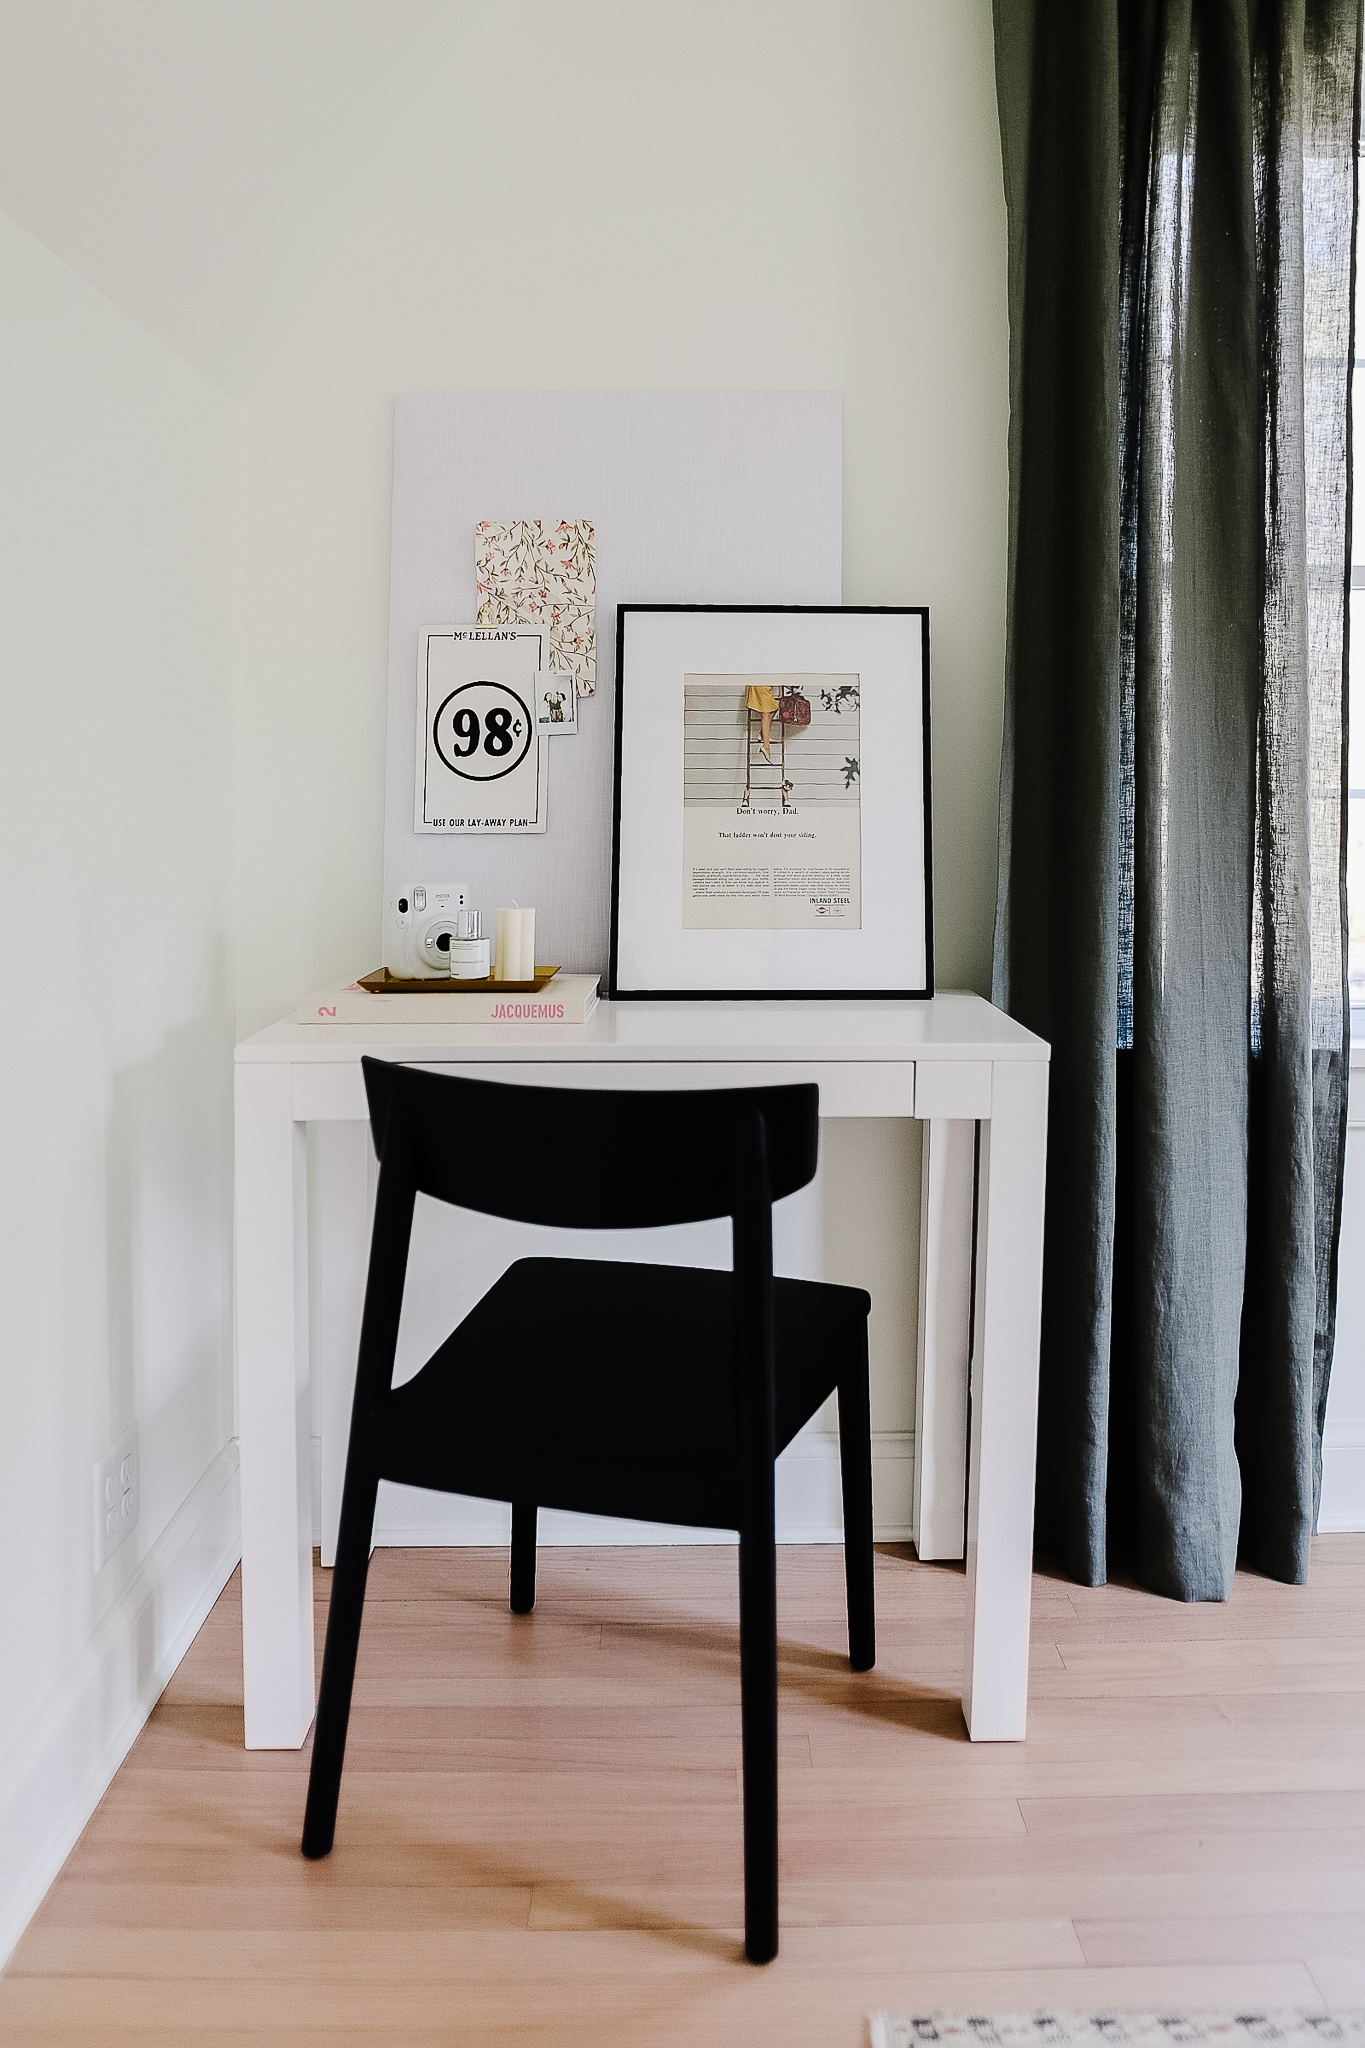
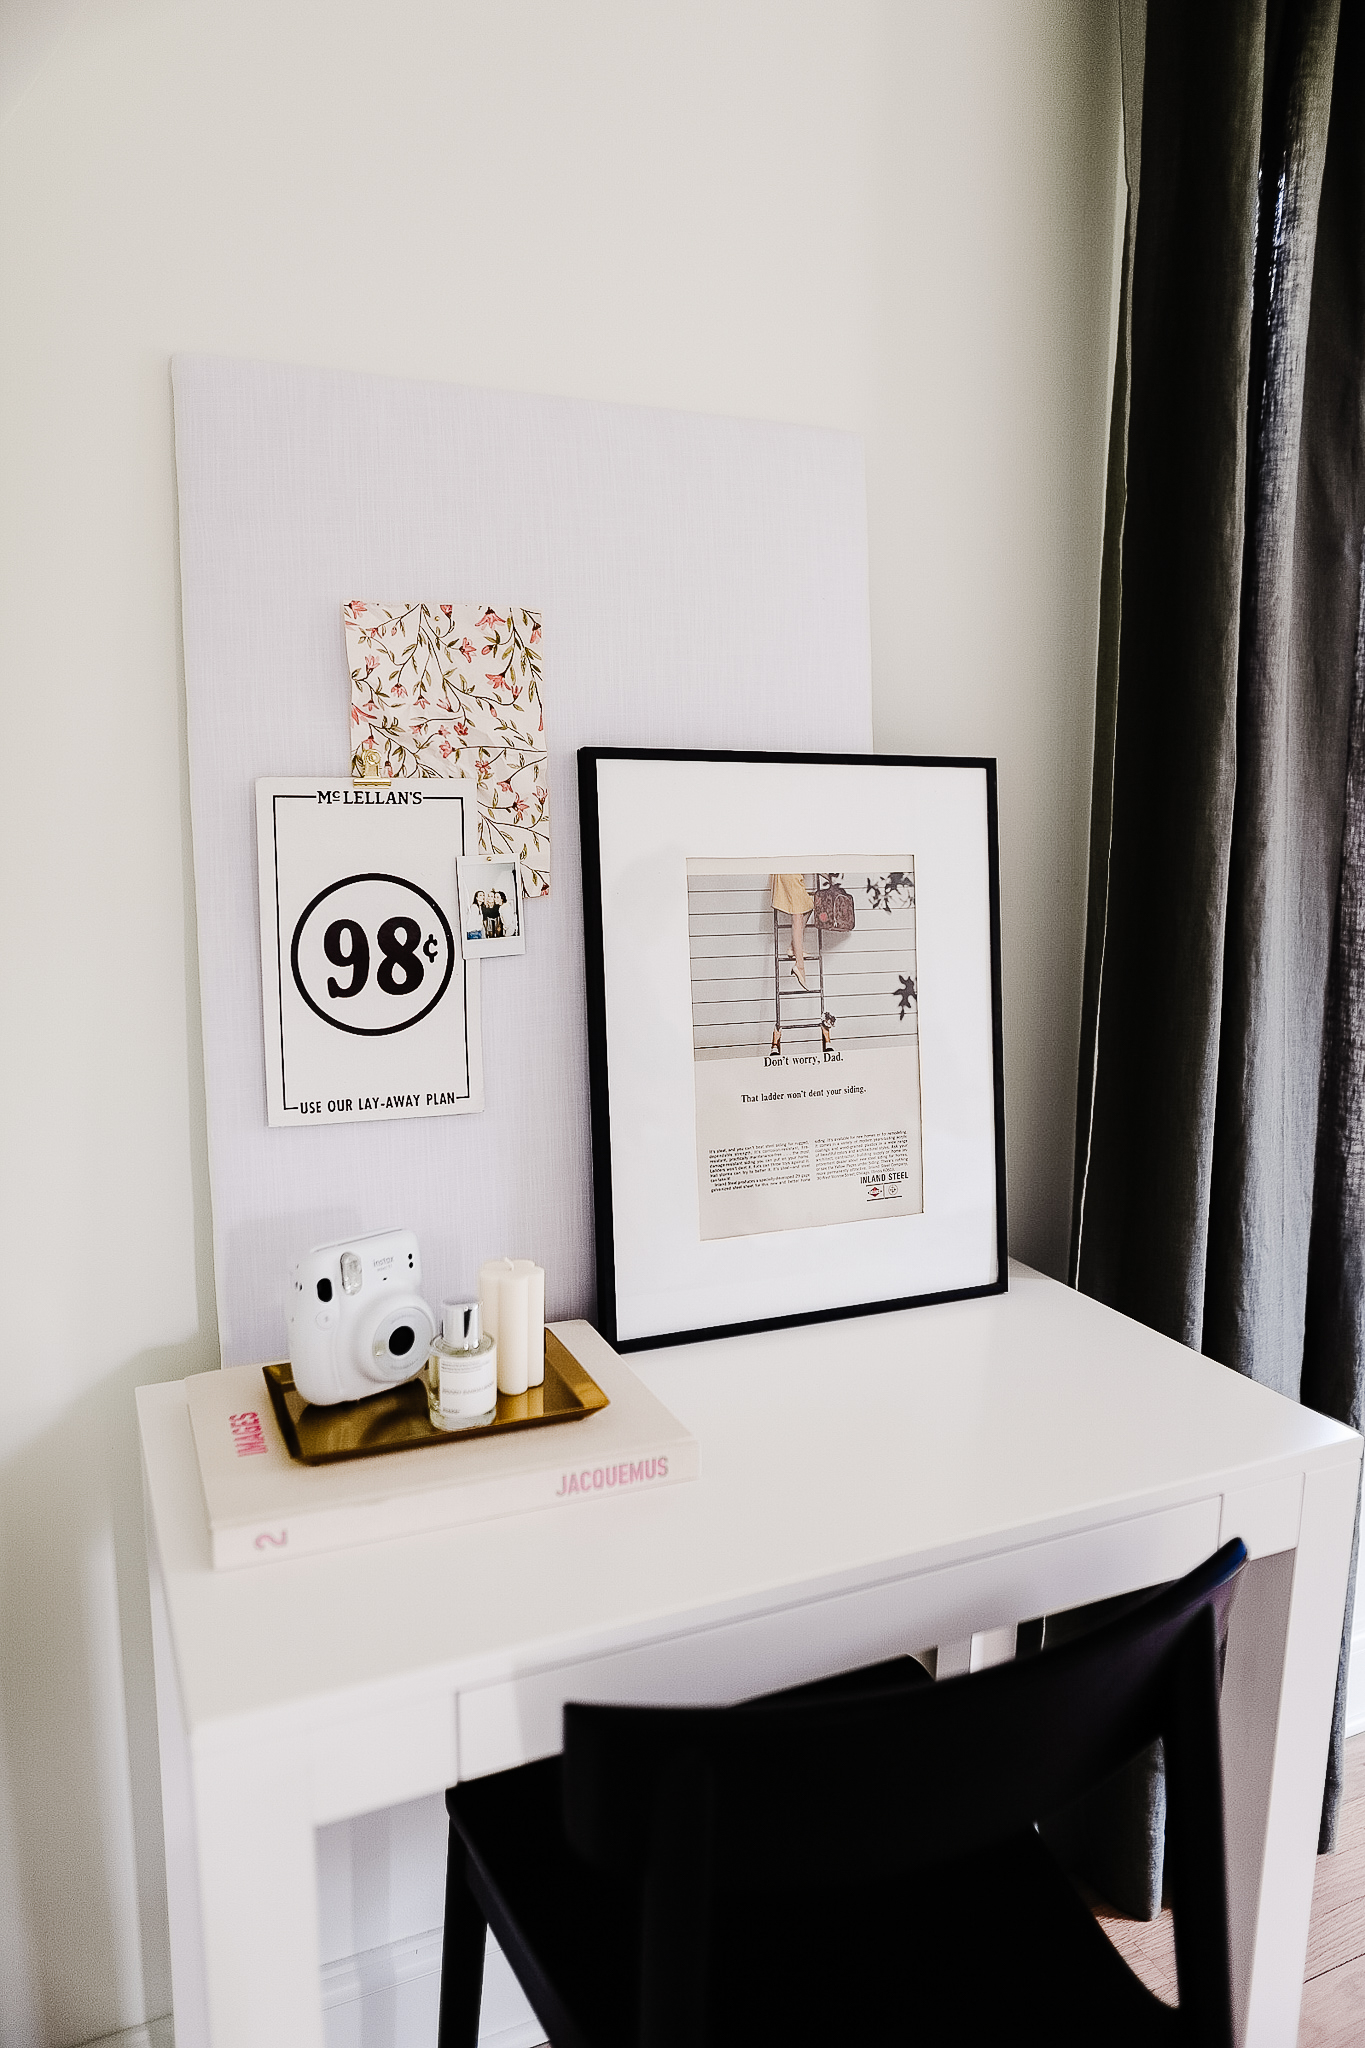
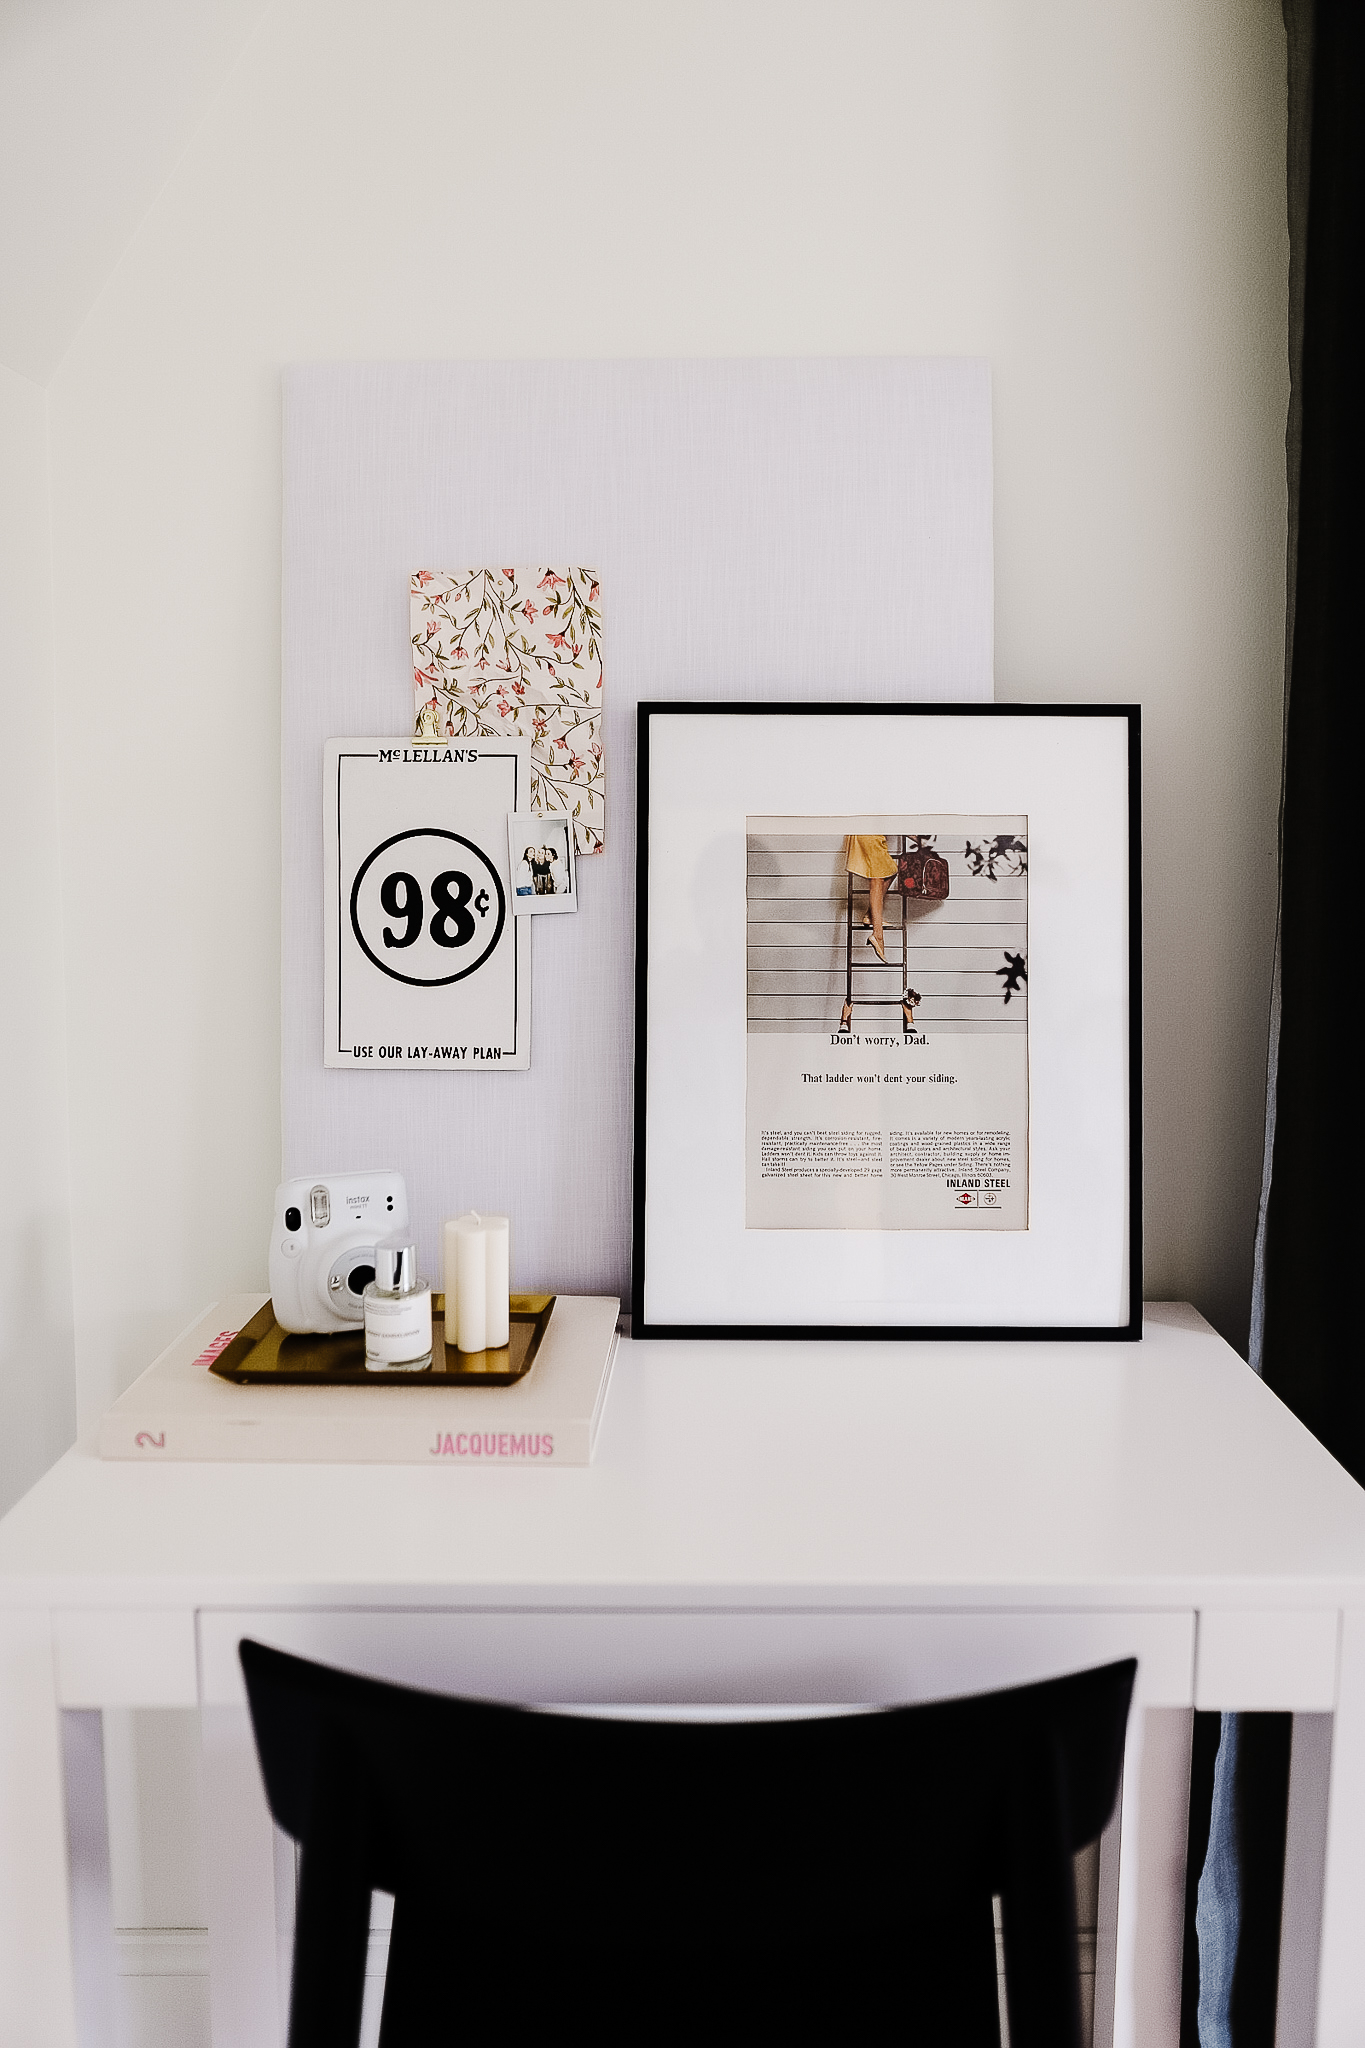
Wallpaper Sample | Black Picture Frame | Gold Clips | White Desk | Black Chair | Sage Curtains Daisy Pillar Candle | Gold Tray | Jacquemus Table Book
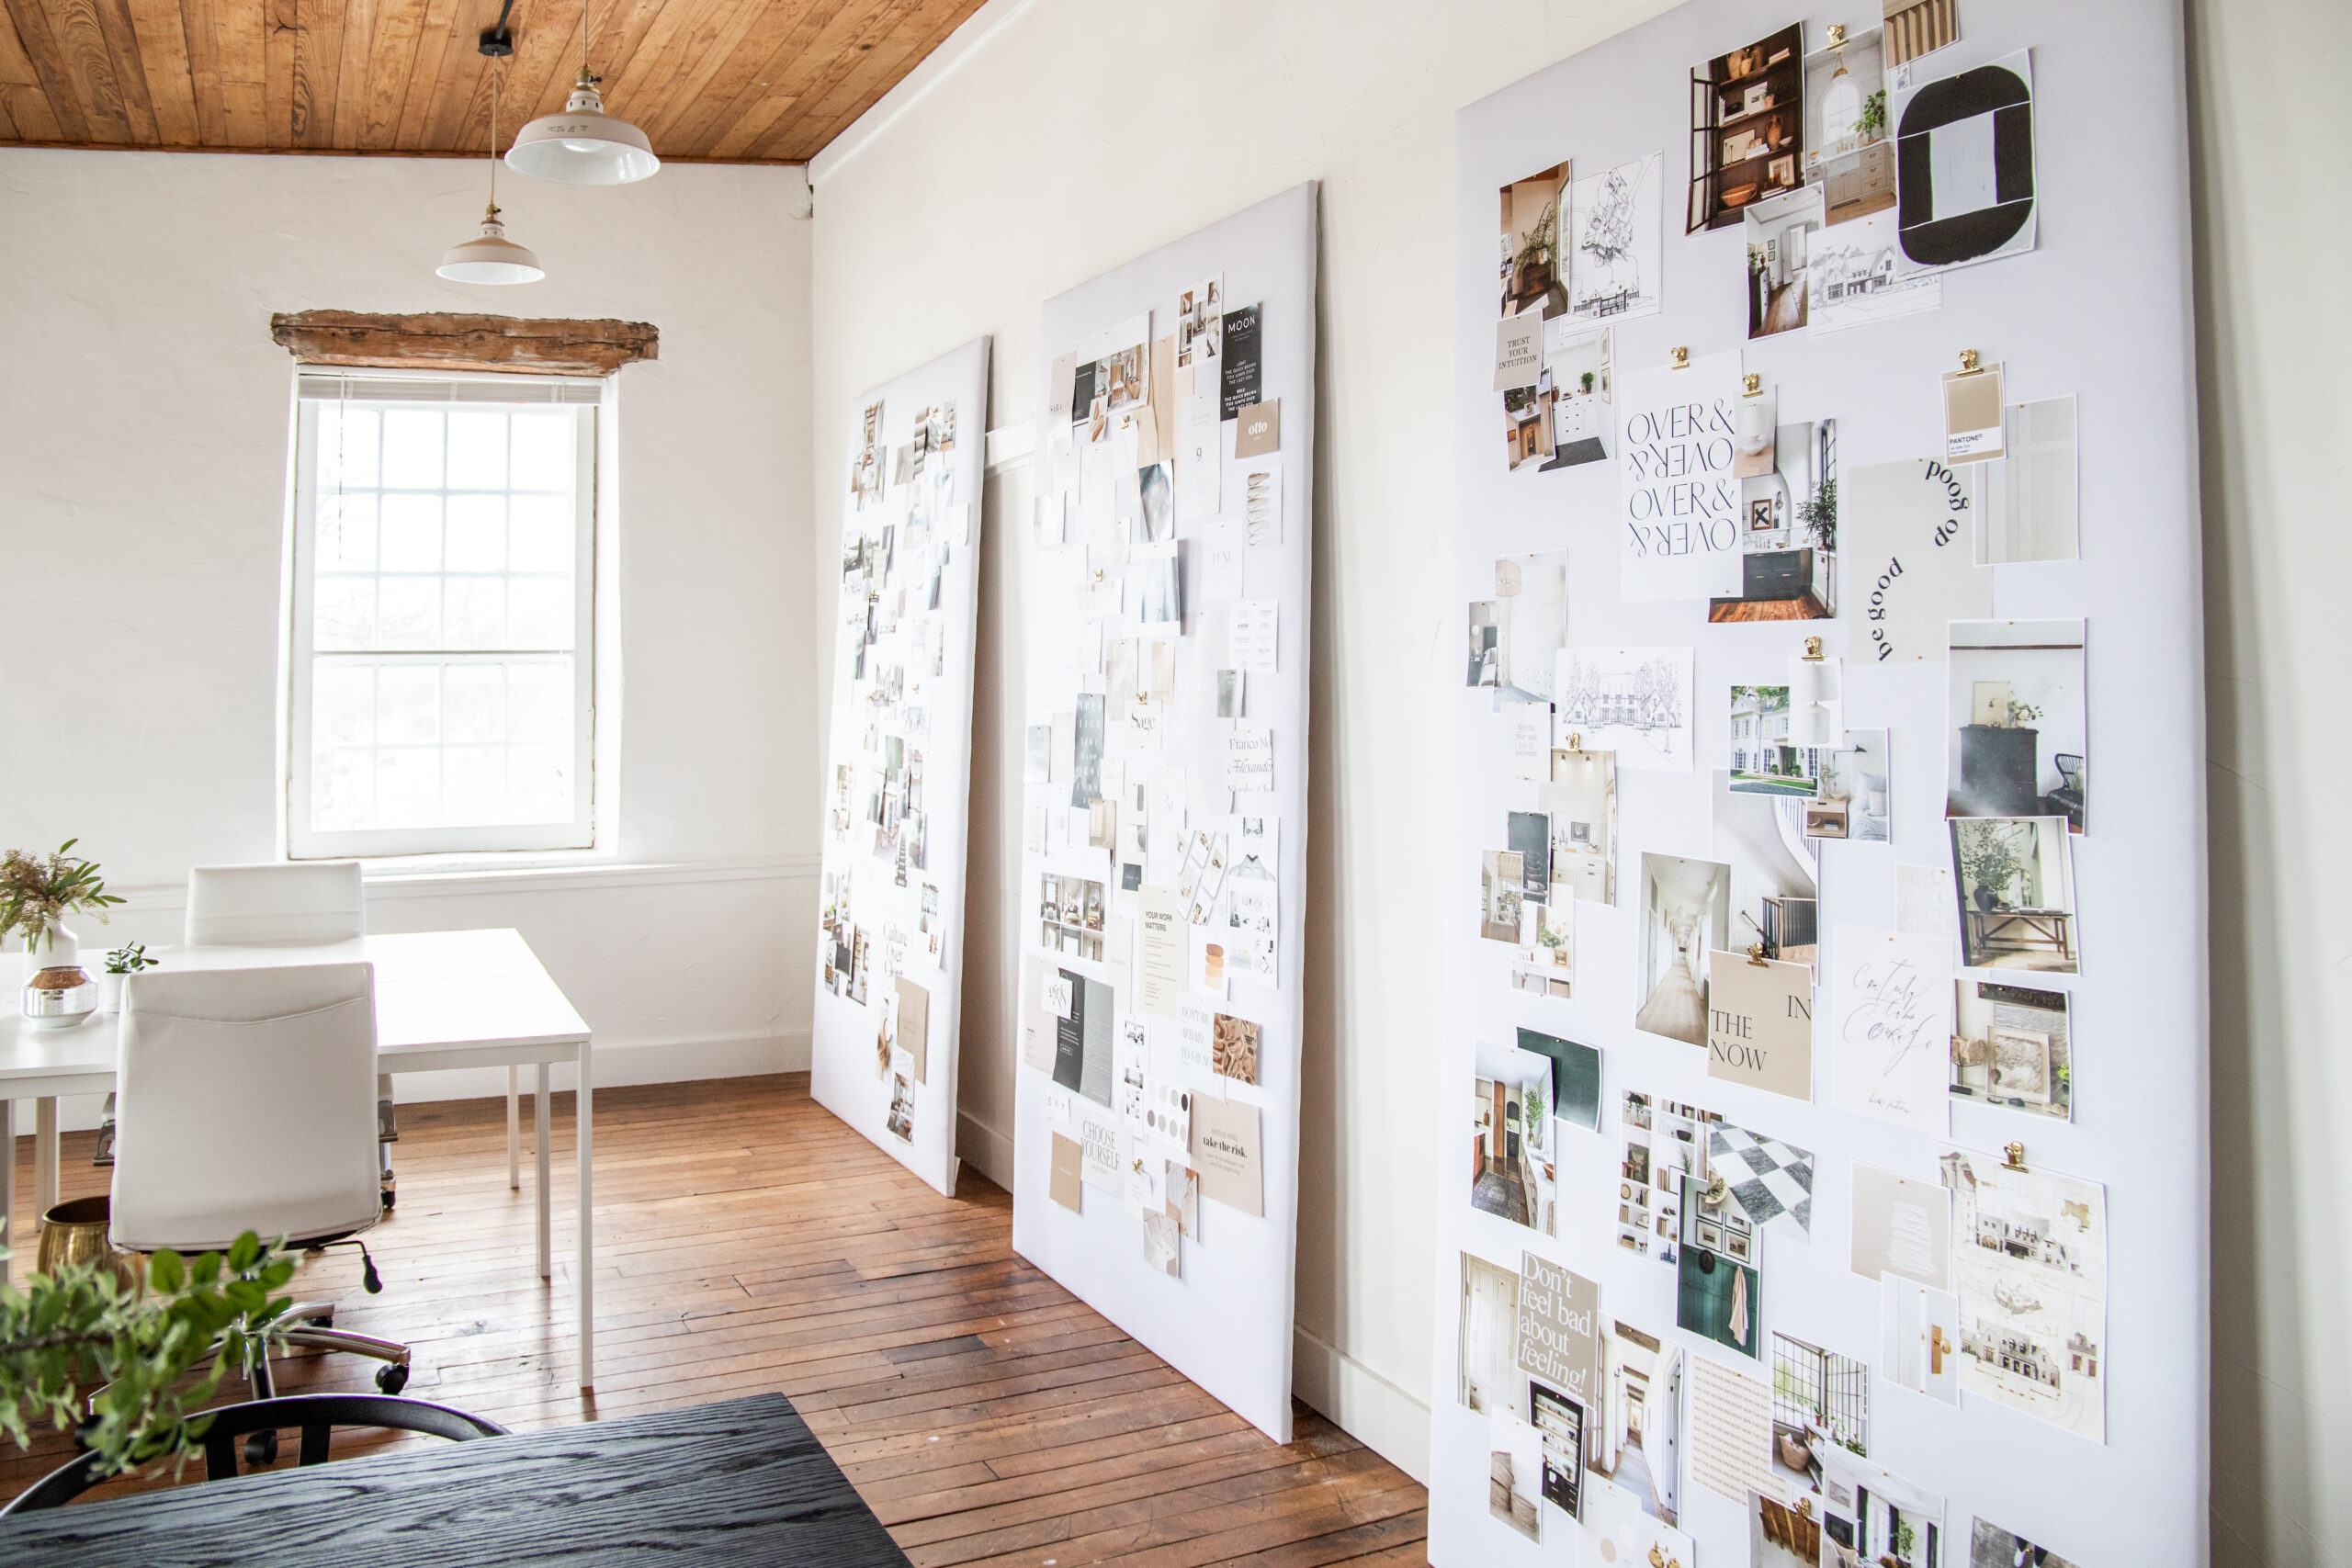
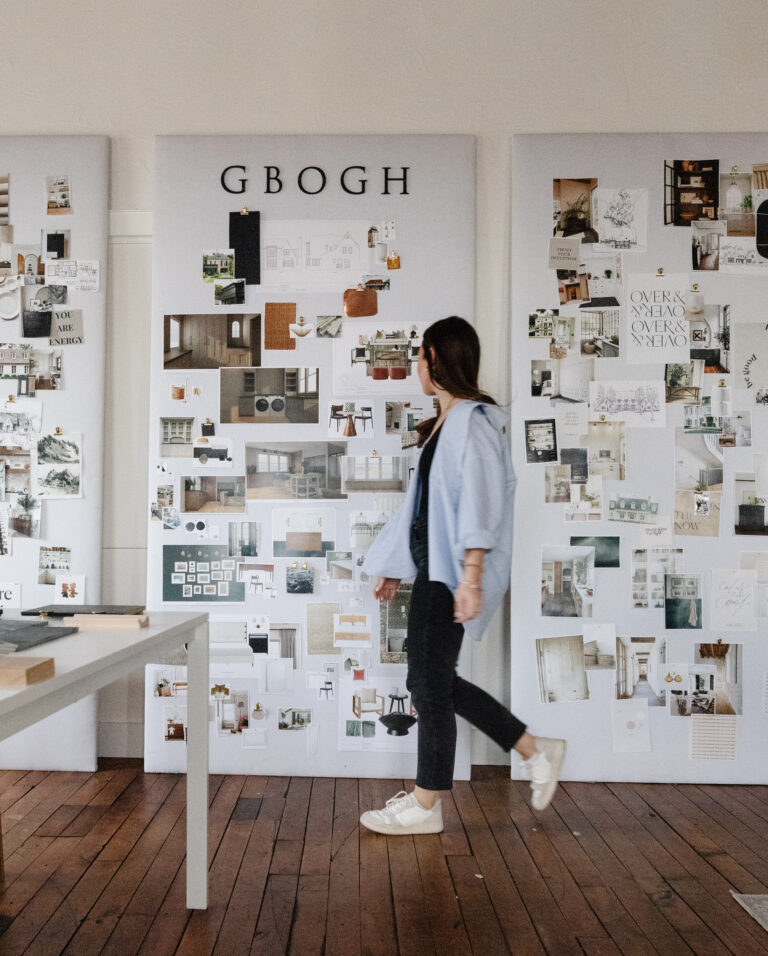
I have been making pinboards all over lately...from the office to the teen girl room in the GBOGH house and a quick stint in my apartment guest room.
I love a good use of a pinboard in the right space. When I was scheming up the teen girl bedroom, I remembered how I would always have little memorabilia around like prom tickets, concert lanyards, polaroids, and other random things. I thought an expensive way to decorate this little desk area was with one of these pinboards that she could hang these little things on.
I essentially use the pinboards as a "real-life" Pinterest board, and it is probably my favorite thing in the entire office! Obviously, these are at a huge scale, but there are so many ways these pinboards can be tastefully done.
Since I am now an ~expert~ on creating these, I thought I would show you my super easy process on how I make these pinboards.
HOW TO CREATE A DIY PINBOARD:
The materials are super basic and really affordable. The office boards are huge, so those cost me $50 per board for all the materials, but the smaller board in the bedroom only cost me $20ish.
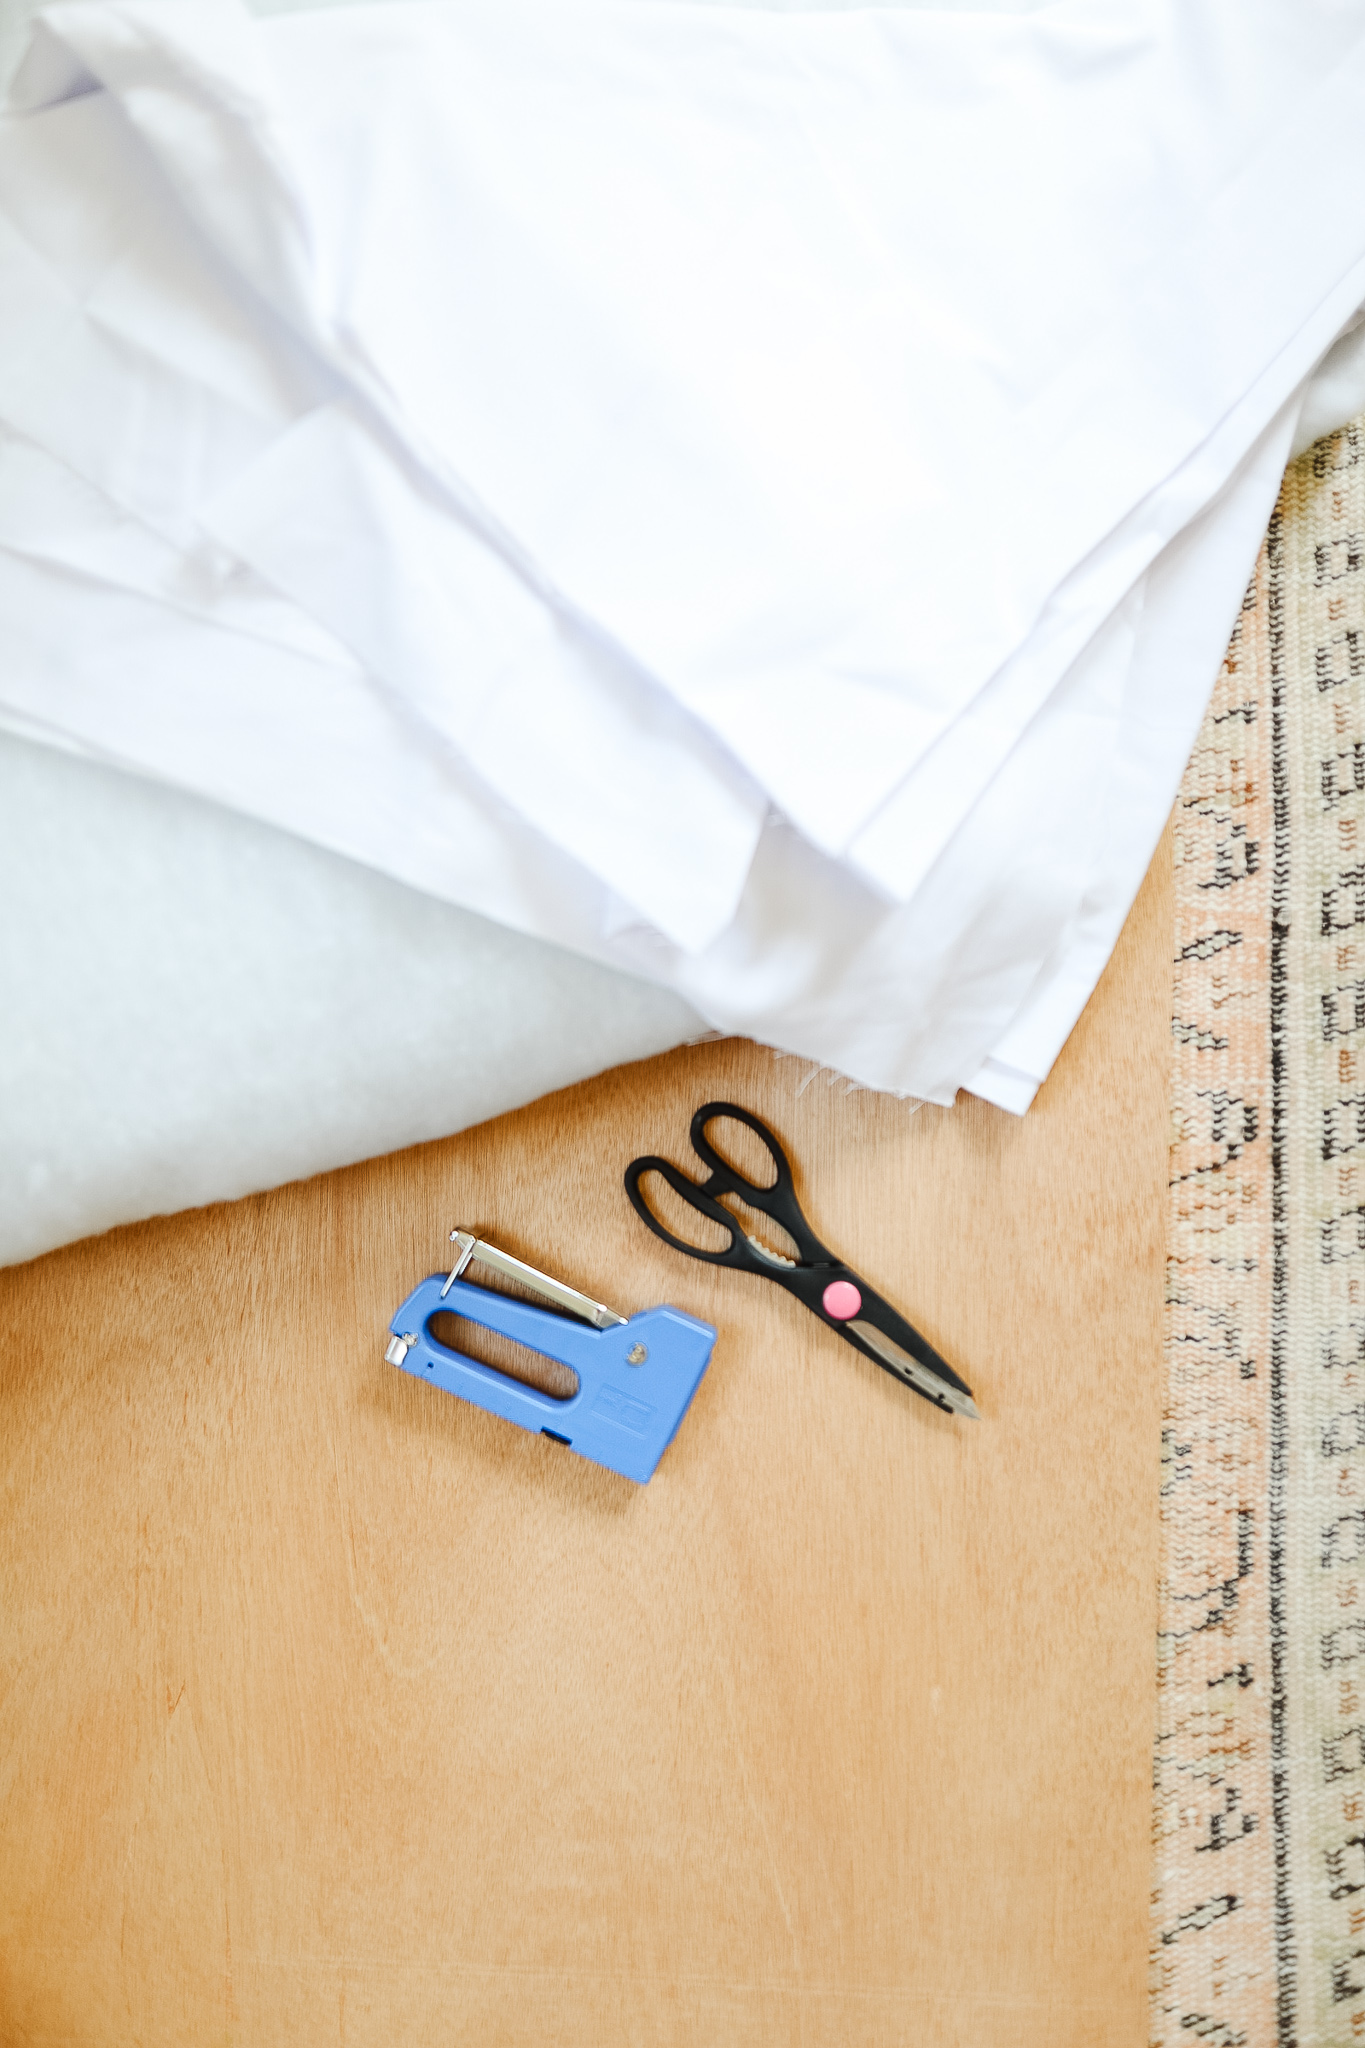
Here's what you'll need:
- Wood Board
- Batting
- Fabric
- Staple gun (I was way overcharged on the one I bought...buy the one I linked instead)
- Scissors
I linked above the exact products I used for each of these, but you might have some of these at home already!
We always get our wood boards from Home Depot. Make sure you have your measurement with you because they can cut it down to the exact size you need. The wood is just there to give it support, so don't spend a lot of money on this. We usually go with that 4x2 piece of wood at Home Depot by the whiteboards, which I think are around $6.
Everything else I got at Joanne Fabrics, but I know Michaels and Walmart sell fabric now! The key is getting thick enough batting. Don't get the thin stuff! You need it thick enough so you can put a pin in and hold things.
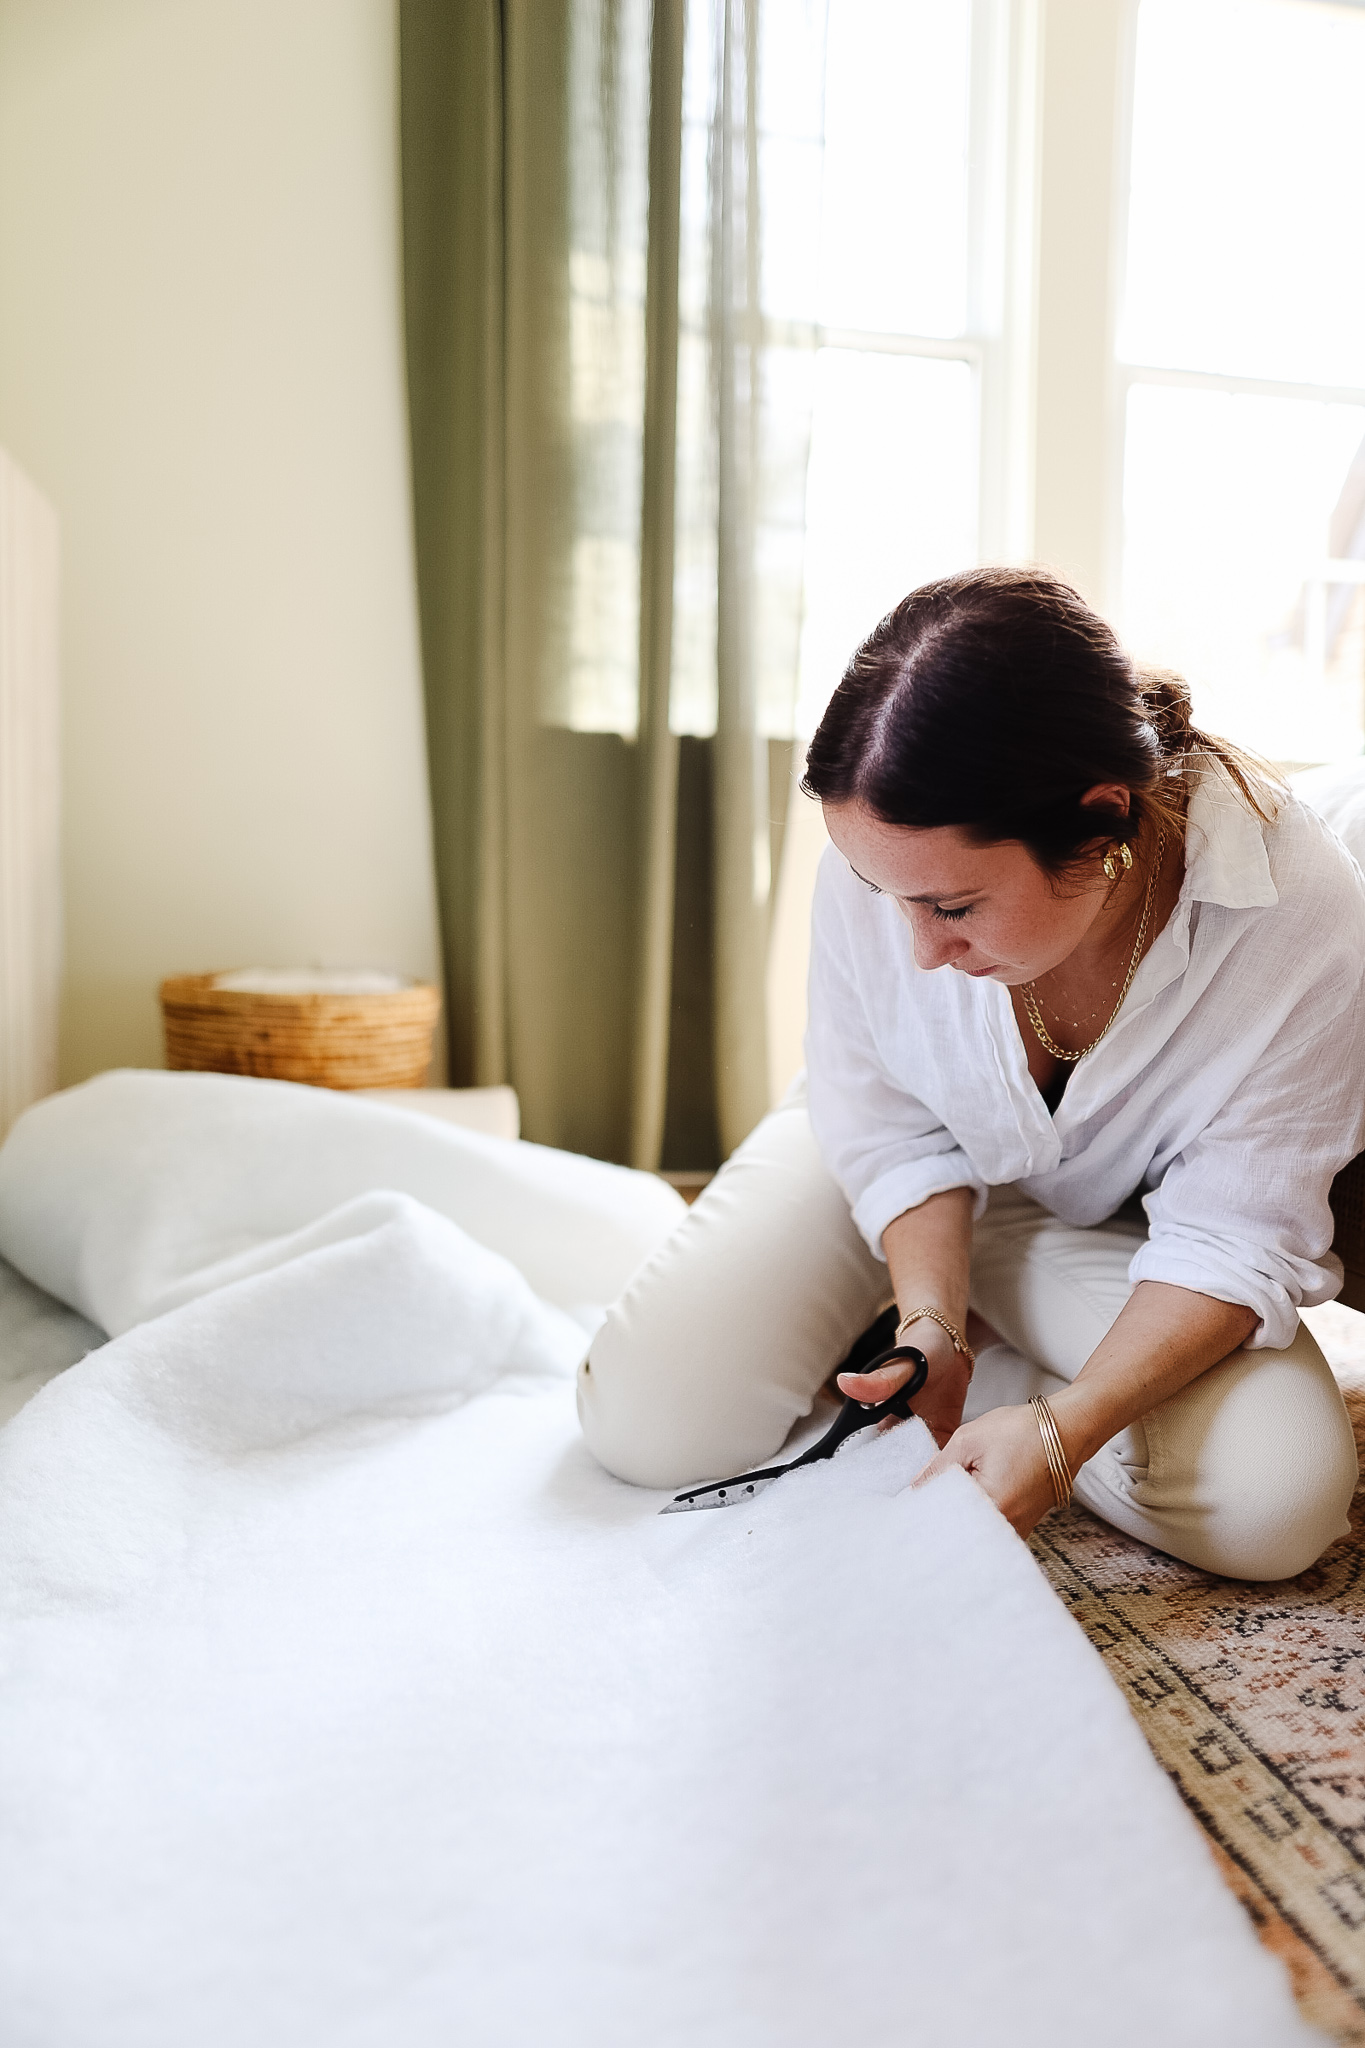
Step #1: Cut Out Batting And Fabric To Size
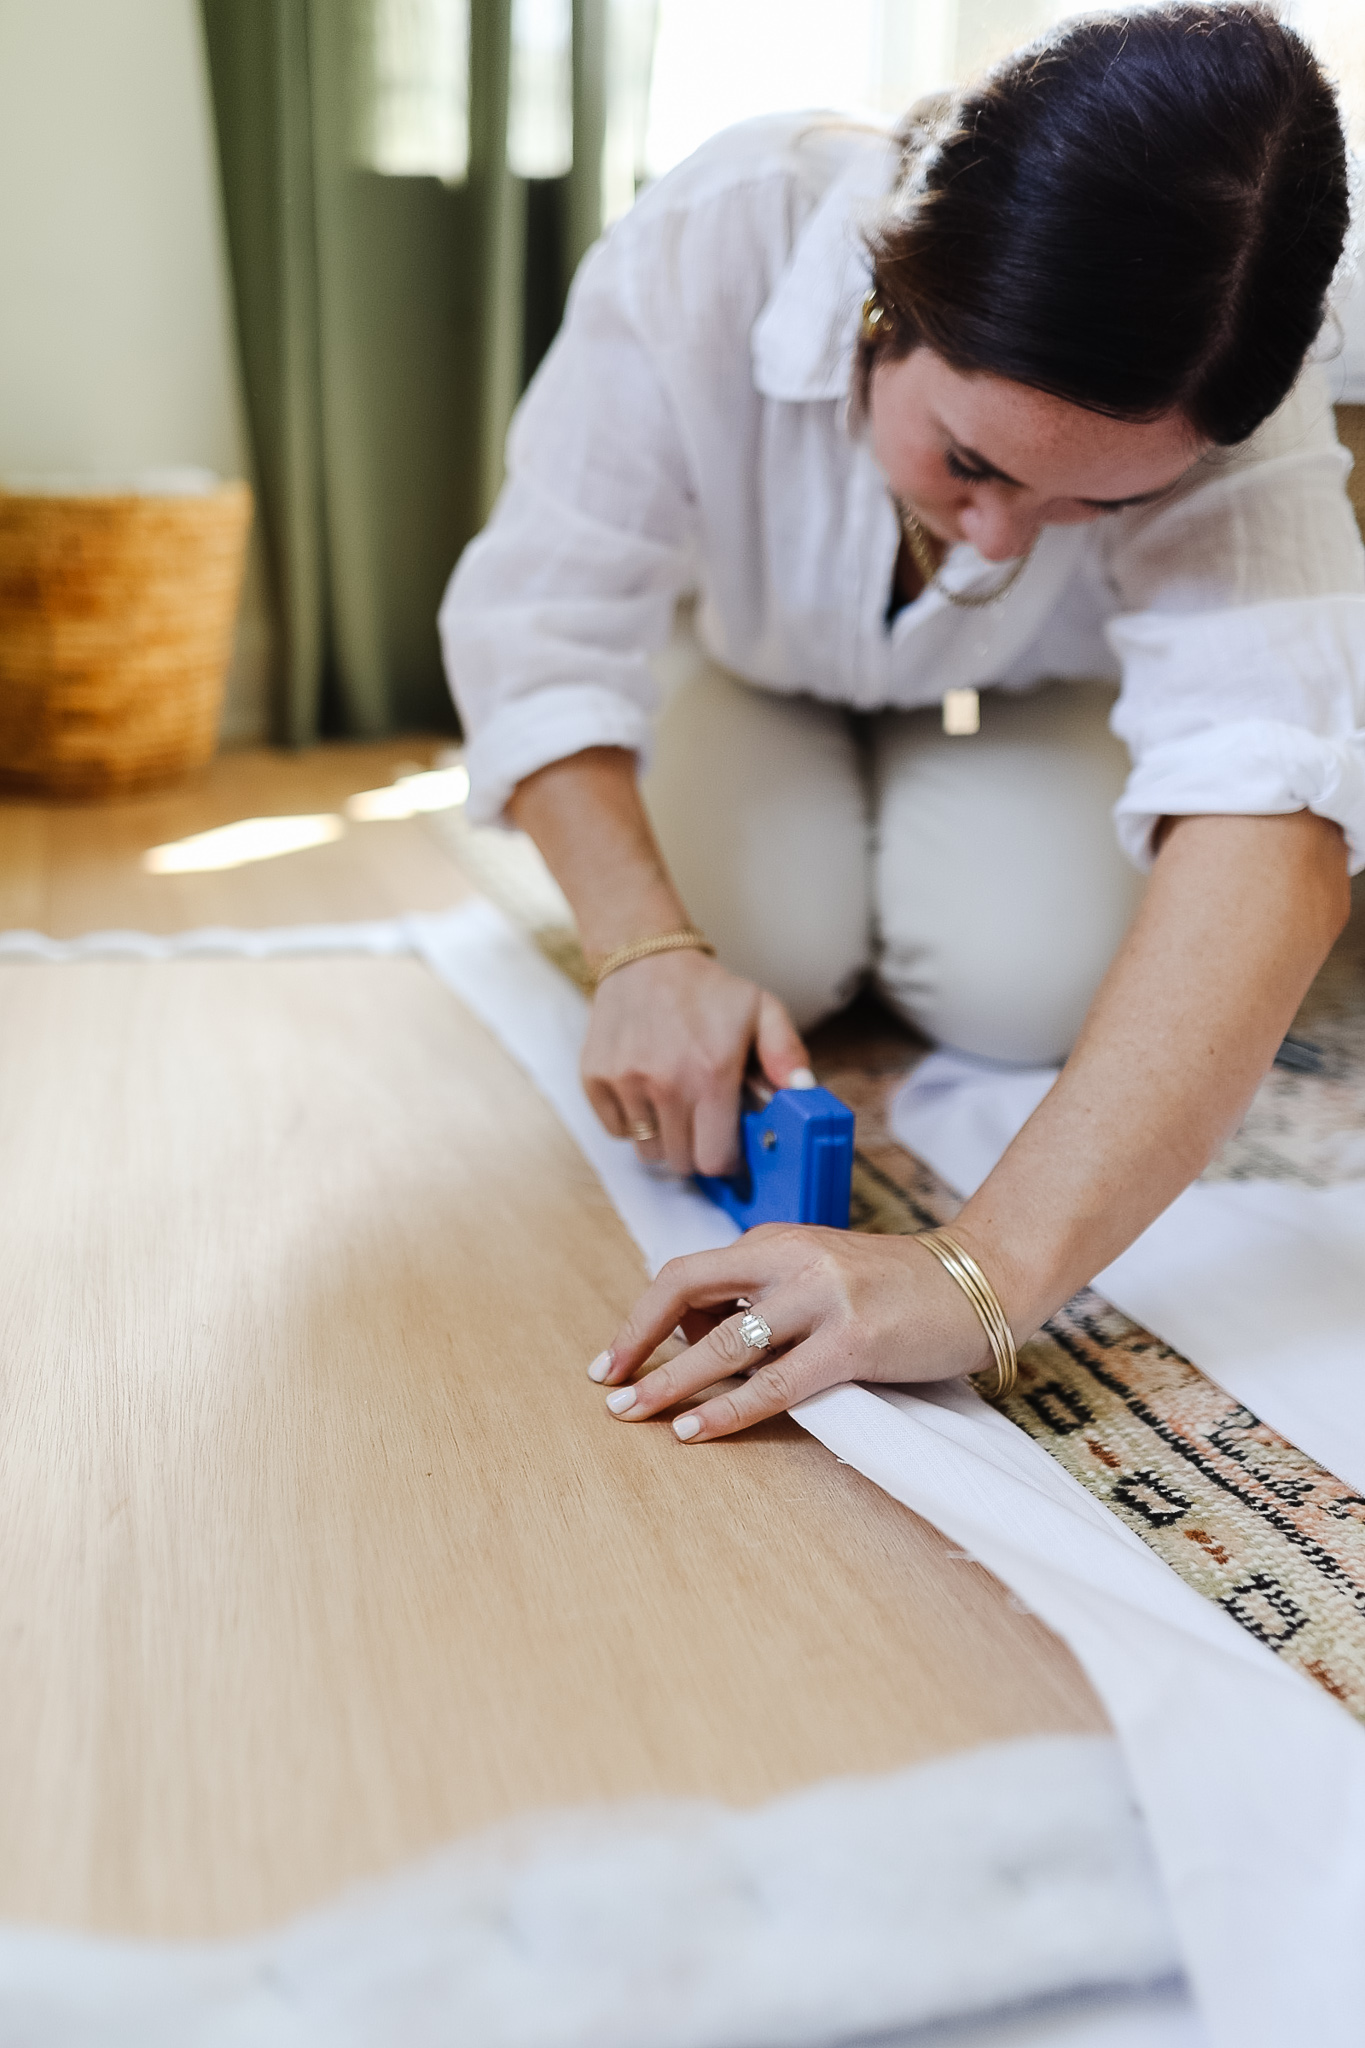
I pretty much wrapped the board like a present. I just folded the fabric over the corners and made sure I pulled really tight.


Step #2: Attach Batting And Fabric To Wood Board
Go to town with your staple gun. Again, the key is to pull the fabric as you do it!
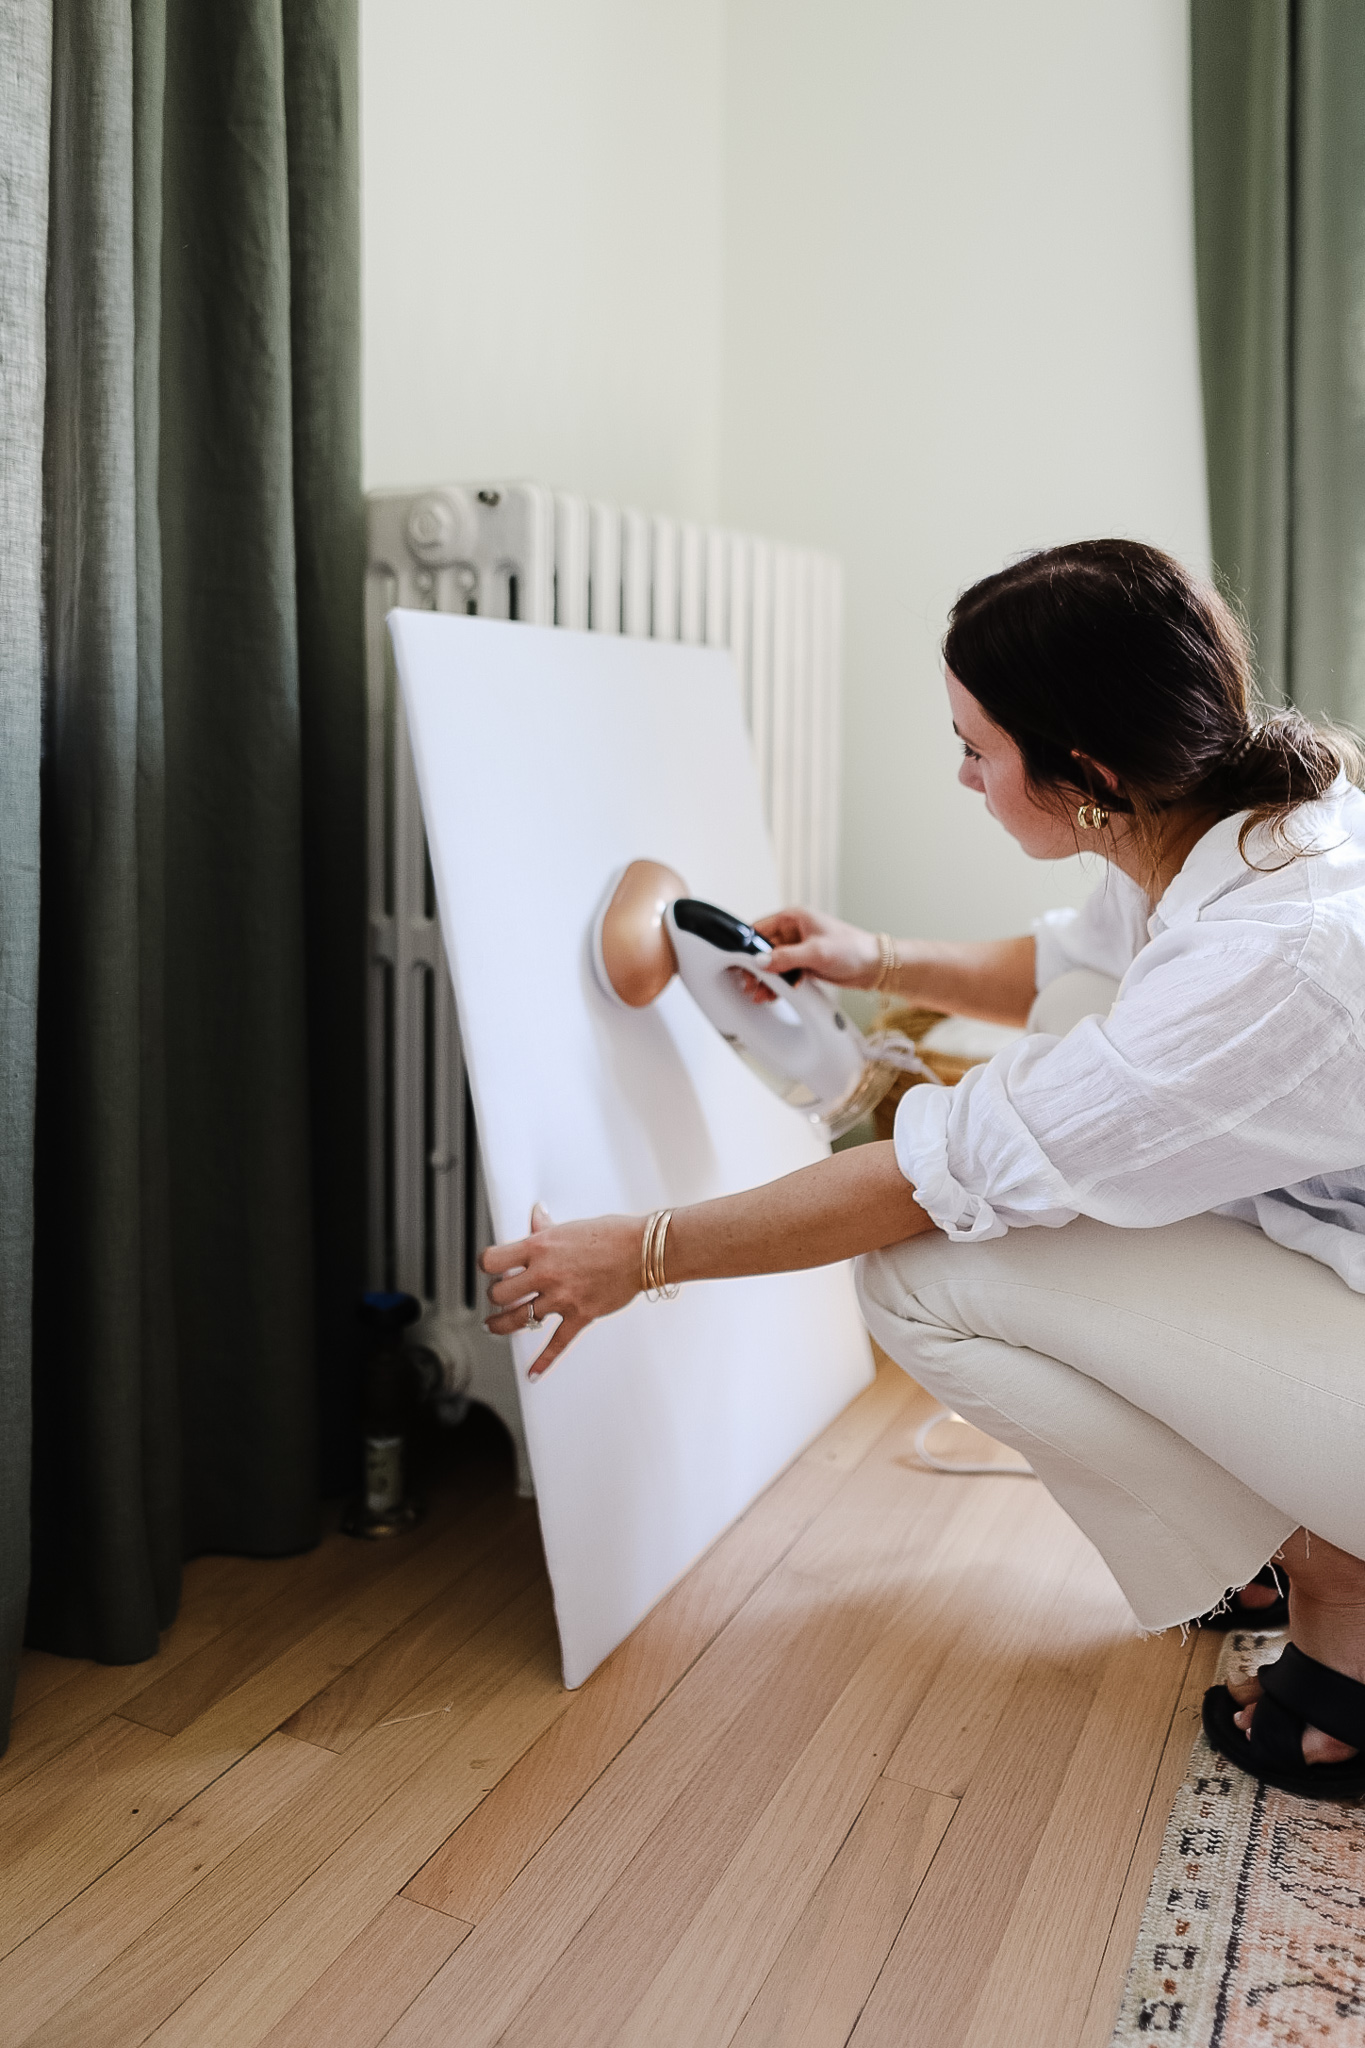
I also steamed the fabric after attaching it to make sure there weren't any wrinkles which really made it look like I just bought it from the store. I had a steamer on hand, but you can also use this wrinkle releaser spray or iron to achieve the same thing, so don't feel like you need to go out and buy a steamer if you don't have one already.
Step #3: Decorate!
This board is really just for staging purposes, but to hang things on the actual board, I used these pins and these clips in both this room and the office. I also got this wallpaper sample from Society 6 to hang on the pinboard which ended up looking SO cute.
Like I said before, this pinboard was just for staging purposes, so I didn't go too crazy with decorating it. But, if I were planning to have this in my room or office, I would go crazy decorating it with aesthetic pics from Pinterest, polaroids, movie tickets, etc.
Obviously, the whole point of a pinboard is to have something in your room that is totally customizable and personal to you, so the majority of your decor is probably going to be pictures and other memorabilia. But, if you want to amp it up a little, you can also pin up a cute calendar, sticky notes, and florals to add a little extra spice!
This post showed you exactly how to create a DIY pinboard.
Other Posts You May Like:

