This site contains affiliate links, view the disclosure for more information.
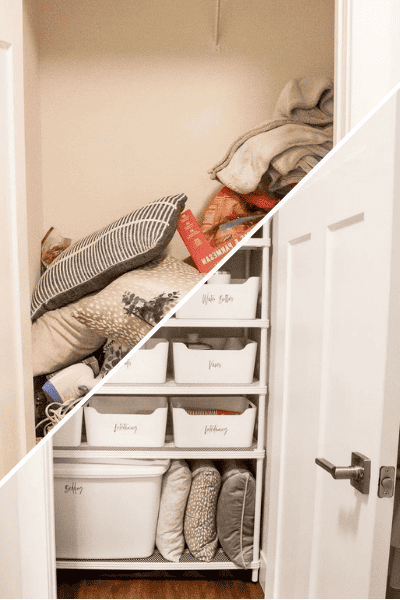
This post is all about fridge organization. I'm showing you exactly how to organize your fridge so that it looks so good people will think you got it professionally organized.

Having an organized fridge was one of those things that I DREAMED about having in my apartment. I have so many pictures of organized fridges saved in my phone as inspiration and now I finally have one of my own.
Organization products for any space can add up and I wanted my fridge organization to be done as inexpensive as possible. I am showing you what I did and the tips I learned along the way to organize my entire fridge for less than $75. If you've looked into fridge organization products at all you know that is actually a really good idea because these products ADD UP!
I am showing you the fridge organization I used in my apartment and a step-by-step guide on how you can organize your own fridge. Plus, I have my exact refrigerator labels that you can use and print out at your home for free to use on your fridge.
This post is all about fridge organization.
Step-By-Step Guide for Fridge Organization:

Step 1: Plan out the different food categories you want.


The first thing I did was look at my fridge and everything in it. I want my fridge to obviously be as practical as possible so I looked at all the different foods and tried to figure out what categories would be best for the bins I was going to buy.
I'm a really visual person so I wanted to take a picture of my fridge and then write on top of it where I thought the different categories would fit best. This was SUPER helpful!
To write on the photo, I just threw it into Instagram stories and started writing text over it. I obviously didn't actually post it but doing this was SO helpful! You could also throw it into Canva and do the same thing.
2. Measure your fridge and buy organization products.

Screenshot taken from my Instagram stories 😉
The next thing I did was measure my fridge to make sure all the containers I was buying would fit. I made sure to note the measurements in notes on my phone so when I went to buy the containers I had them with me.
MAJOR TIP when measuring...make sure to take into account the weird grooves and shelf brackets in your fridge. I didn't and I had to regroup my plan because the bins weren't fitting properly which was annoying.
Like I said before, organization products are really expensive. I wanted to go to the Container Store reallll bad but knew I would spend way too much money there. I ended up getting things from Marshall's and Amazon. This was actually a tip from one of my Instagram followers and she said a lot of the exact products she bought from Container Store were at Marshall's for half the price.
3. Print out labels.

FREE FRIDGE LABELS:
I designed these fridge labels for me but I created the same ones (and more generic) labels that you can print out at your home and use for free!
Click here for my Free Fridge Organization Labels.
To use my printable labels, you need to buy these exact labels...

To help me stay organized, I created these really cute fridge labels to put on my containers. I wanted to make these labels because 1. I think it makes it way easier to keep things organized and 2. I just like having everything look cute ;).
I wanted everything done before I started taking my food out so I printed these out before beginning the fridge clean out.
Again, here's the link to my fridge food labels. The only thing is that you need to use the exact labels I have! They are the Avery Glossy Clear Shipping Labels (linked above).
I love how they turned out honestly so highly recommend using them if you want some cute fridge organization labels!
4. Clean fridge.

If you're really on top of your game, you'll probably want to take all the food out and put it in a cooler to keep it cold while you clean. However, I am definitely not on top of my game so I just set mine out and tried to work as efficiently as possible.
After all of my food was out of the fridge, I just wiped everything down with my Method Heavy Duty Degreaser and a few microfiber cloths to get any stains or crumbs out.
5. Place containers in fridge and put labels on.

After cleaning out the fridge, I placed the containers in my fridge before placing the labels on. I wanted to make sure everything fit how I planned (which it didn't so I had to rearrange a little bit!).
After getting the containers in place, I then went and placed the labels onto the organizers based off the picture I planned out. The bottom left one unlabeled so if there was extra food that didn't work in my other categories I could just place it in there (this also ended up being super helpful!)
6. Restock fridge.

Last step is to place all your food back into the fridge in the specific containers or sections! I'm really happy about how this turned out.
It really does make you feel better when you go into your fridge and it looks pretty AND organized.
Doesn't it look pretty good?!I'm excited to try it out for a couple months and I'll report back if the bins and categories are working out.
This post was all about fridge organization.
Other Posts You May Like:
")
")