This site contains affiliate links, view the disclosure for more information.
We’ve had back-to-back reveals with this home over the last few weeks and while the previous reveals have been good, the next few are really, really GOOD. If there’s any space in this house that I want to take inspiration from for my next home (a.k.a. mine and Ben’s future home), it would be this space. It is so practical, so beautiful, and just really invokes the design I was trying to hit in this home. I also realized my love for paneling and cabinetry being painted the same color in a room (drooollll).
I have a whole post really diving into the before of this space and the mood board, but heres a quick before of the space…
BEFORE
")
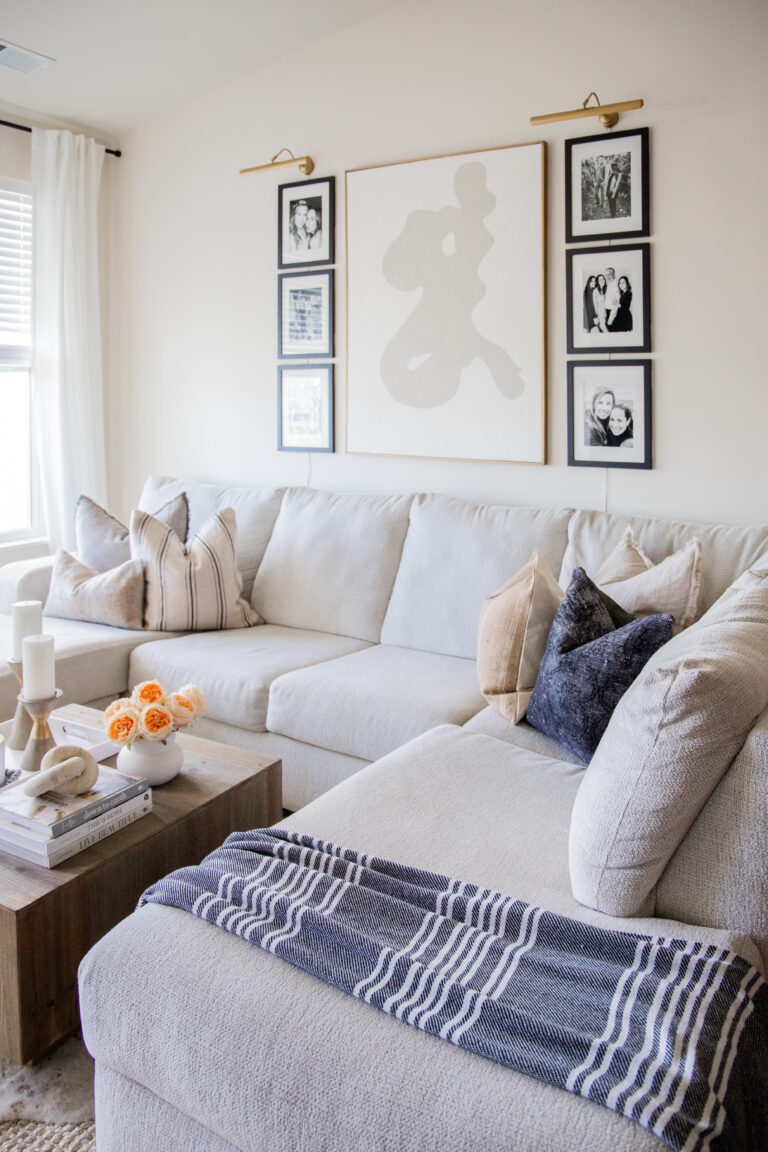
AFTER

I could stare at this room alllll day.
What you see as the mudroom room today, used to be the kitchen! From the very beginning of this whole renovation journey, I knew this space would be perfect for the mudroom. For starters, the door giving access to the garage just screams “make me the mudroom.” Secondly, the kitchen was already being moved out of this area and into the new addition so the plumbing in this room needed to be put to good use in someway!
Side note – Are you not dying at Marlee?! Marlee is my best friend’s puppy and we got to spend every week with her when they had first brought her home. She really made her model debut in a big way.
BEFORE

AFTER

Pretty crazy that’s the same view.
The original kitchen had a doorway that lead into the old dining room (now an office). We decided to close the wall up and use the space for a washer and dryer which was previously in the basement, but we still got basement waterproofing just in case. You may get expert assistance from this affordable basement waterproofing services here.
Let’s get into the nitty gritty…
Washer & Dryer: I decided to go with these Whirlpool machines. While I won’t personally be using them, I read a ton of reviews and people were raving about them.
I actually didn’t have a choice at the color of the machines, it was a “you get what you get” situation since everything was so backed up. However, now that the dark color is in, I think it compliments the rest of the home so well.
Paneling: The paneling is by far one of my favorite features in this room. We used tongue and groove (a.k.a. “T&G”) paneling (not to be confused with shiplap). After looking at a many options for the T&G looked at a variety of T&G paneling sizes, and decided to go with the 6″ size. We have it going allll around the room.
Here’s another before & after (don’t worry, I’ll keep answering questions about the room below :)…
BEFORE

AFTER

We had the original arched windows refinished. The glass used to have a frosted pattern on it, but we replaced it with normal glass and it is chef’s kiss—though now we’re considering Smart Tint Union City, New York, to add adjustable privacy without sacrificing that clean look.
Tile: Absolutely o.b.s.e.s.s.e.d with the tile in this room and will 100% be using it in my future home. You won’t even believe where it is from…Home Depot. The kicker is that it is real slate. I am not a fan of the fake looking slate and it just so happens real slate is very affordable and in our budget. It was a no brainer!
I also love that it is imperfect so if it was to chip, you won’t be able to tell that it wasn’t an original chip.
Non-important note – this tile in this mudroom is Ben’s favorite thing in the entire home. This boy is opinionated about a lot of my design decisions, so when he gives me a compliment like that, I hold on to it. hah!
Paint & Cabinet Color: The question everyone wants to know…the paint color! We had the entire room (besides the ceiling) painted Rockport Gray by Benjamin Moore. It’s the perfect mix of brown/gray. We did this in a satin finish. The ceiling is Simply White by Benjamin Moore.
If you have any questions, comment them below and I’ll try to answer them ASAP. Can you see now why it’s my favorite?! 😉 Just for good measure, here’s one more picture…

Obsesssed.
THE MUDROOM IN DETAIL
Cabinet Hardware