This site contains affiliate links, view the disclosure for more information.
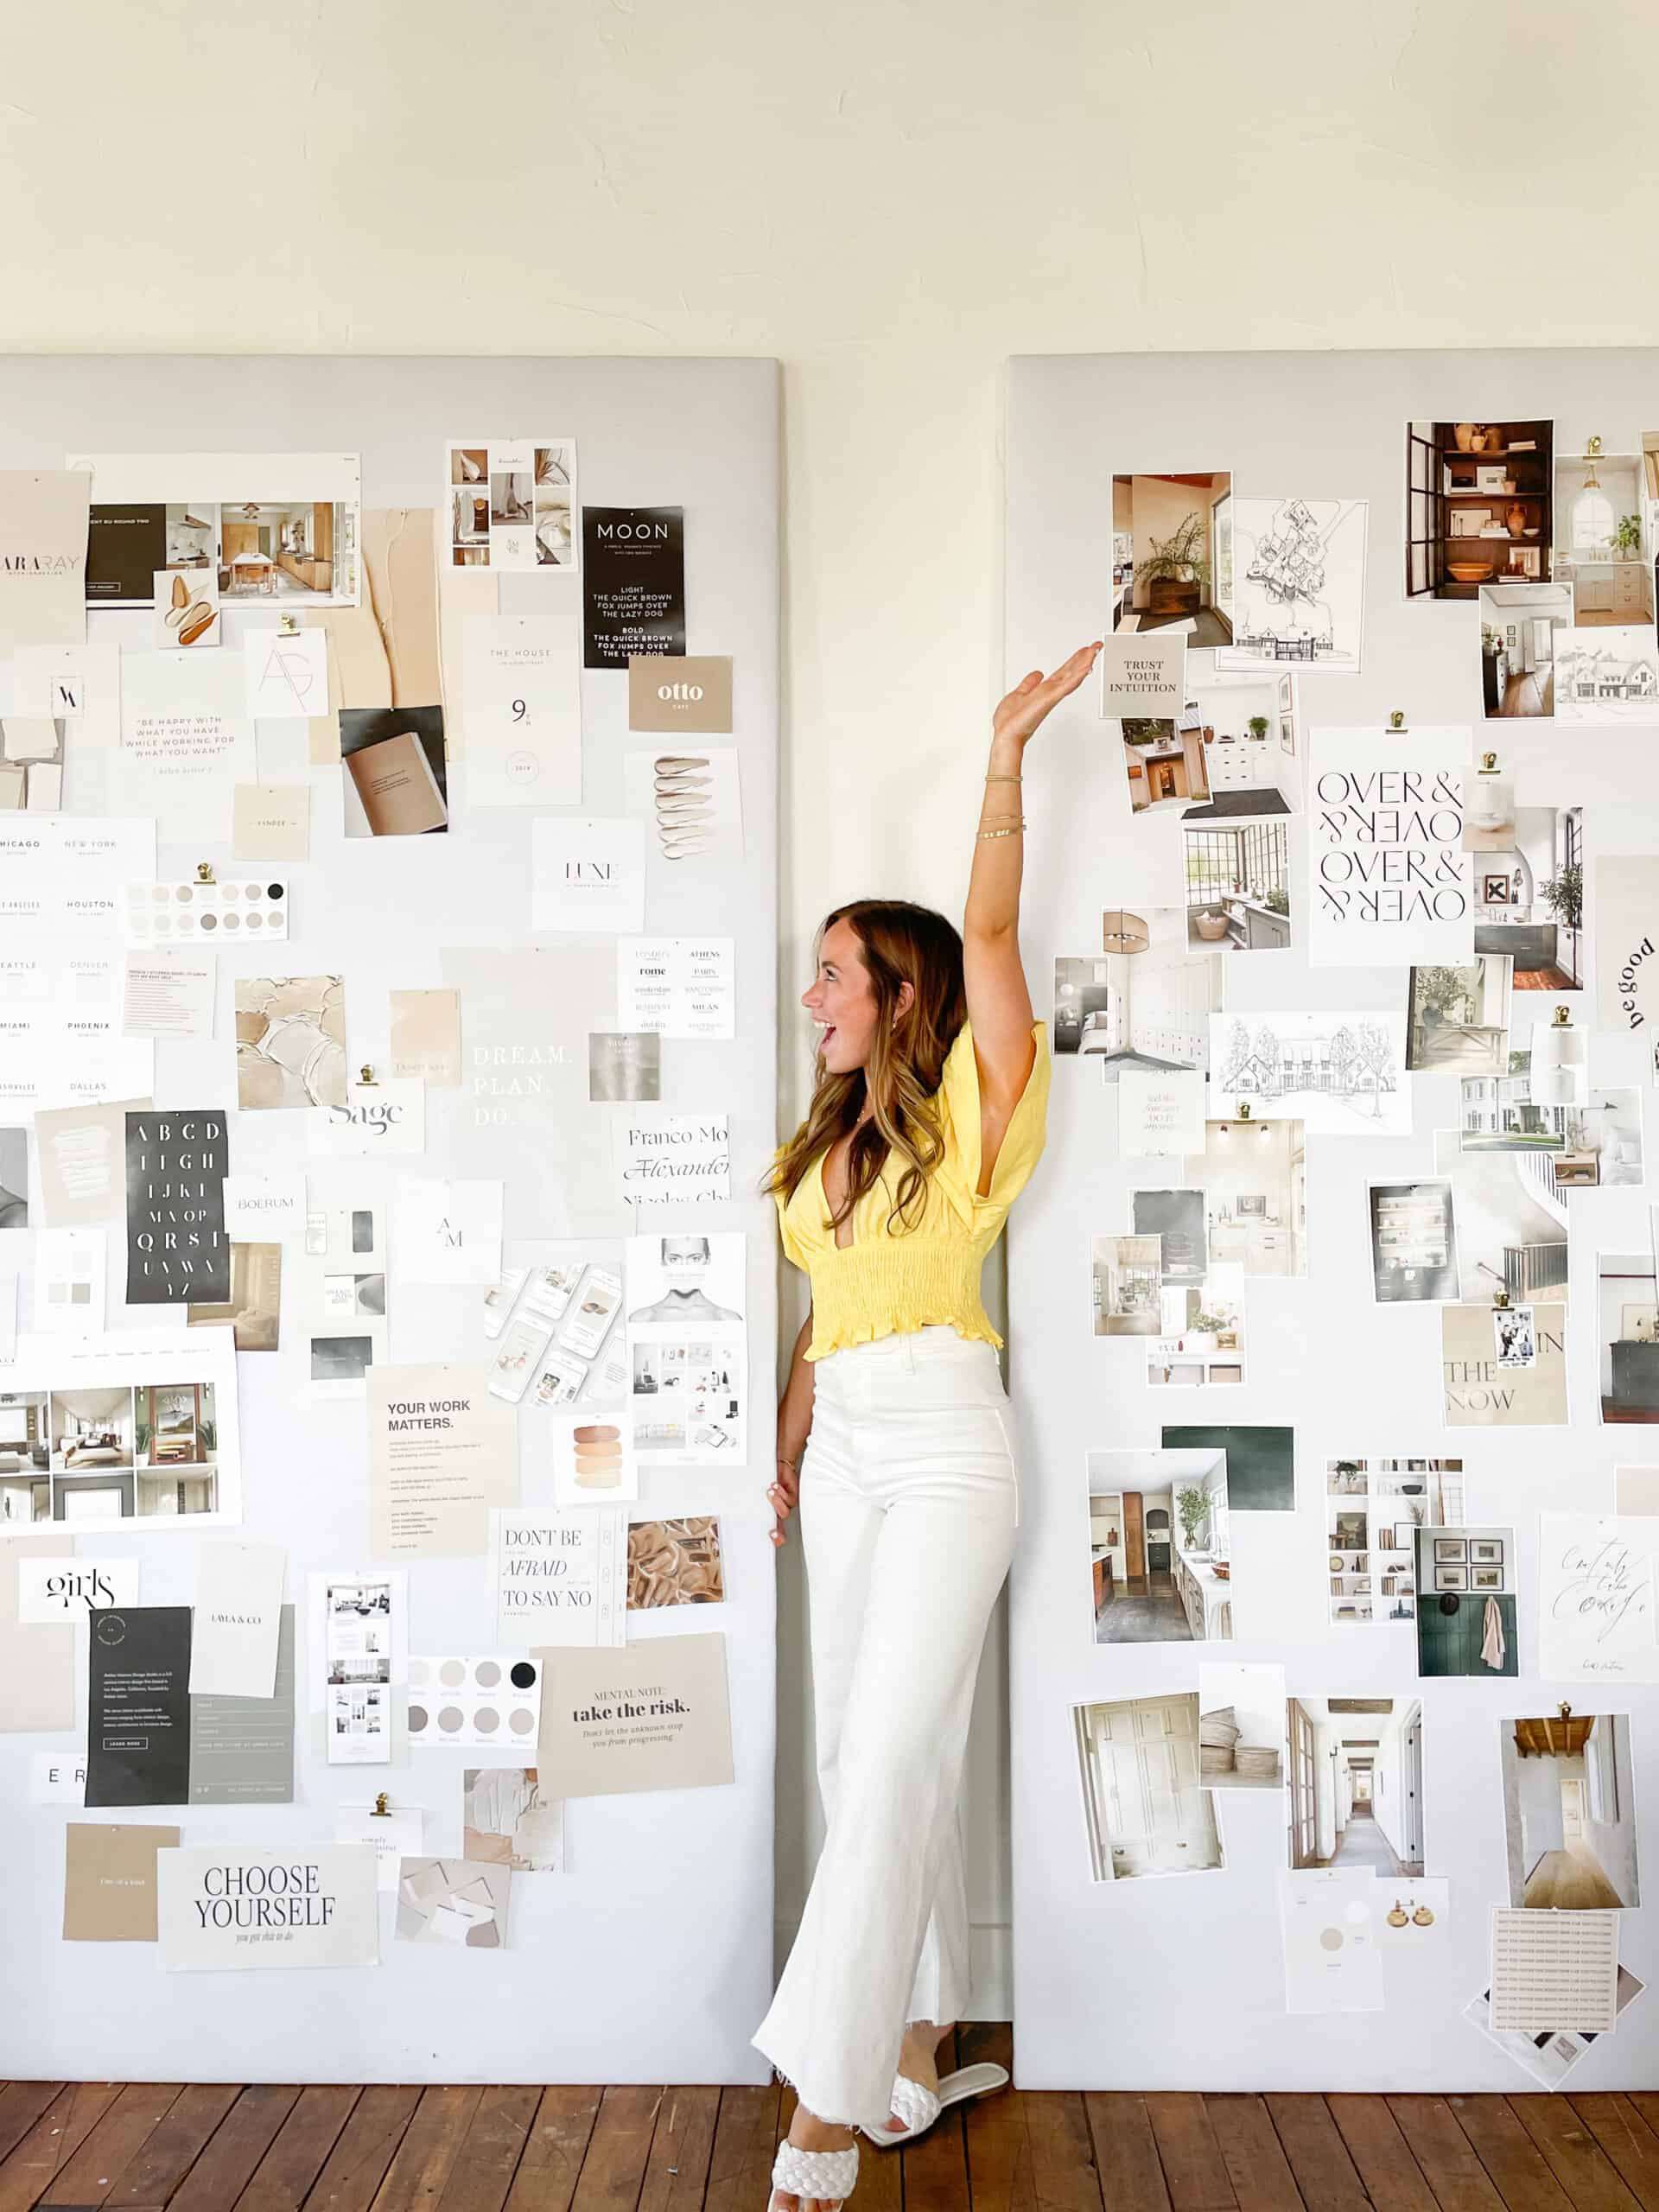
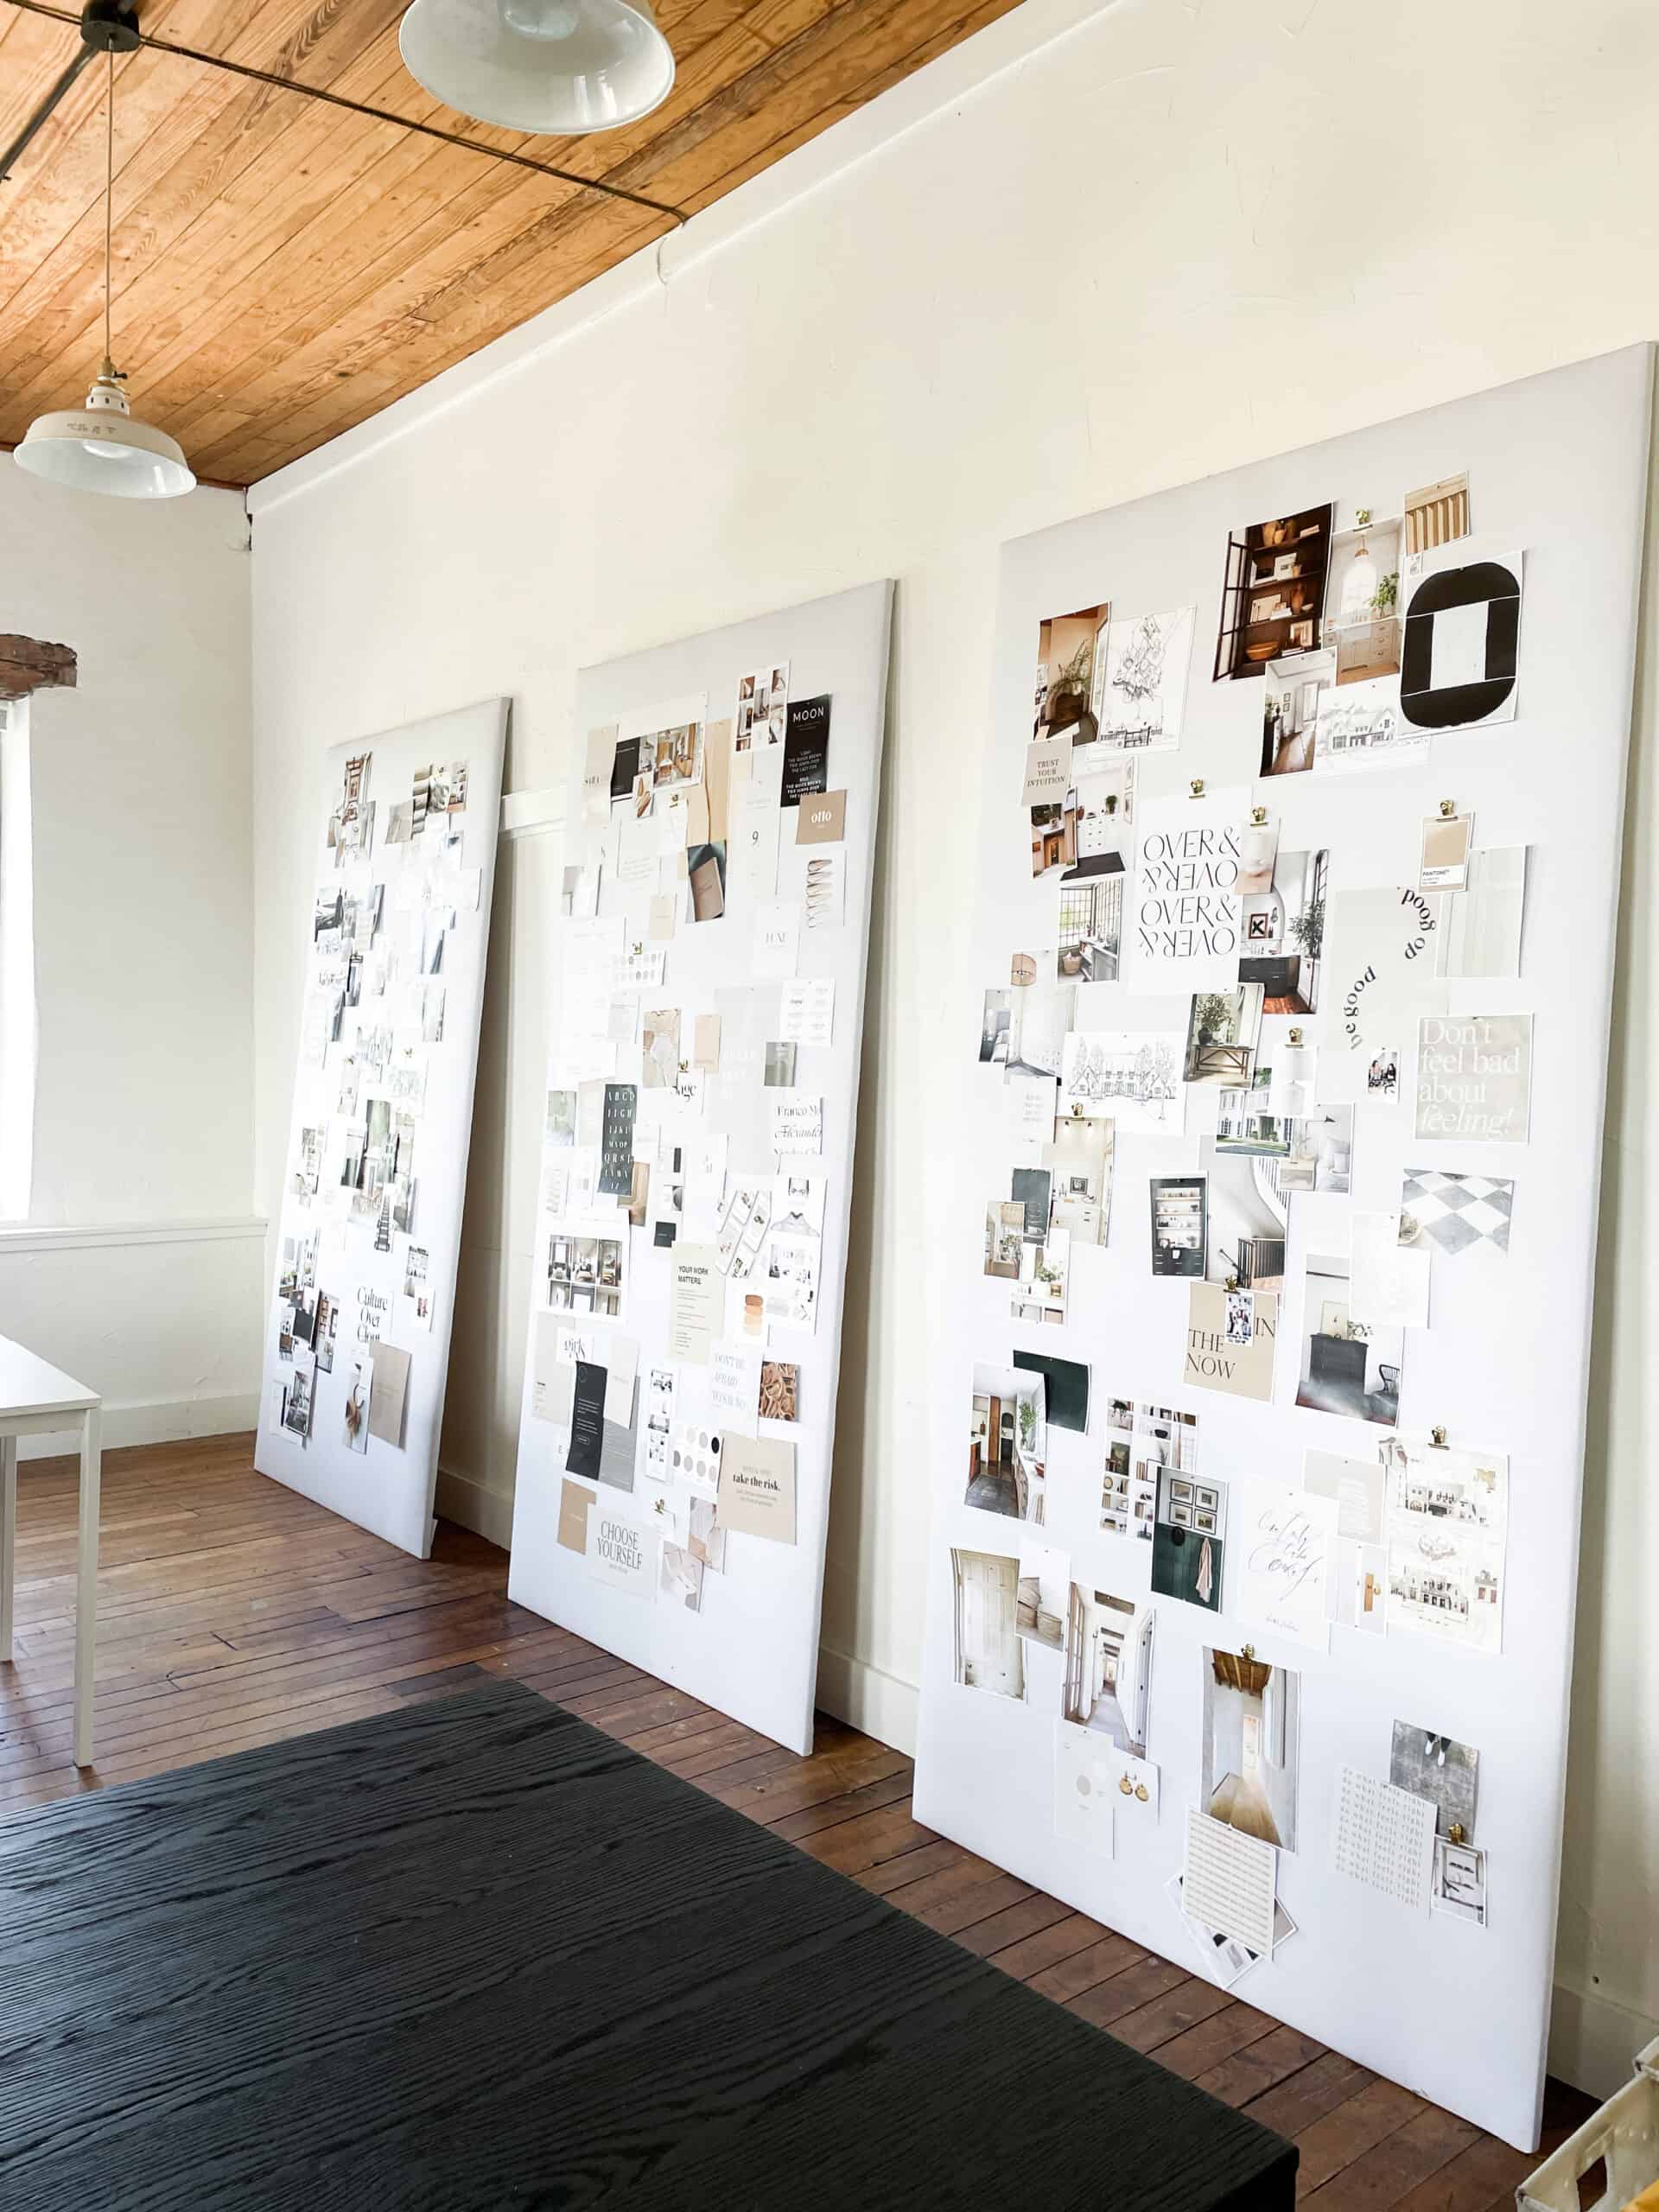
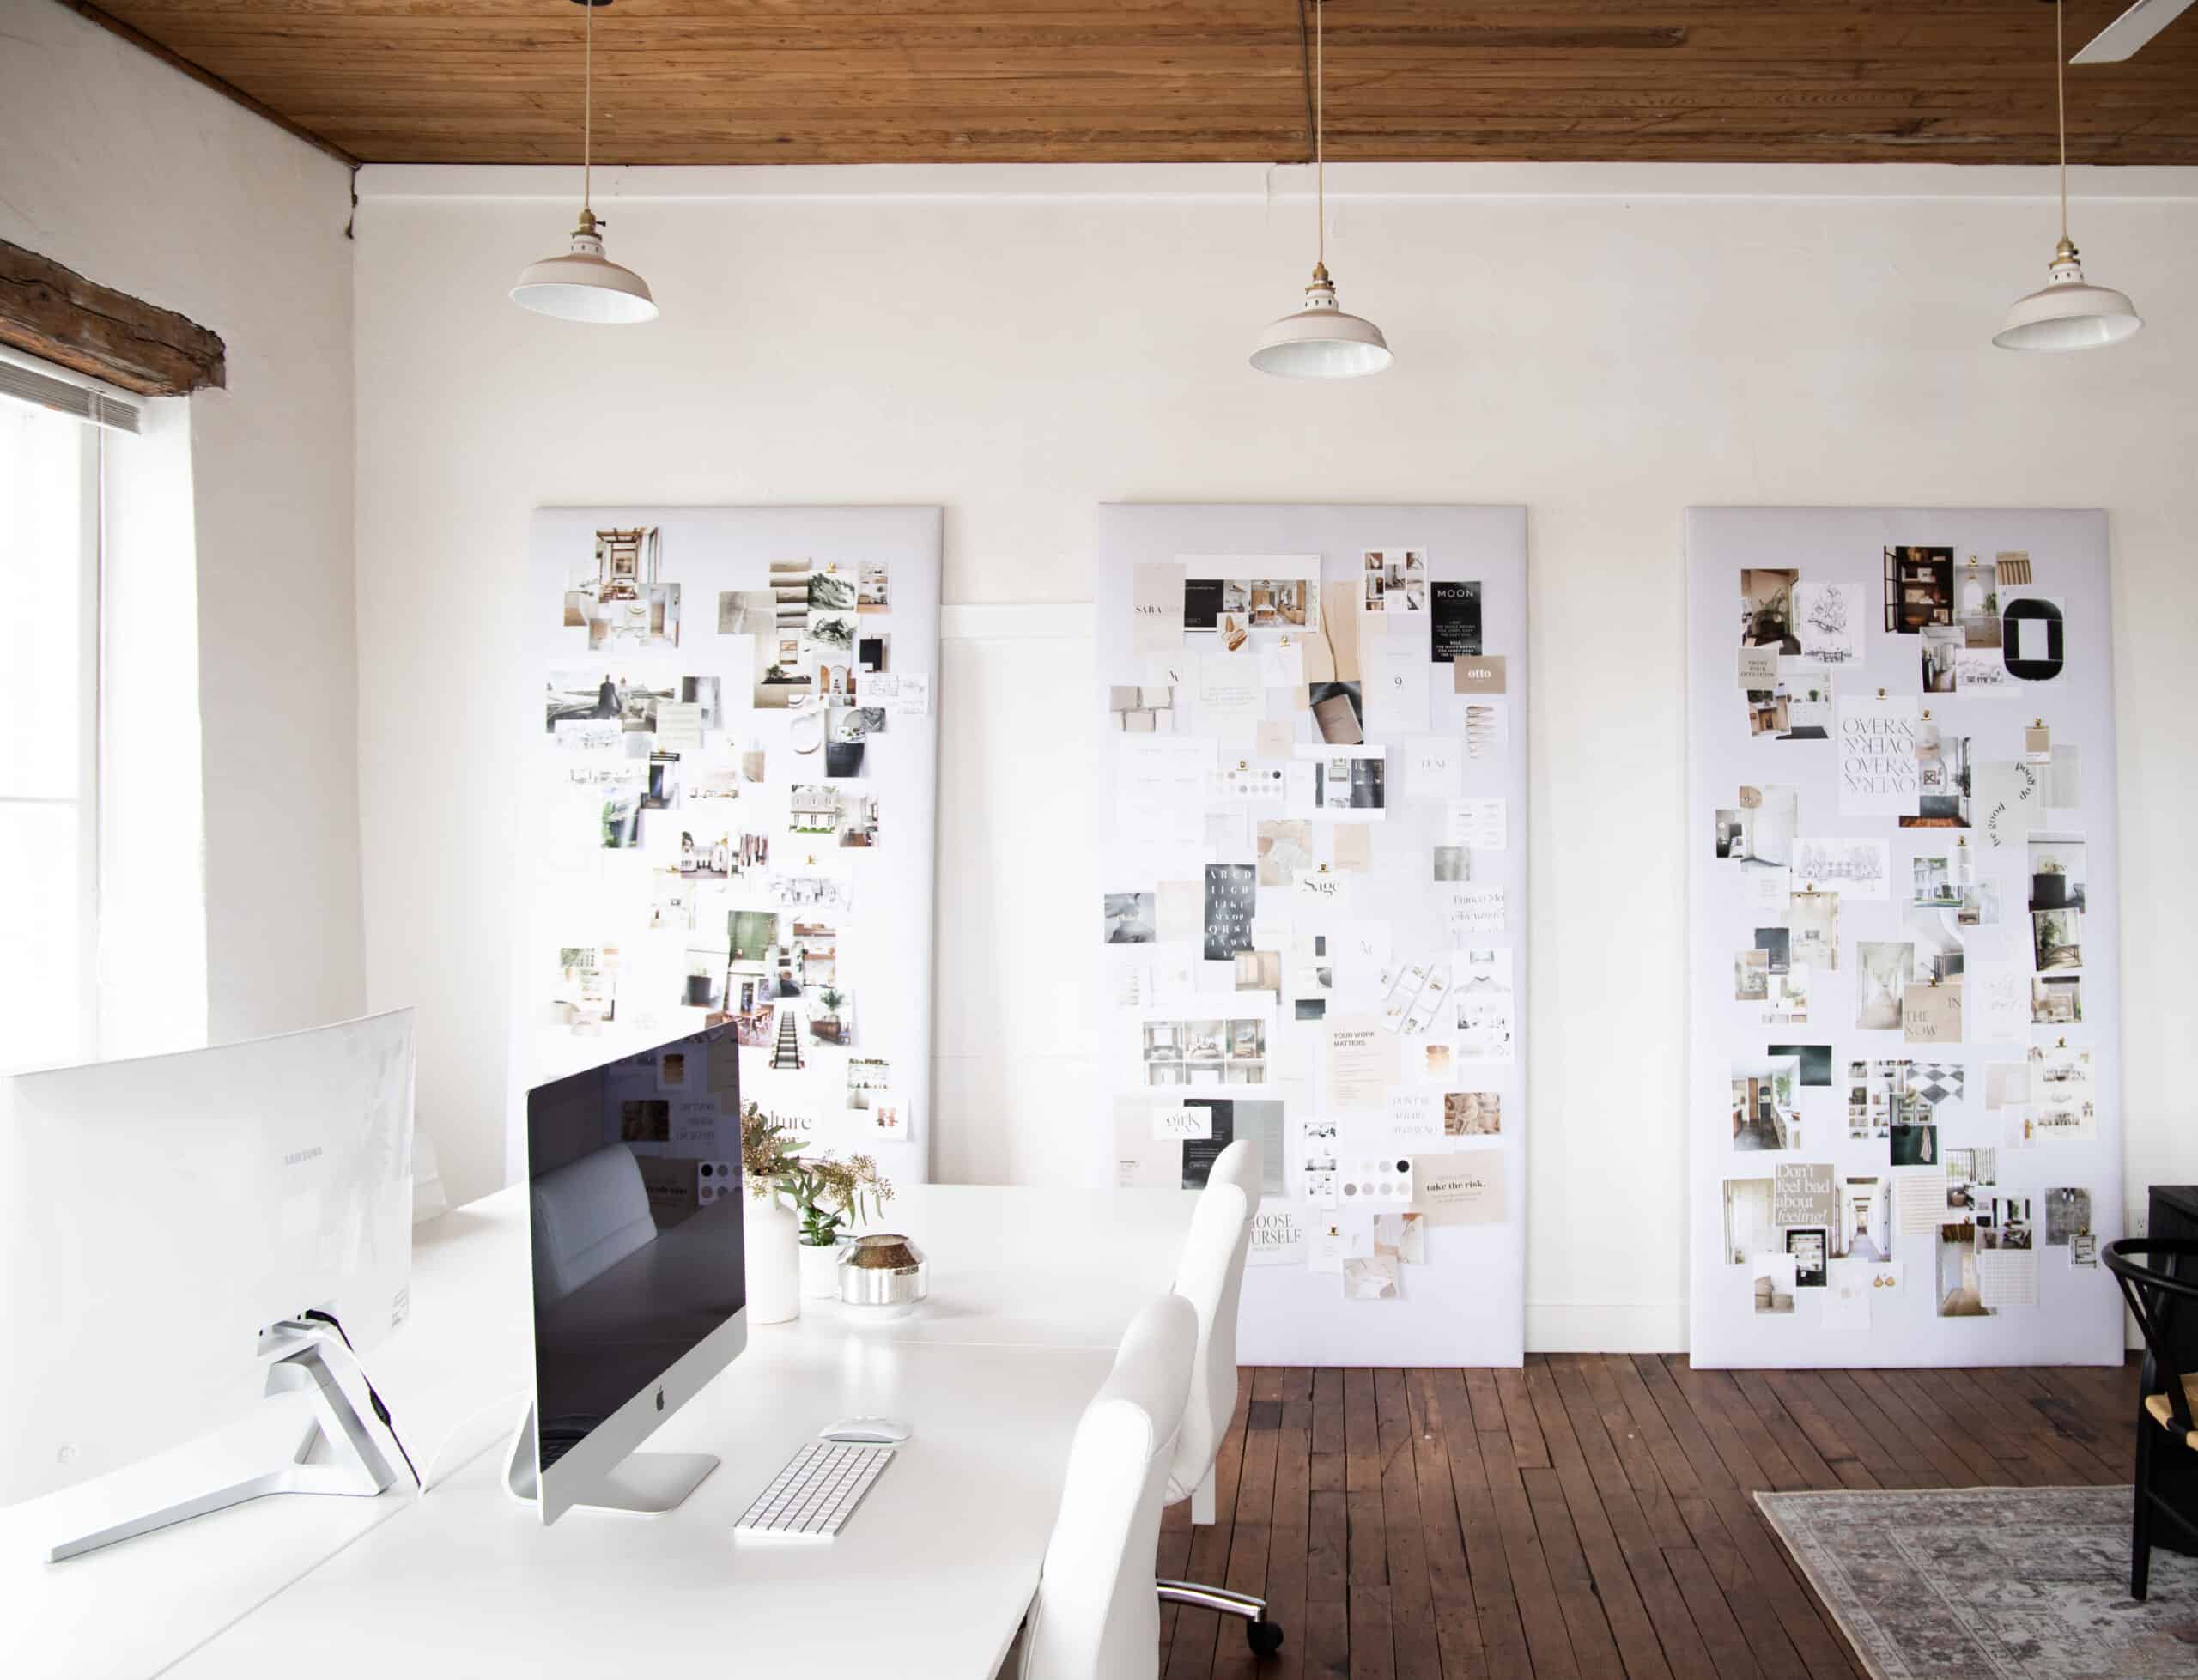
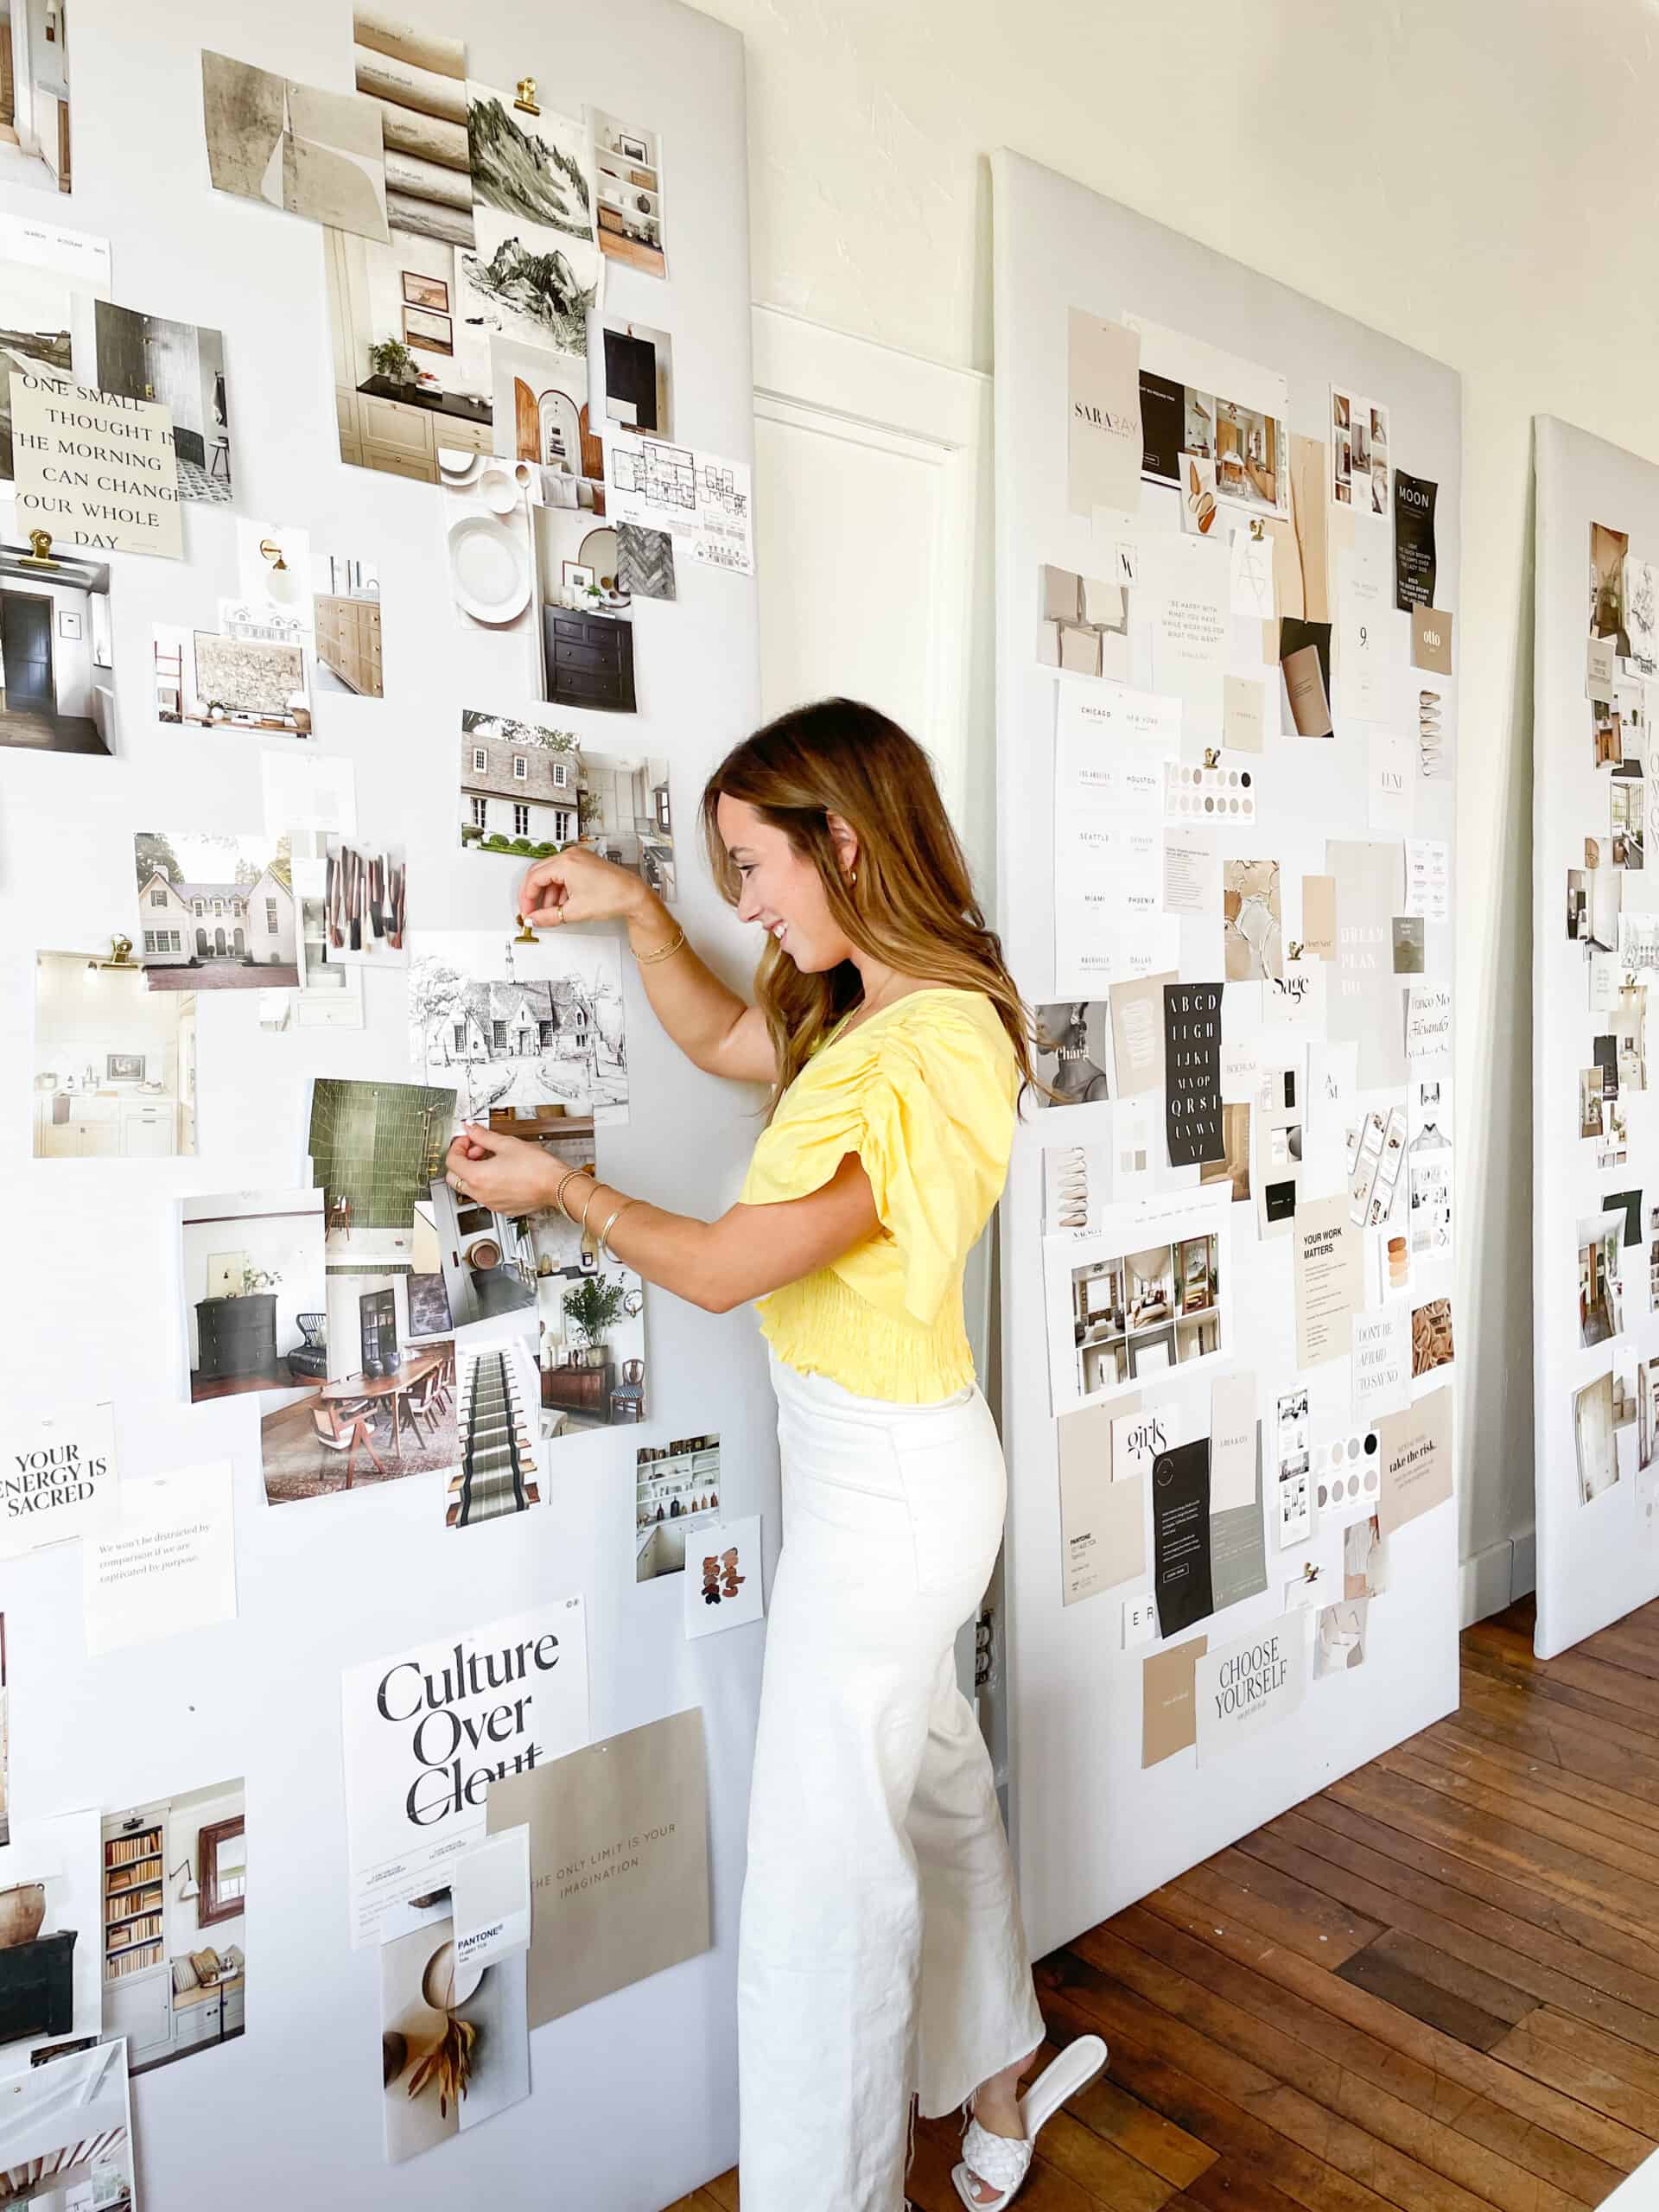
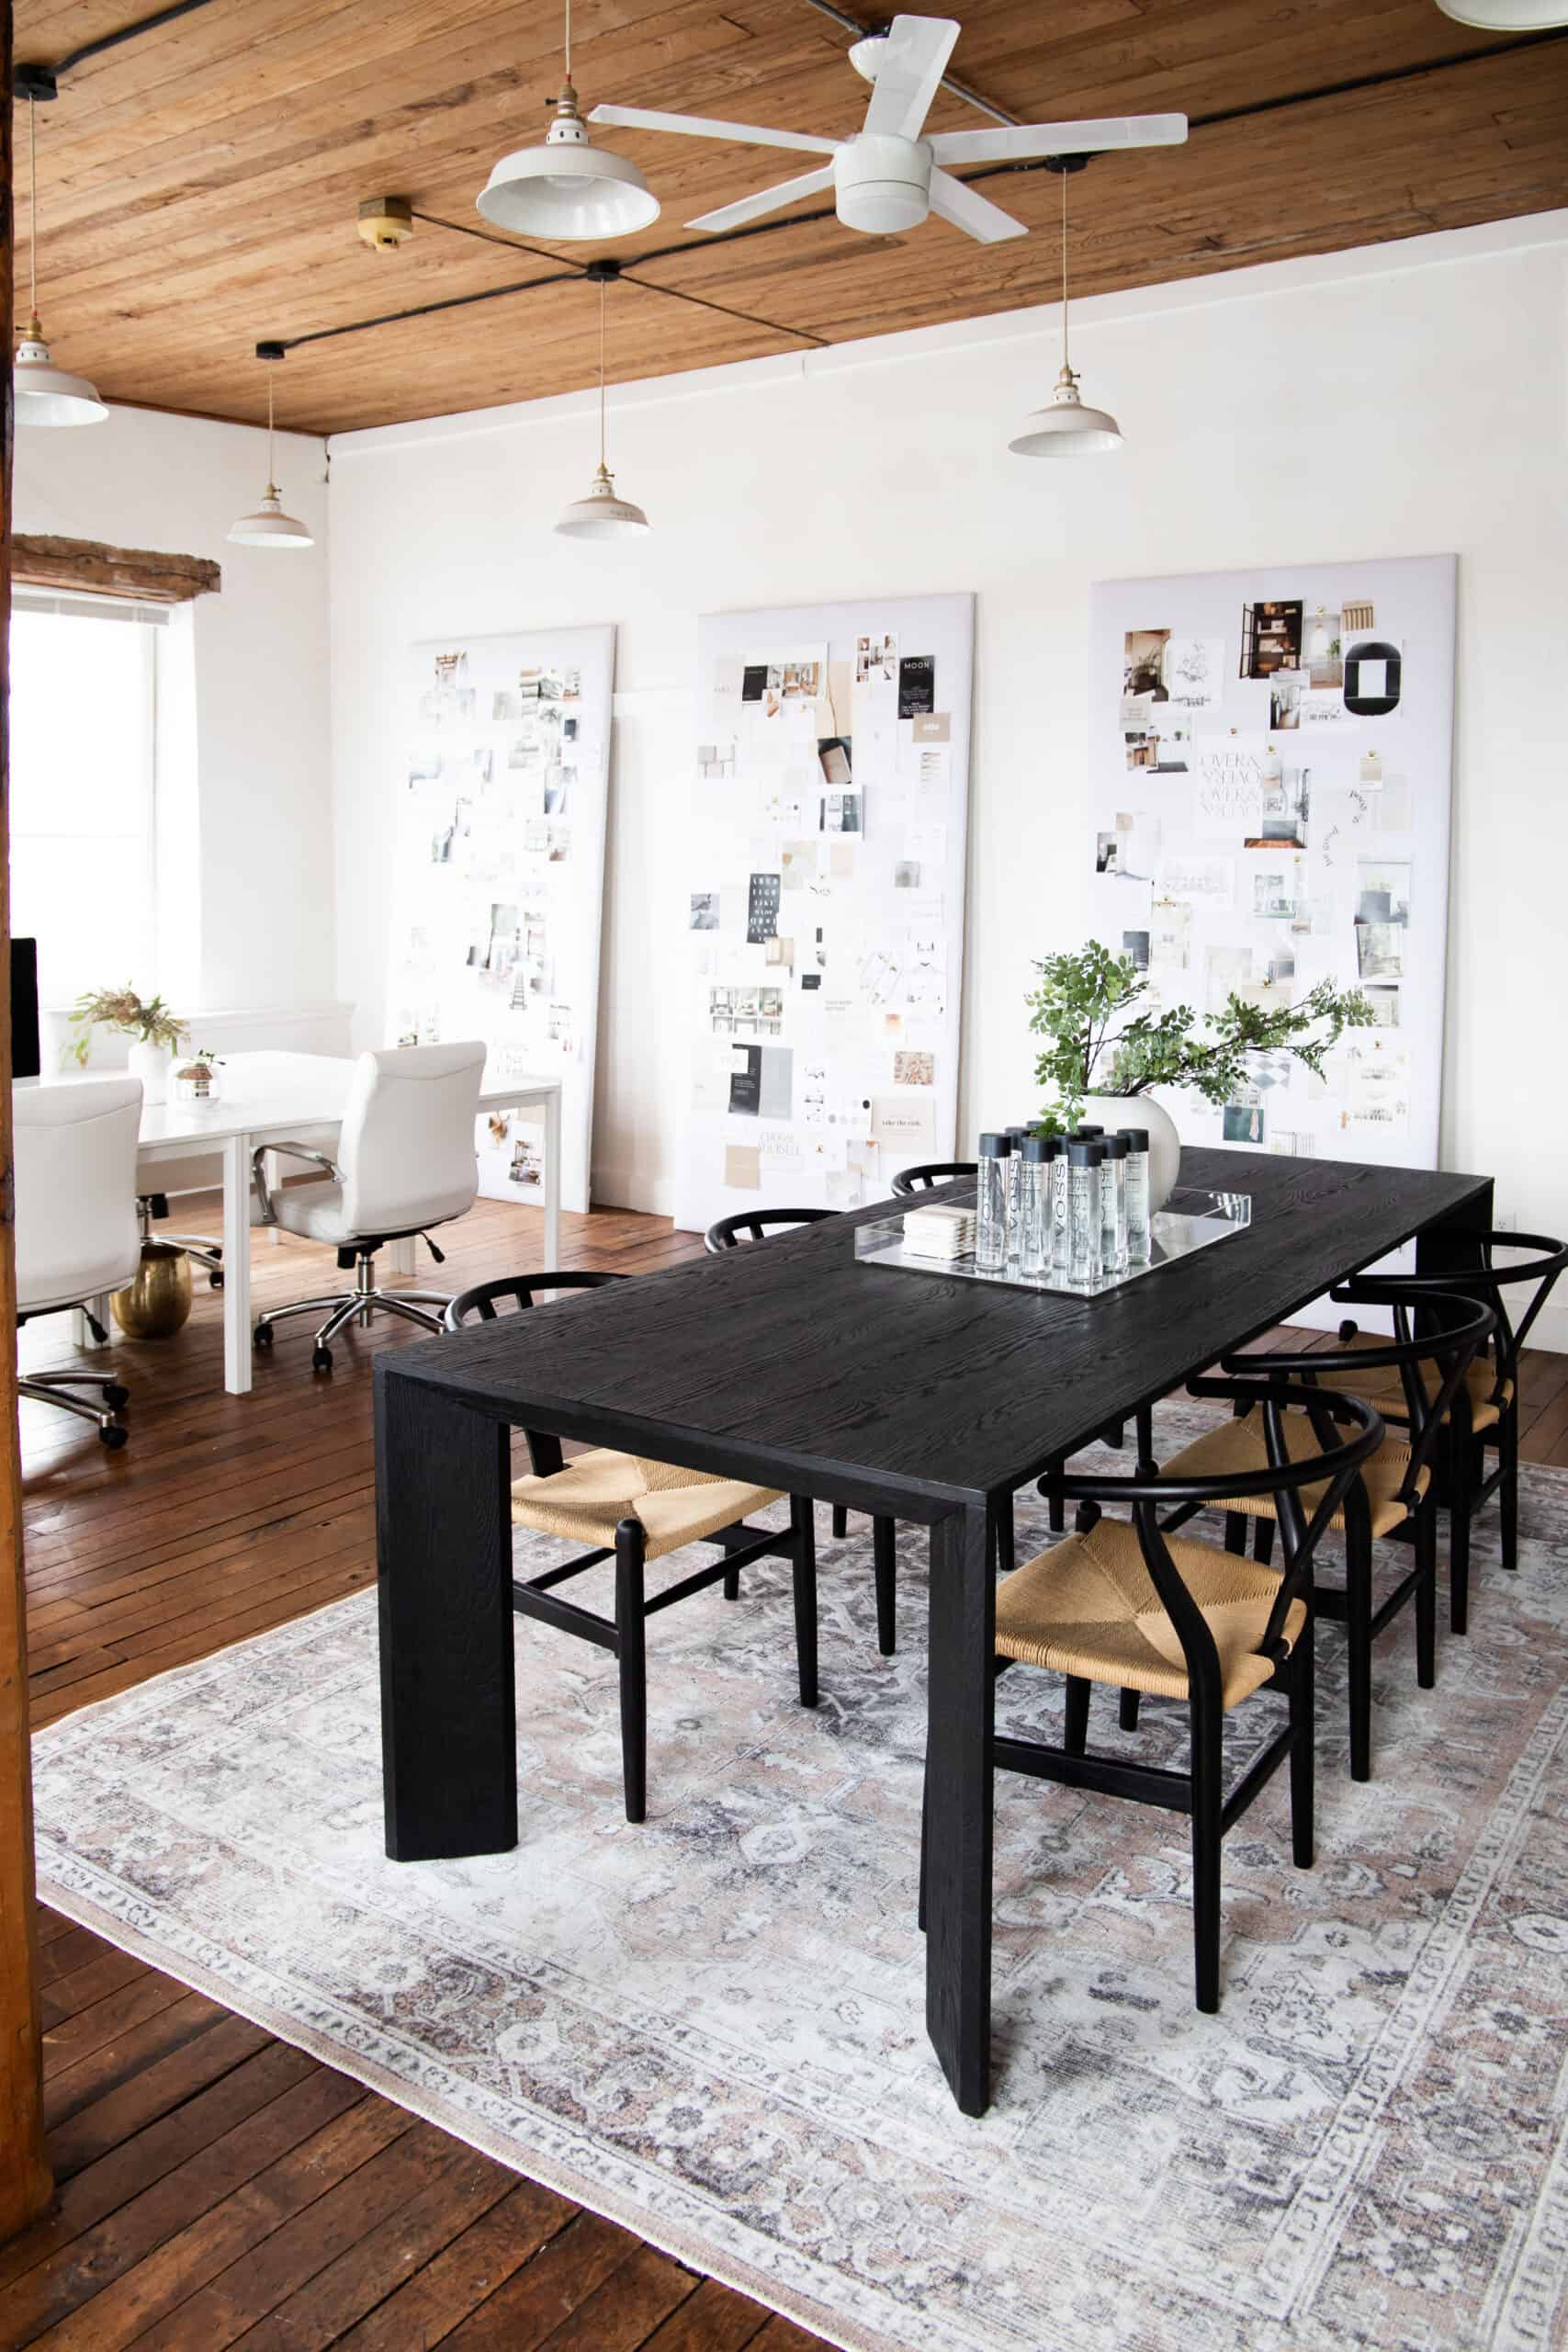
We had a huge empty wall in the office that needed some large scale art of some sort and I was looking to make a statement on a budget. Since this is a ~creative~ spot, I also thought it would be fun to incorporate a piece that could easily be transitioned based on things we're working on.
I started coming up with a few different ideas but kept coming back to how much we use Pinterest when designing things and how cool it would be to come up with a life-sized Pinterest board.
And the best part, they were really easy to make and for the size, super affordable!
Obviously, most people won't have a wall that is this large but doing this same thing smaller-scale above a desk or leaning in your room could be really cute.
How To DIY a Life-Size Pinterest Board:
Supplies Needed:
- Plywood
- Batting
- Fabric
- Staple Gun (don't let this scare you, these are literally $10)
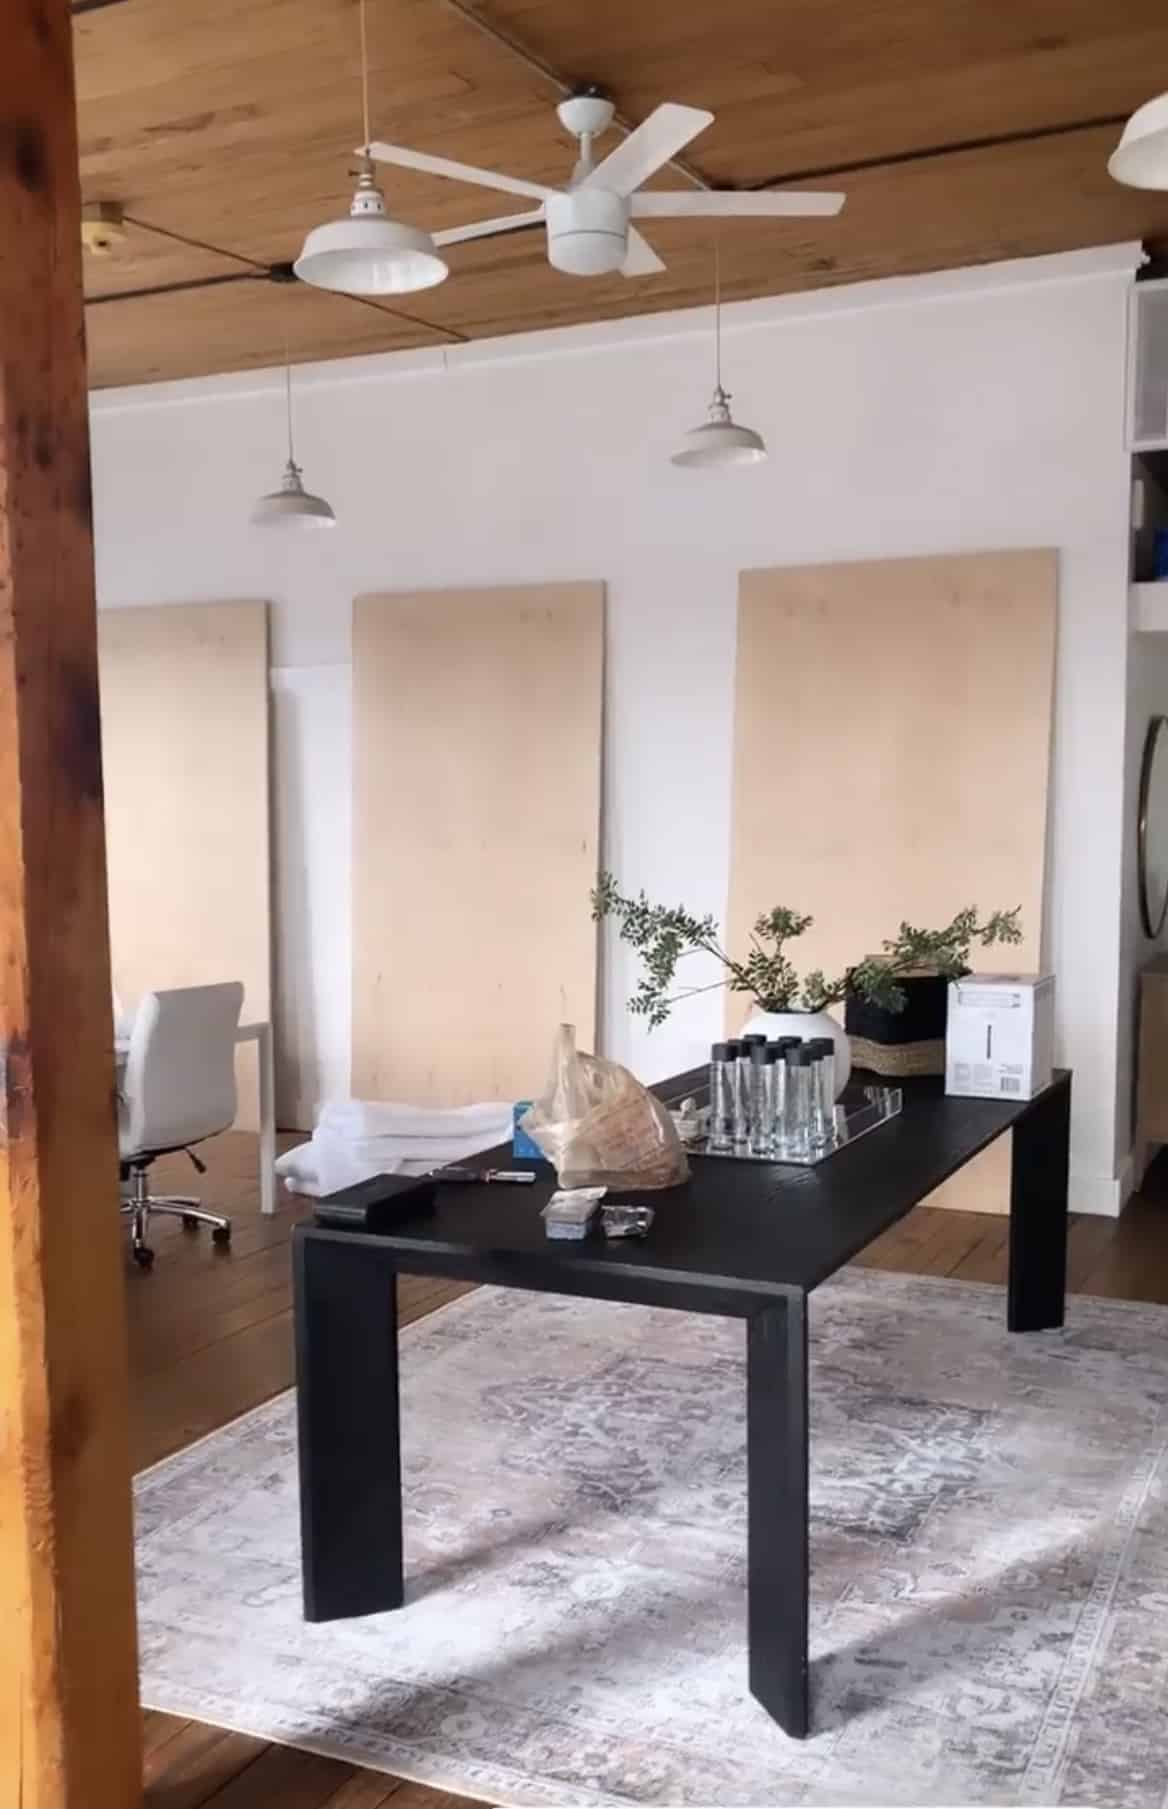
Step 1: Buy plywood and cut to size.
Talk about a good photo 
The board doesn't have to be extremely thick but you want it to be sturdy enough that it won't warp when leaning up against the wall.
My boards are standard size, so 8'x4', but again, it's probably pretty rare that you will need something that large.
Step 2: Get batting and fabric.
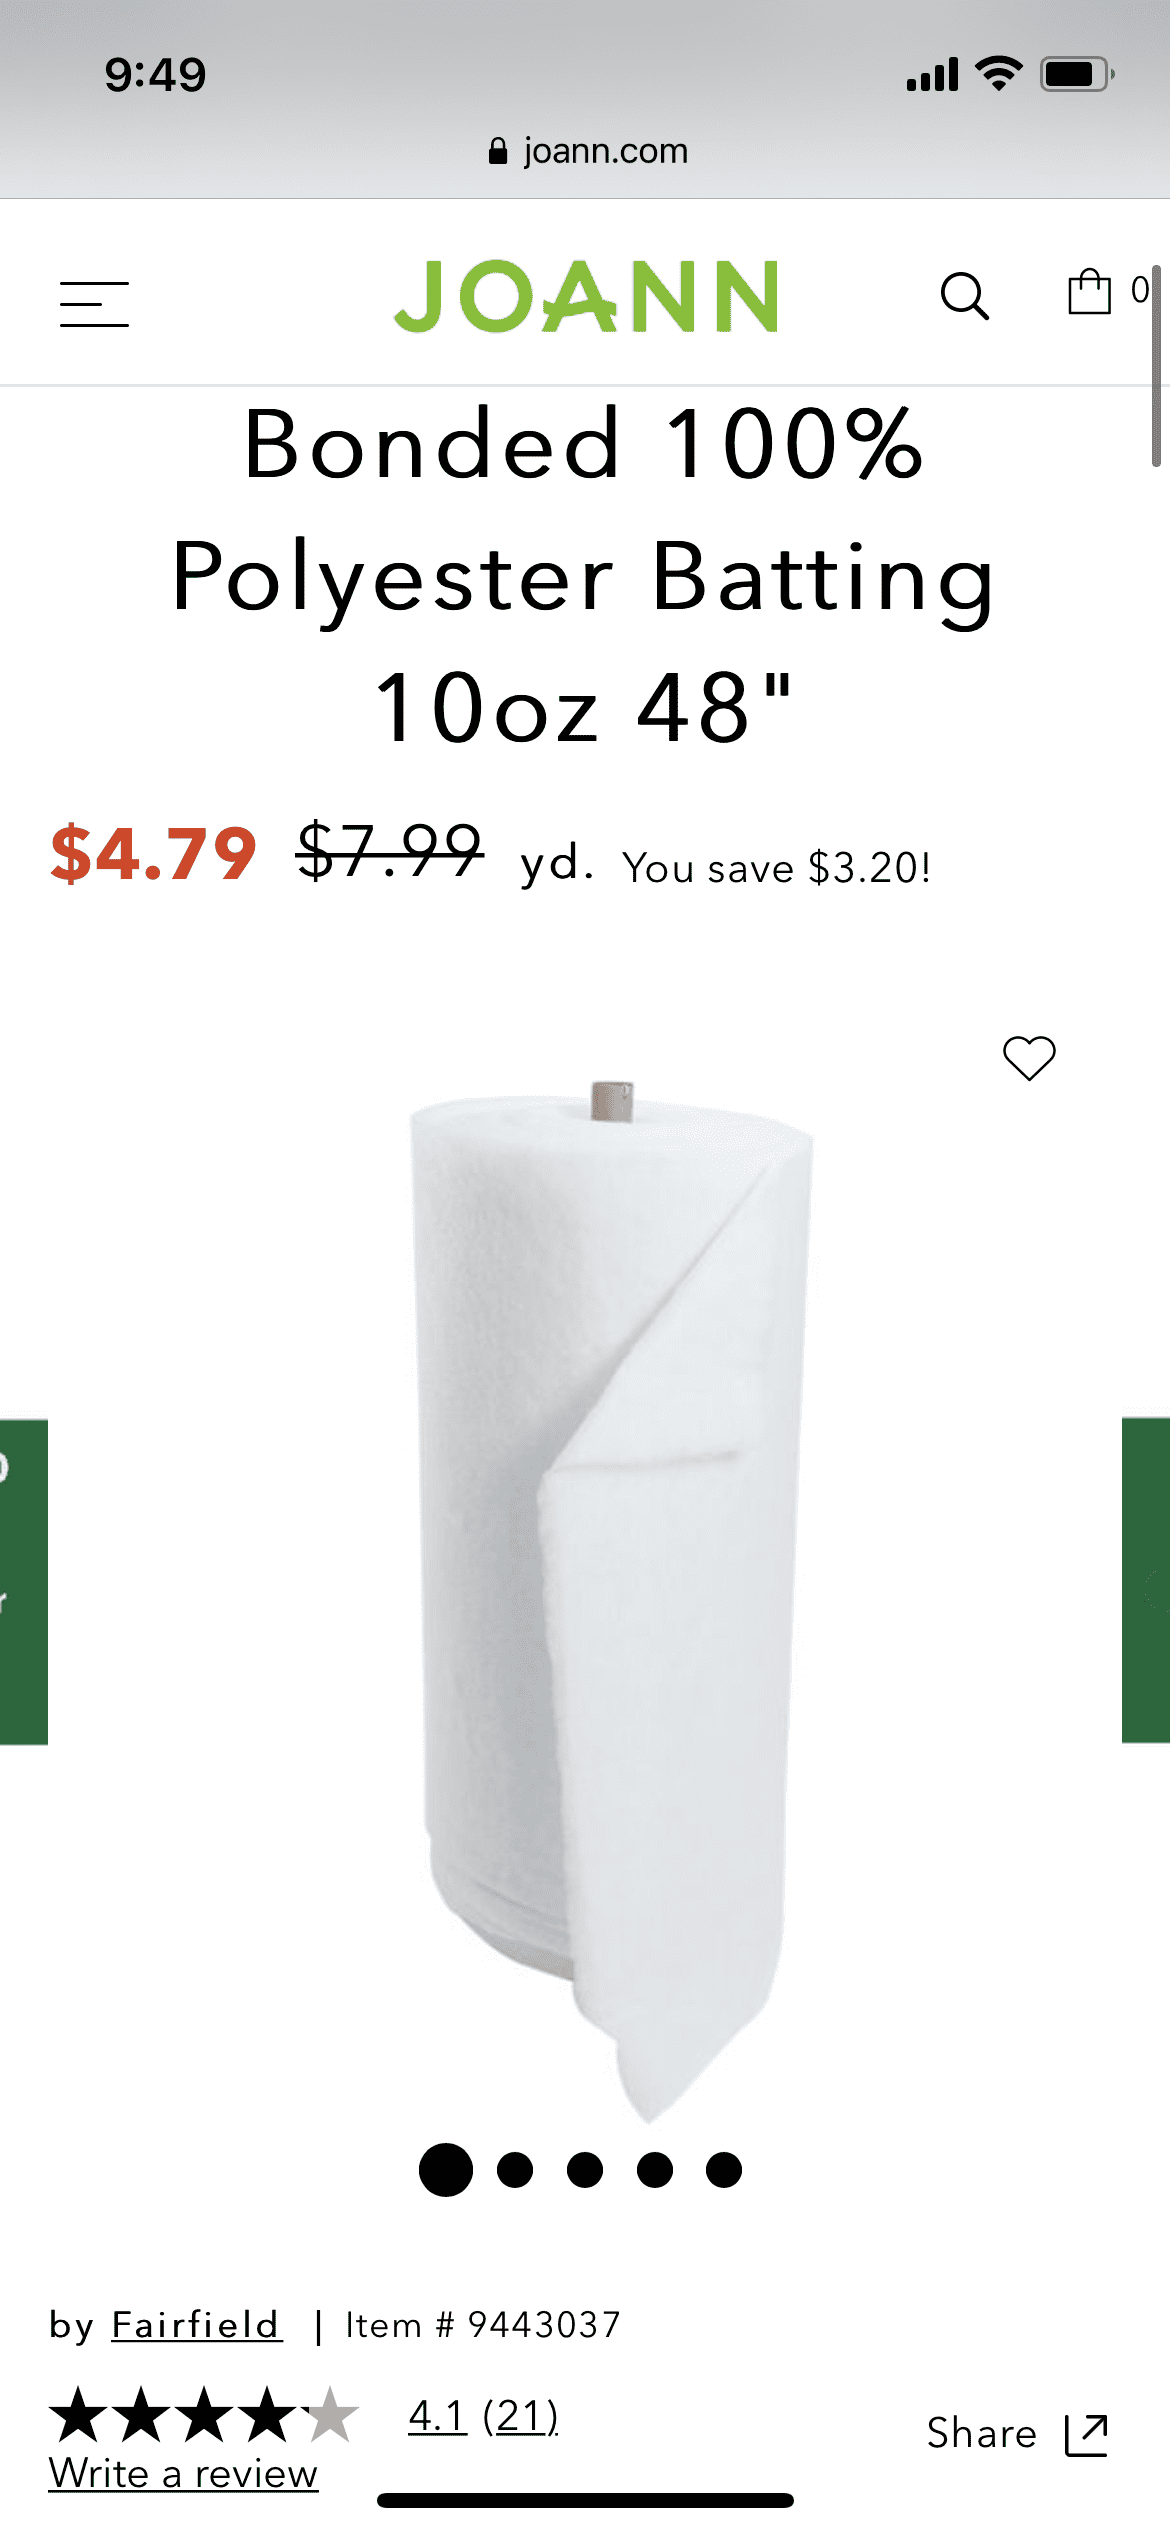
I went to Joanne Fabric for this but any fabric store should have the supplies for this. You're going to want to get the thickest batting that you can find. This will give it a plush look and make it not look like a piece of wood behind the fabric.
I can't remember the exact one I bought but I am 99% positive it's this one.
Make sure that when you are getting it cut that you have enough to fold over the sides of the wood! For example, if my board was 4' wide, I would get 5' of batting so that I would have 6in to fold over on each side.
For the fabric, you really can get whatever type of fabric you want but for the sake of it looking good, make sure that it is thick enough that you can't see through it.
Step 3: Lay down the fabric, then batting, then board.
Time for the fun part! Lay down the fabric first. Then on the top of the fabric, place the batting. Then put the board on top of both of those. Make sure that there is no wrinkles on the fabric or batting.
This is where the staple gun comes into play. Here's one on Amazon for $13.
You need to get the batting and fabric pulled as hard as you can so that there is no air space or wrinkles on the board. I did this with just myself but if you have a friend, partner, or parent that could help you it might make your life a little easier.
I found that standing on the wood board and then pulling the batting over (like a present) was the easiest way to make sure that it was tight.
Start by stapling the batting to the board. Go around and get all the batting stapled in and then move onto the fabric. Your hand will probably get tired ;).
Step 4: Print out pictures/quotes/anything you want and pin to the board.
We stalked Pinterest hard and anything that caught our eye, we printed. Warning - this was a cost that we didn't really think about and probably was the most expensive part of it all. I sent them all to Office Max and made sure that we had all different sizes of pictures (it wouldn't look as good if the pictures were all one size).
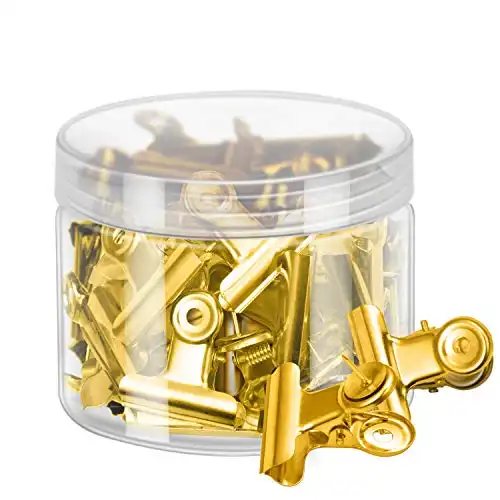
Here's the pins we bought for the board:
That's it!
If you're still confused, here's a video where I show how to make it.

