This site contains affiliate links, view the disclosure for more information.
Looking for the best way to transform your ugly apartment furniture for cheap? Here is the life changing product I used!
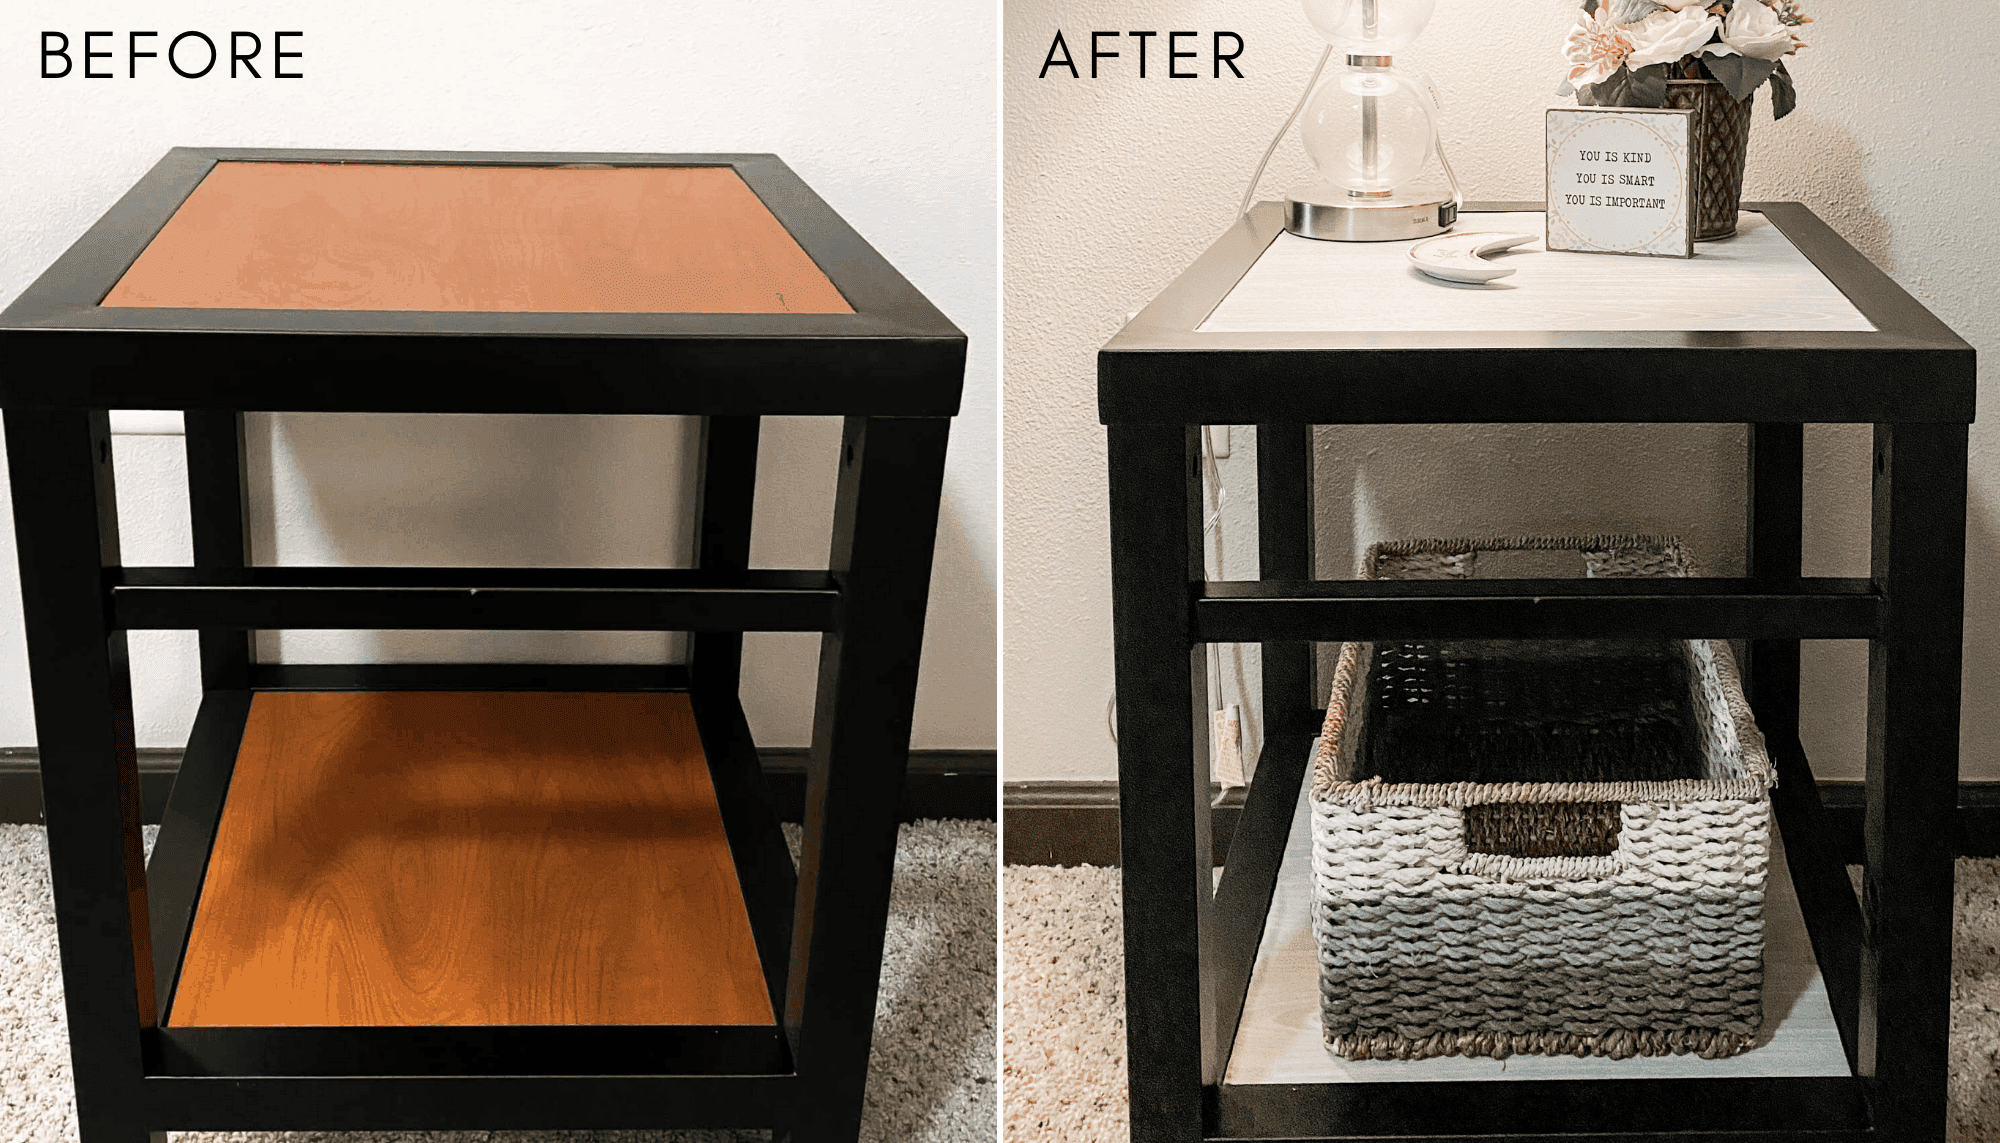
When I moved into my college apartment at the University of Alabama, I was so exciting to start decorating. But, I could not overlook the hideous furniture that came with the apartment. Of course I was grateful that I didn't have to spend hundreds of dollars on furniture, but the orange colored wood furniture was really ruining the look of my space for me.
I knew I couldn't replace the furniture, but I wanted a cheap and easy way to make it look better. I ended up finding this easily removable contact paper that felt and looked like real wood and used it in my bedroom and living room. It ended up completely changing the look of my apartment and made me feel so much better.
I had to share this super easy and cheap hack for all the full-furnished apartment renters!
This post is all about the my contact paper furniture hack.
APARTMENT FURNITURE CONTACT PAPER TRANSFORMATION BEFORE:
1. Original Furniture
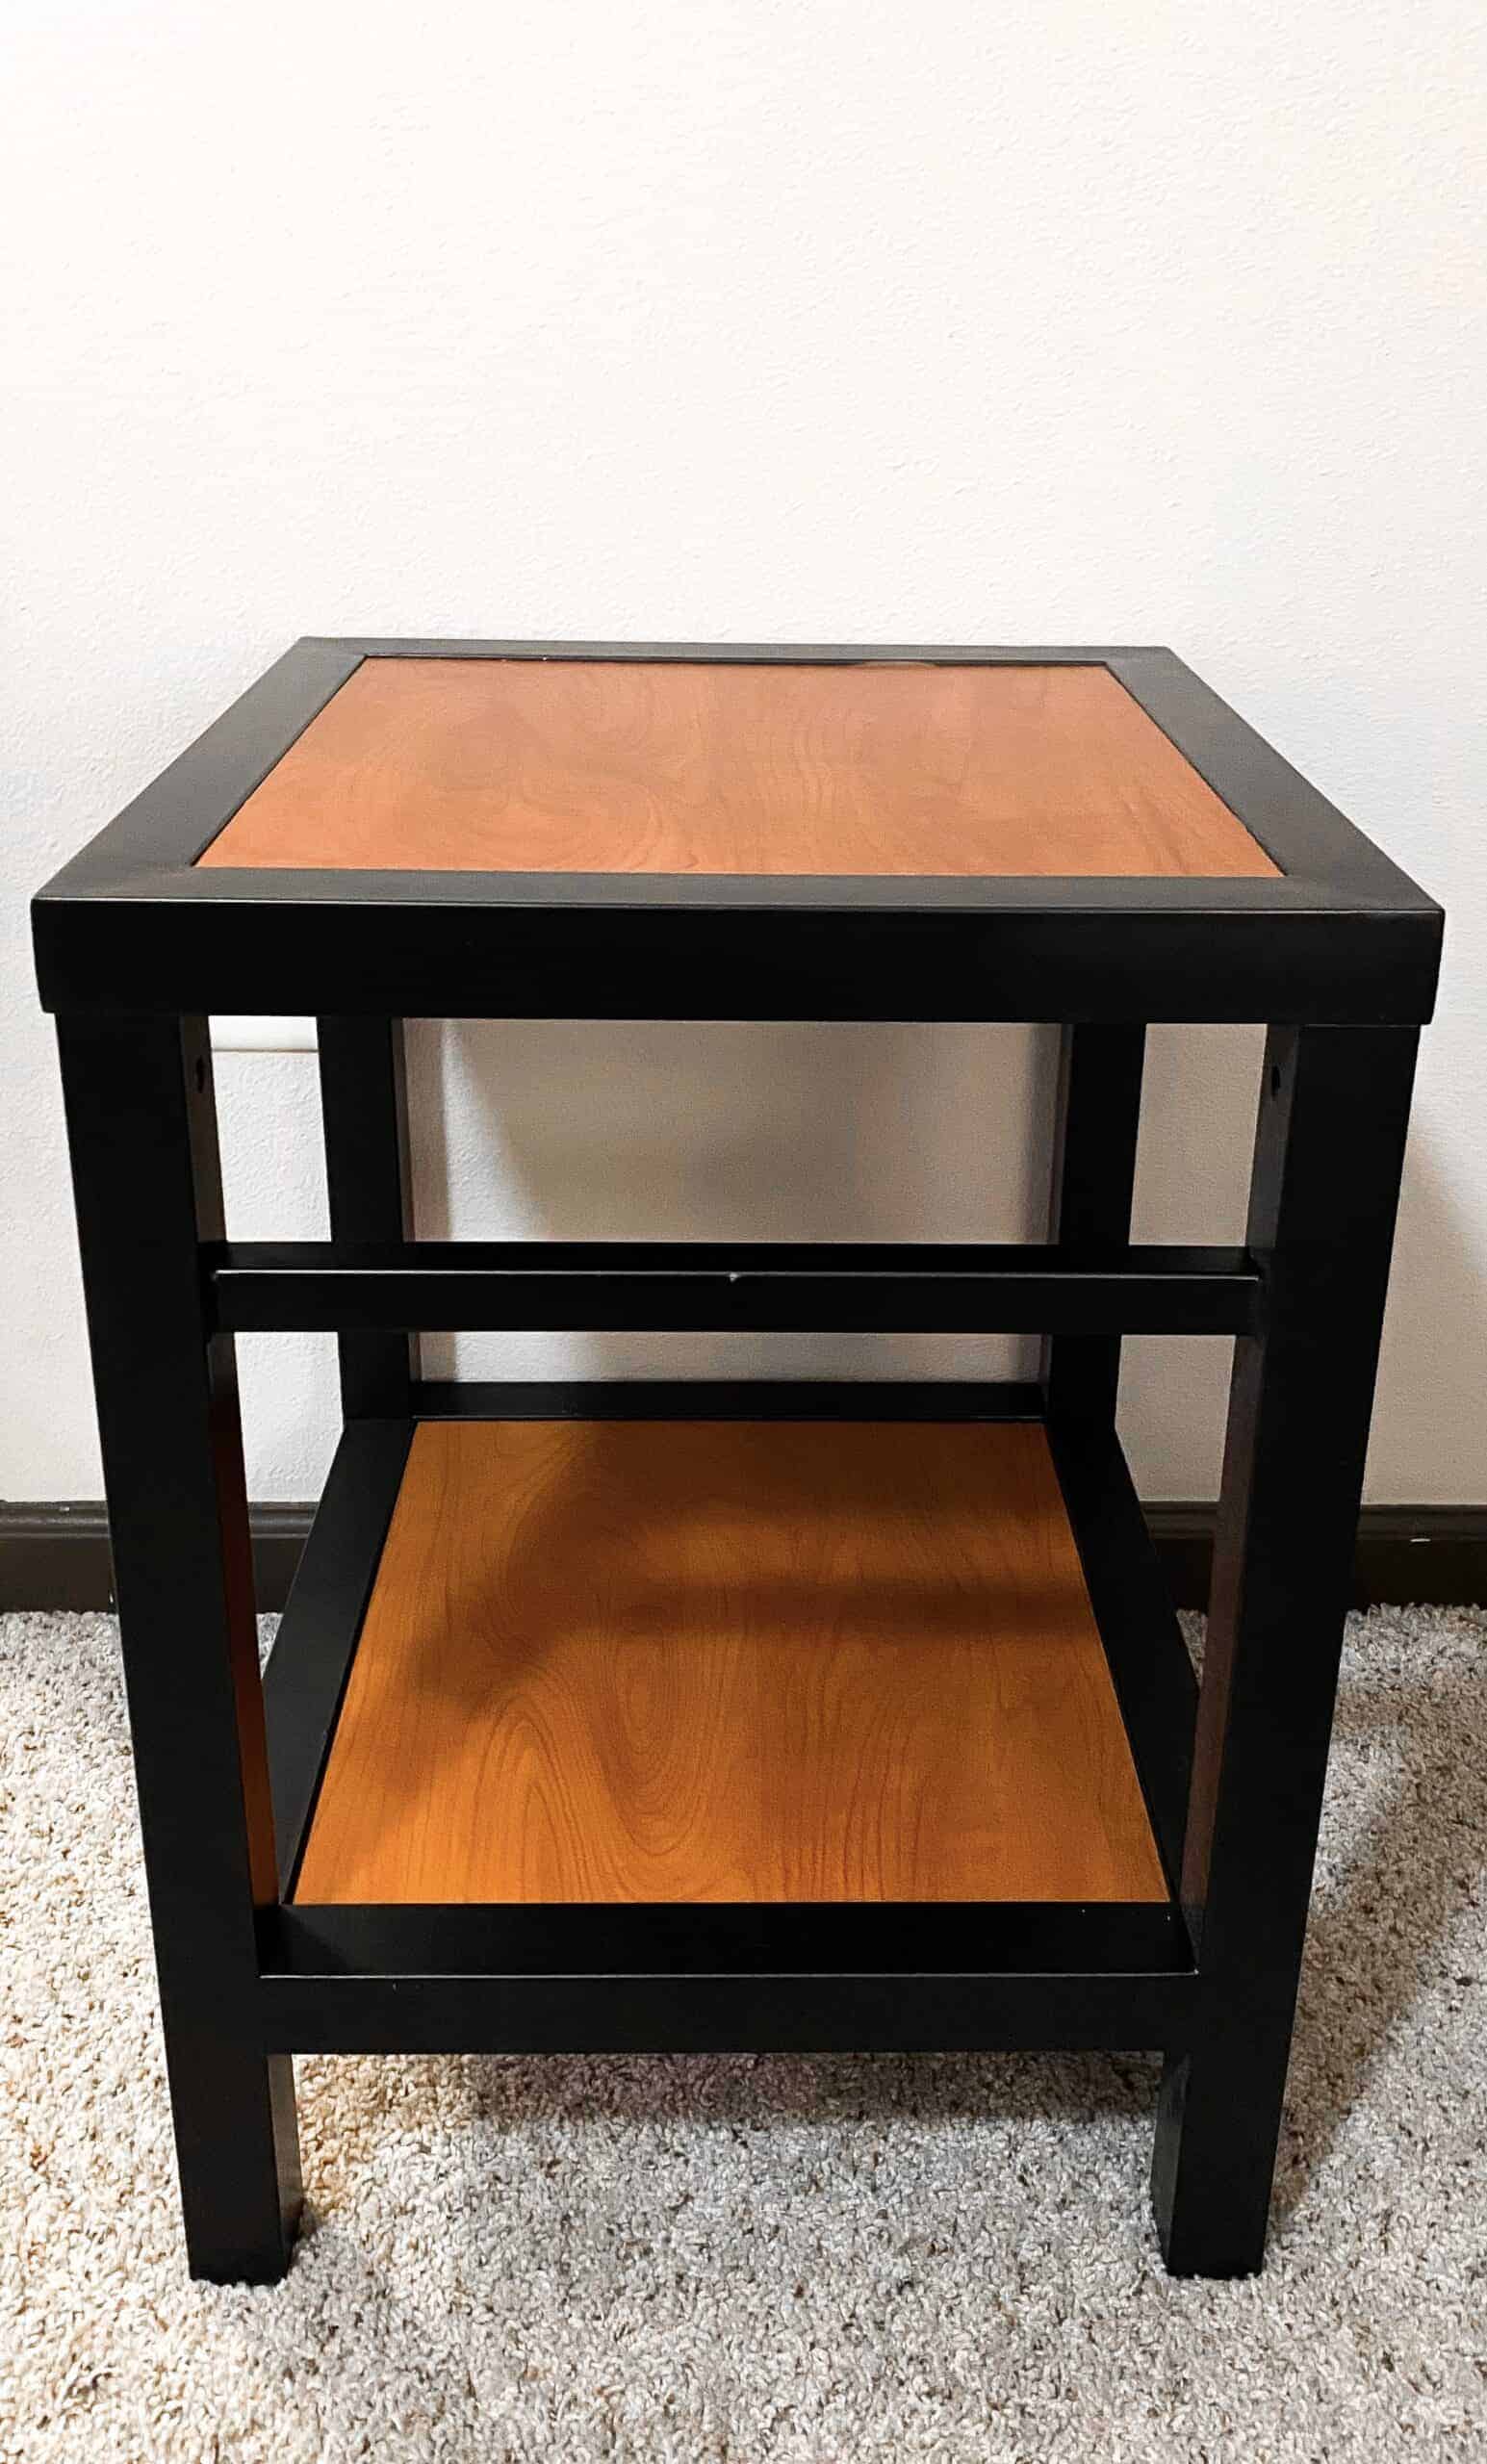
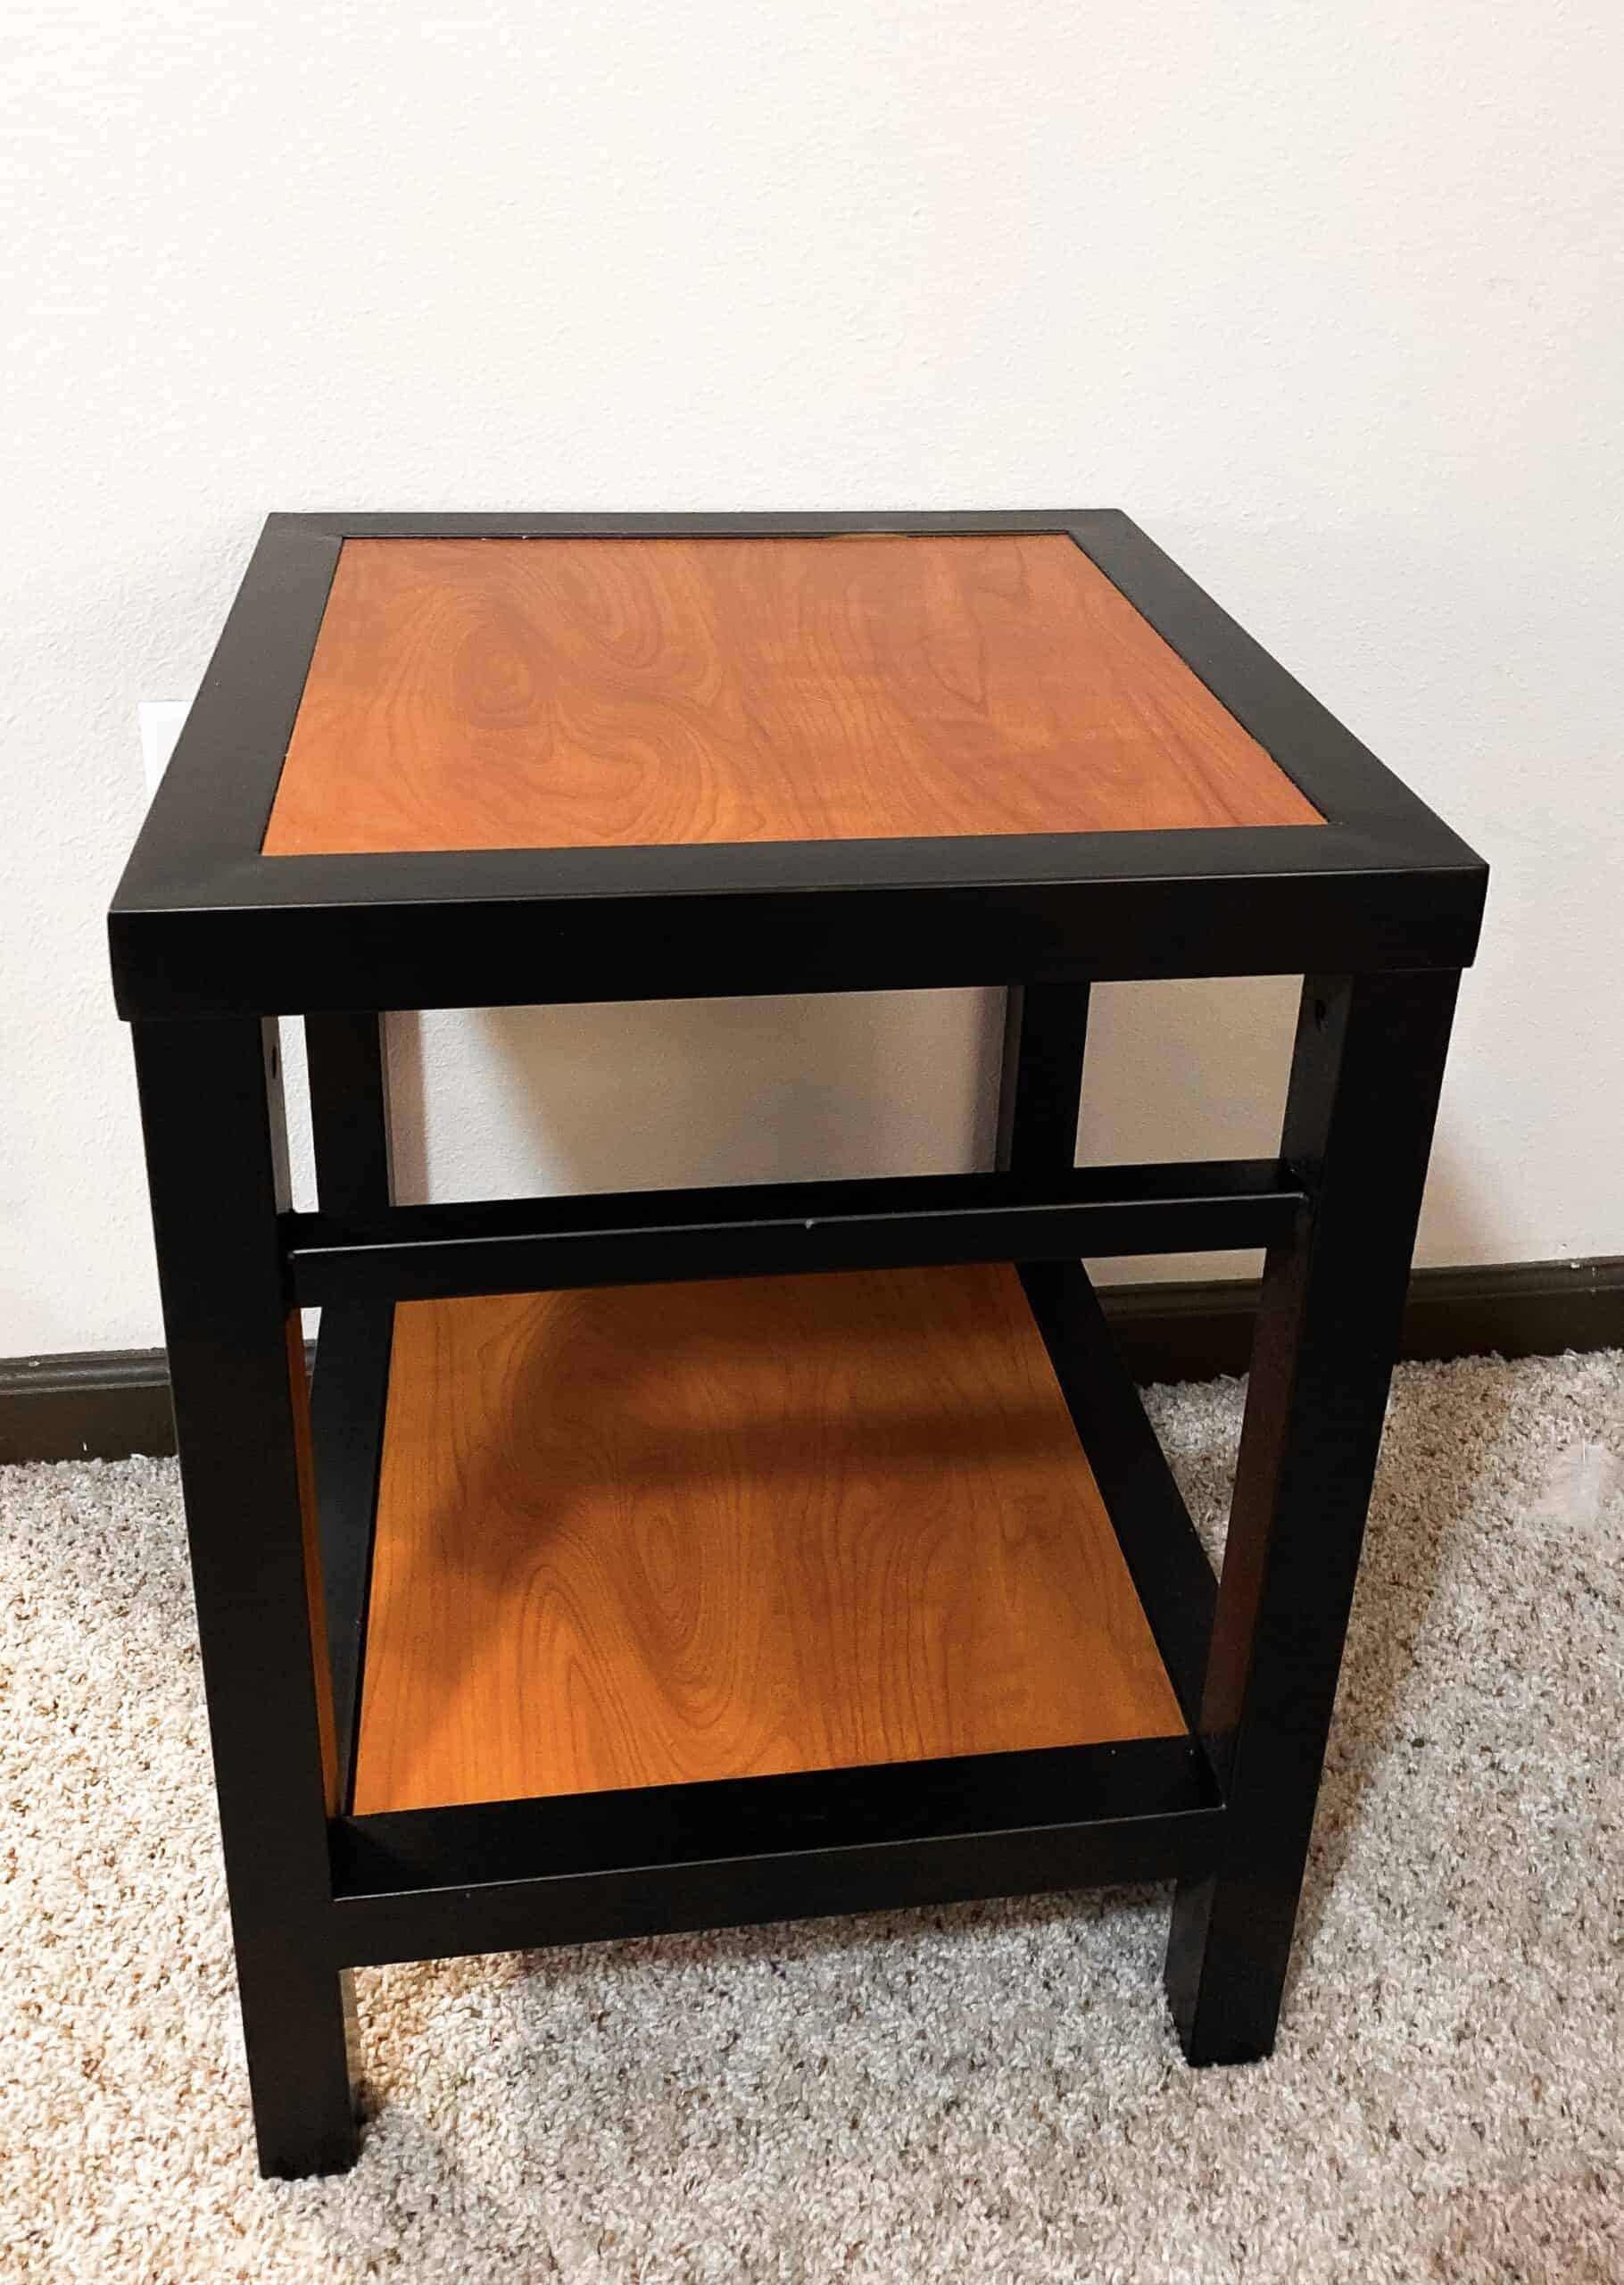
This orange colored wood was what all of my apartment furniture looked like. My coffee table, desk, side table, everything... and I absolutely hated it. I always decorate with really neutral tones and the orange wood was just not working with my decor. I did a little searching around and found that the cheapest way to cover it up was with contact paper. But, I had only seen the plain white colored contact paper which I felt would end up looking bad and getting dirty easily.
After a little research, I found a ton of super cute contact paper patterns and ended up choosing a wood pattern that looked super natural.
CONTACT PAPER APPLICATION PROCESS:
2. Super Easy Application Process
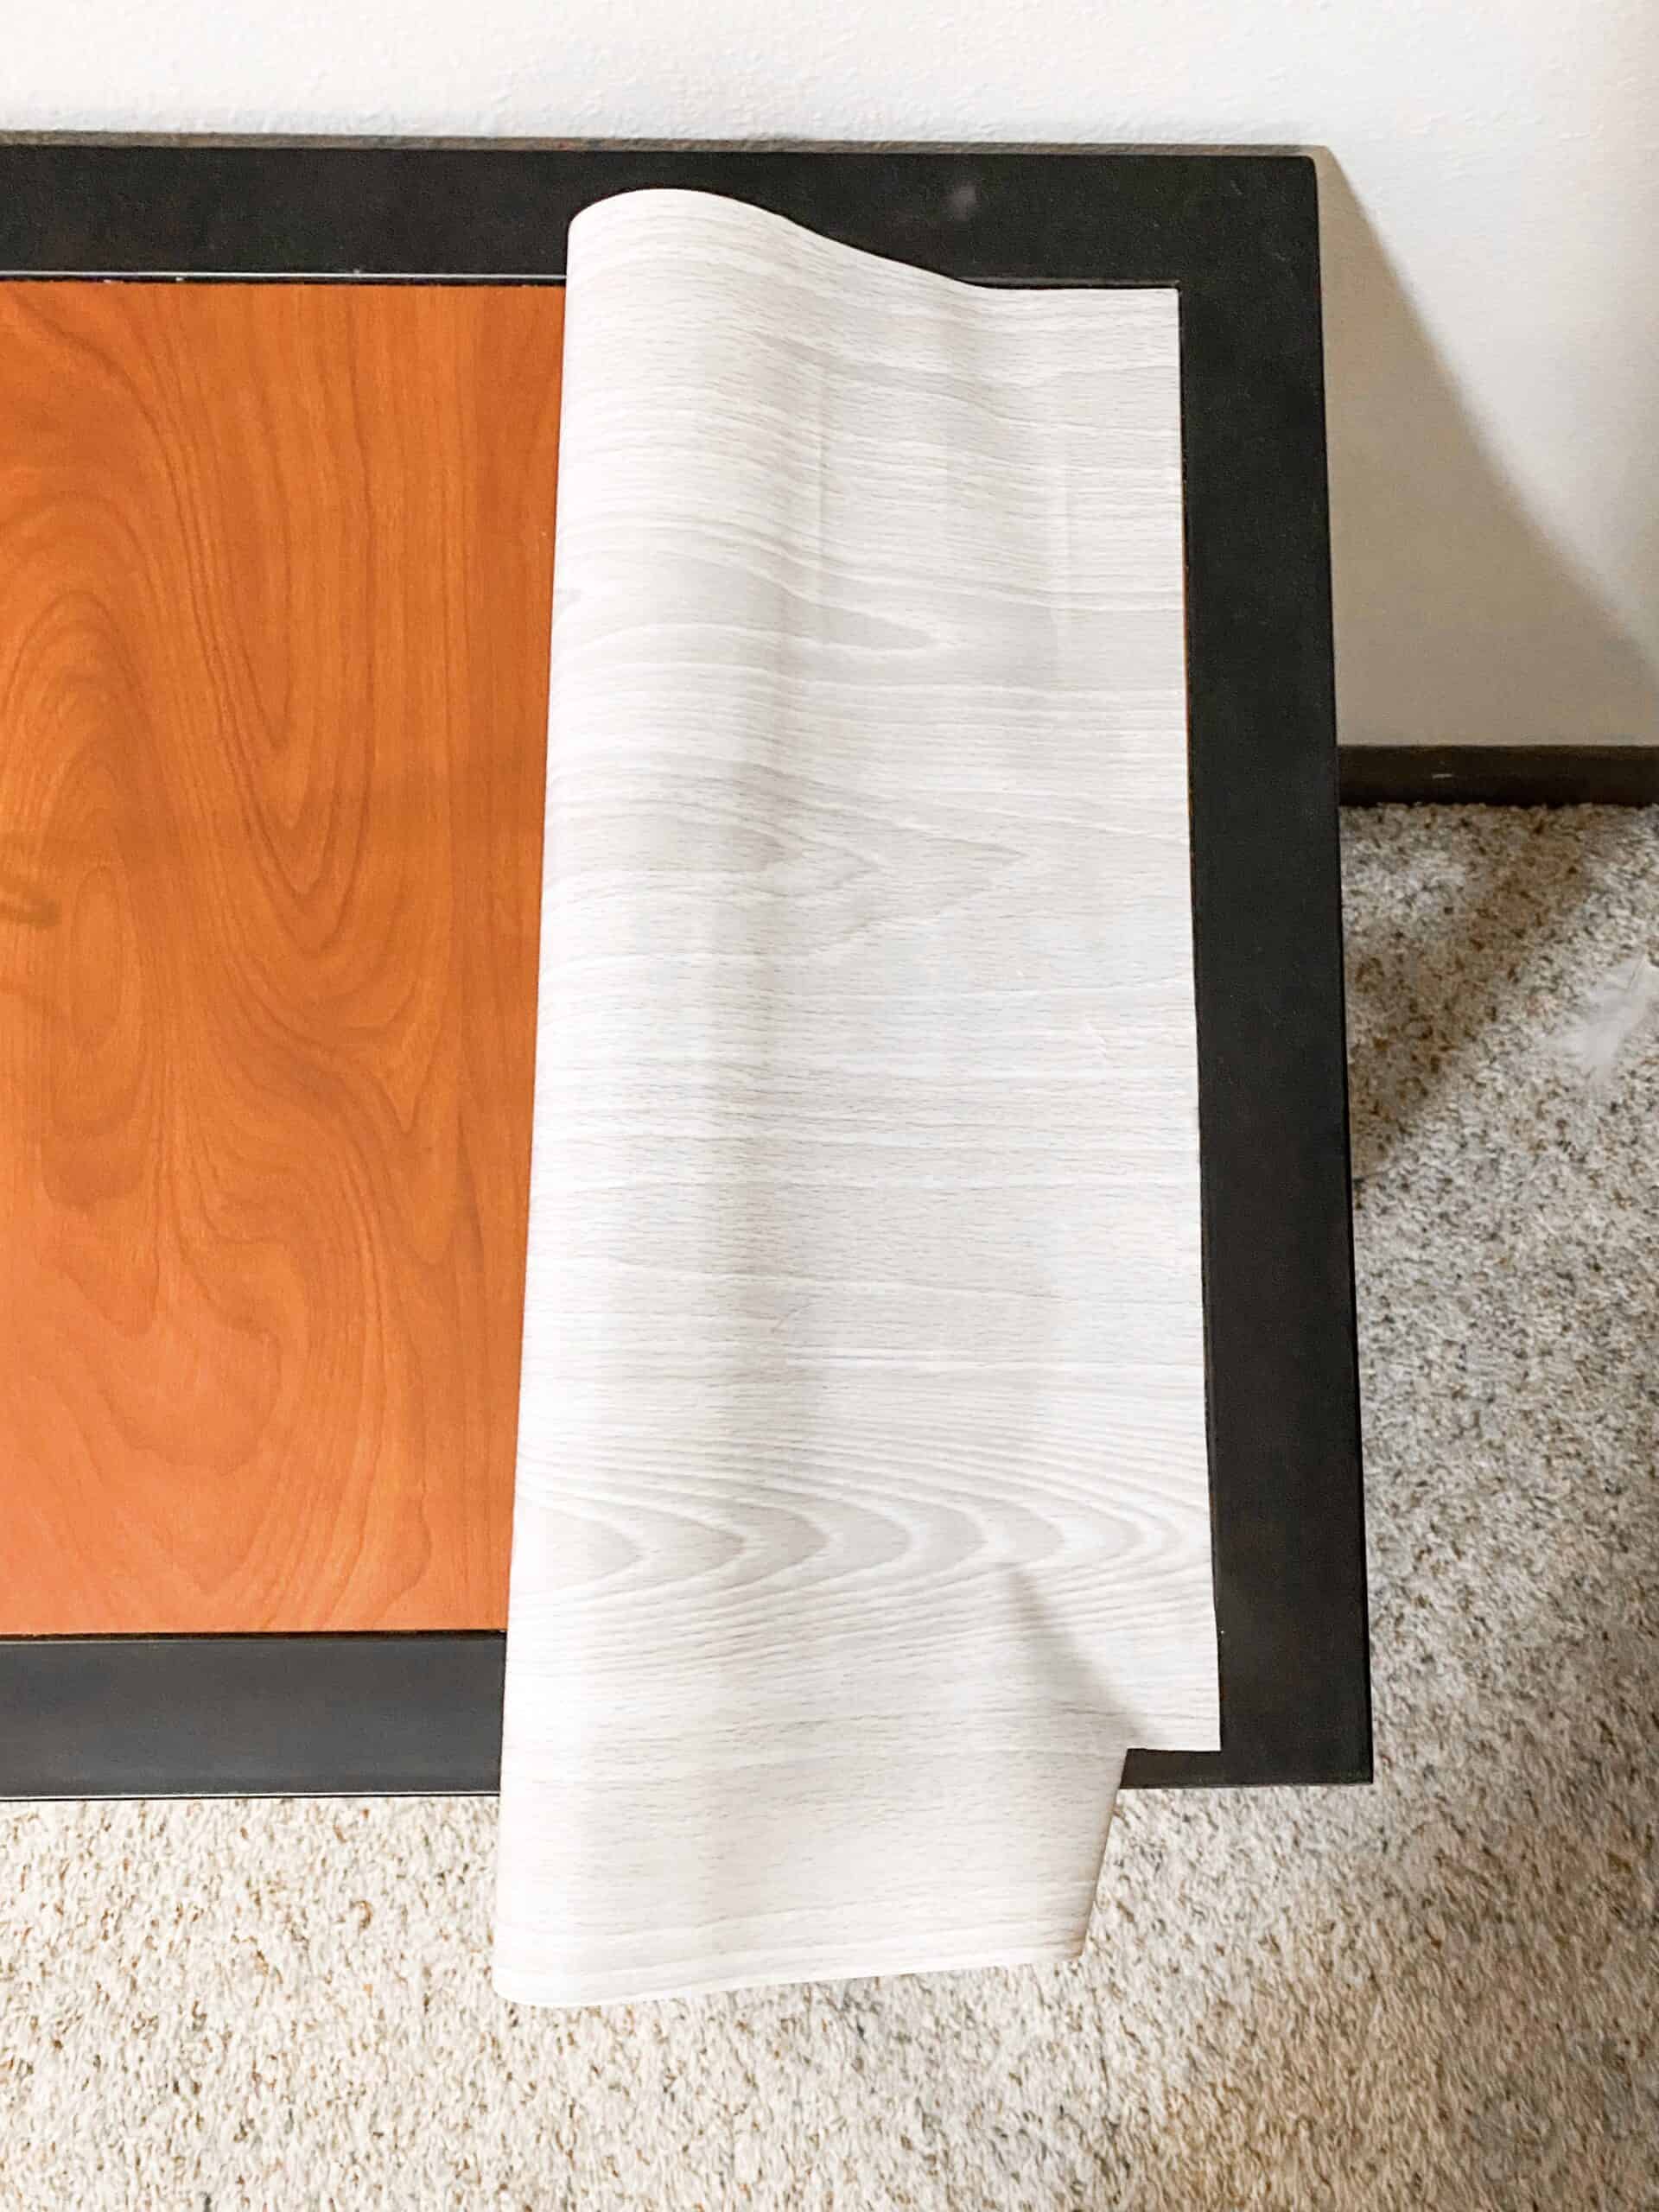
Tools you will need to do this:
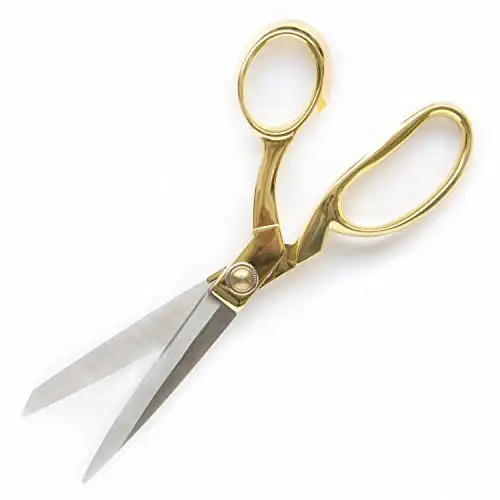
One of the reasons I love this idea so much is because of how cheap it is, but also how easy it is to apply and remove! Once you have found the contact paper you want, the only tools you need to apply it are scissors, a credit card, and a blade or exacto knife.
- Peel off the first part of the backing on the contact paper and align your corners.
- Slowly peel back the backing while simultaneously scraping the contact paper with a credit card to make sure there aren't any bubbles. If you try to apply it all at once and then scrape the bubbles out, it will usually rip, so make sure to do it slowly. It really helps if you have someone to hold the paper to keep it tight and tear off the backing as you scrape but I have done it alone as well and it is still very doable.
- After you have scraped out all the bubbles and have the contact paper flat on the furniture top, use your scissors to cut off the rest of the roll that you won't be using.
- Then, go around the edges and cut the excess contact paper with the exacto knife to create a crisp edge. This is a super important step that will keep your furniture from looking trashy and turn it in to a super realistic and classy looking piece. If you are wanting to cover the entire top and sides of the furniture, leave excess contact paper over the edged and fold it over.
CONTACT PAPER FURNITURE TRANSFORMATION:
3. The Final Product
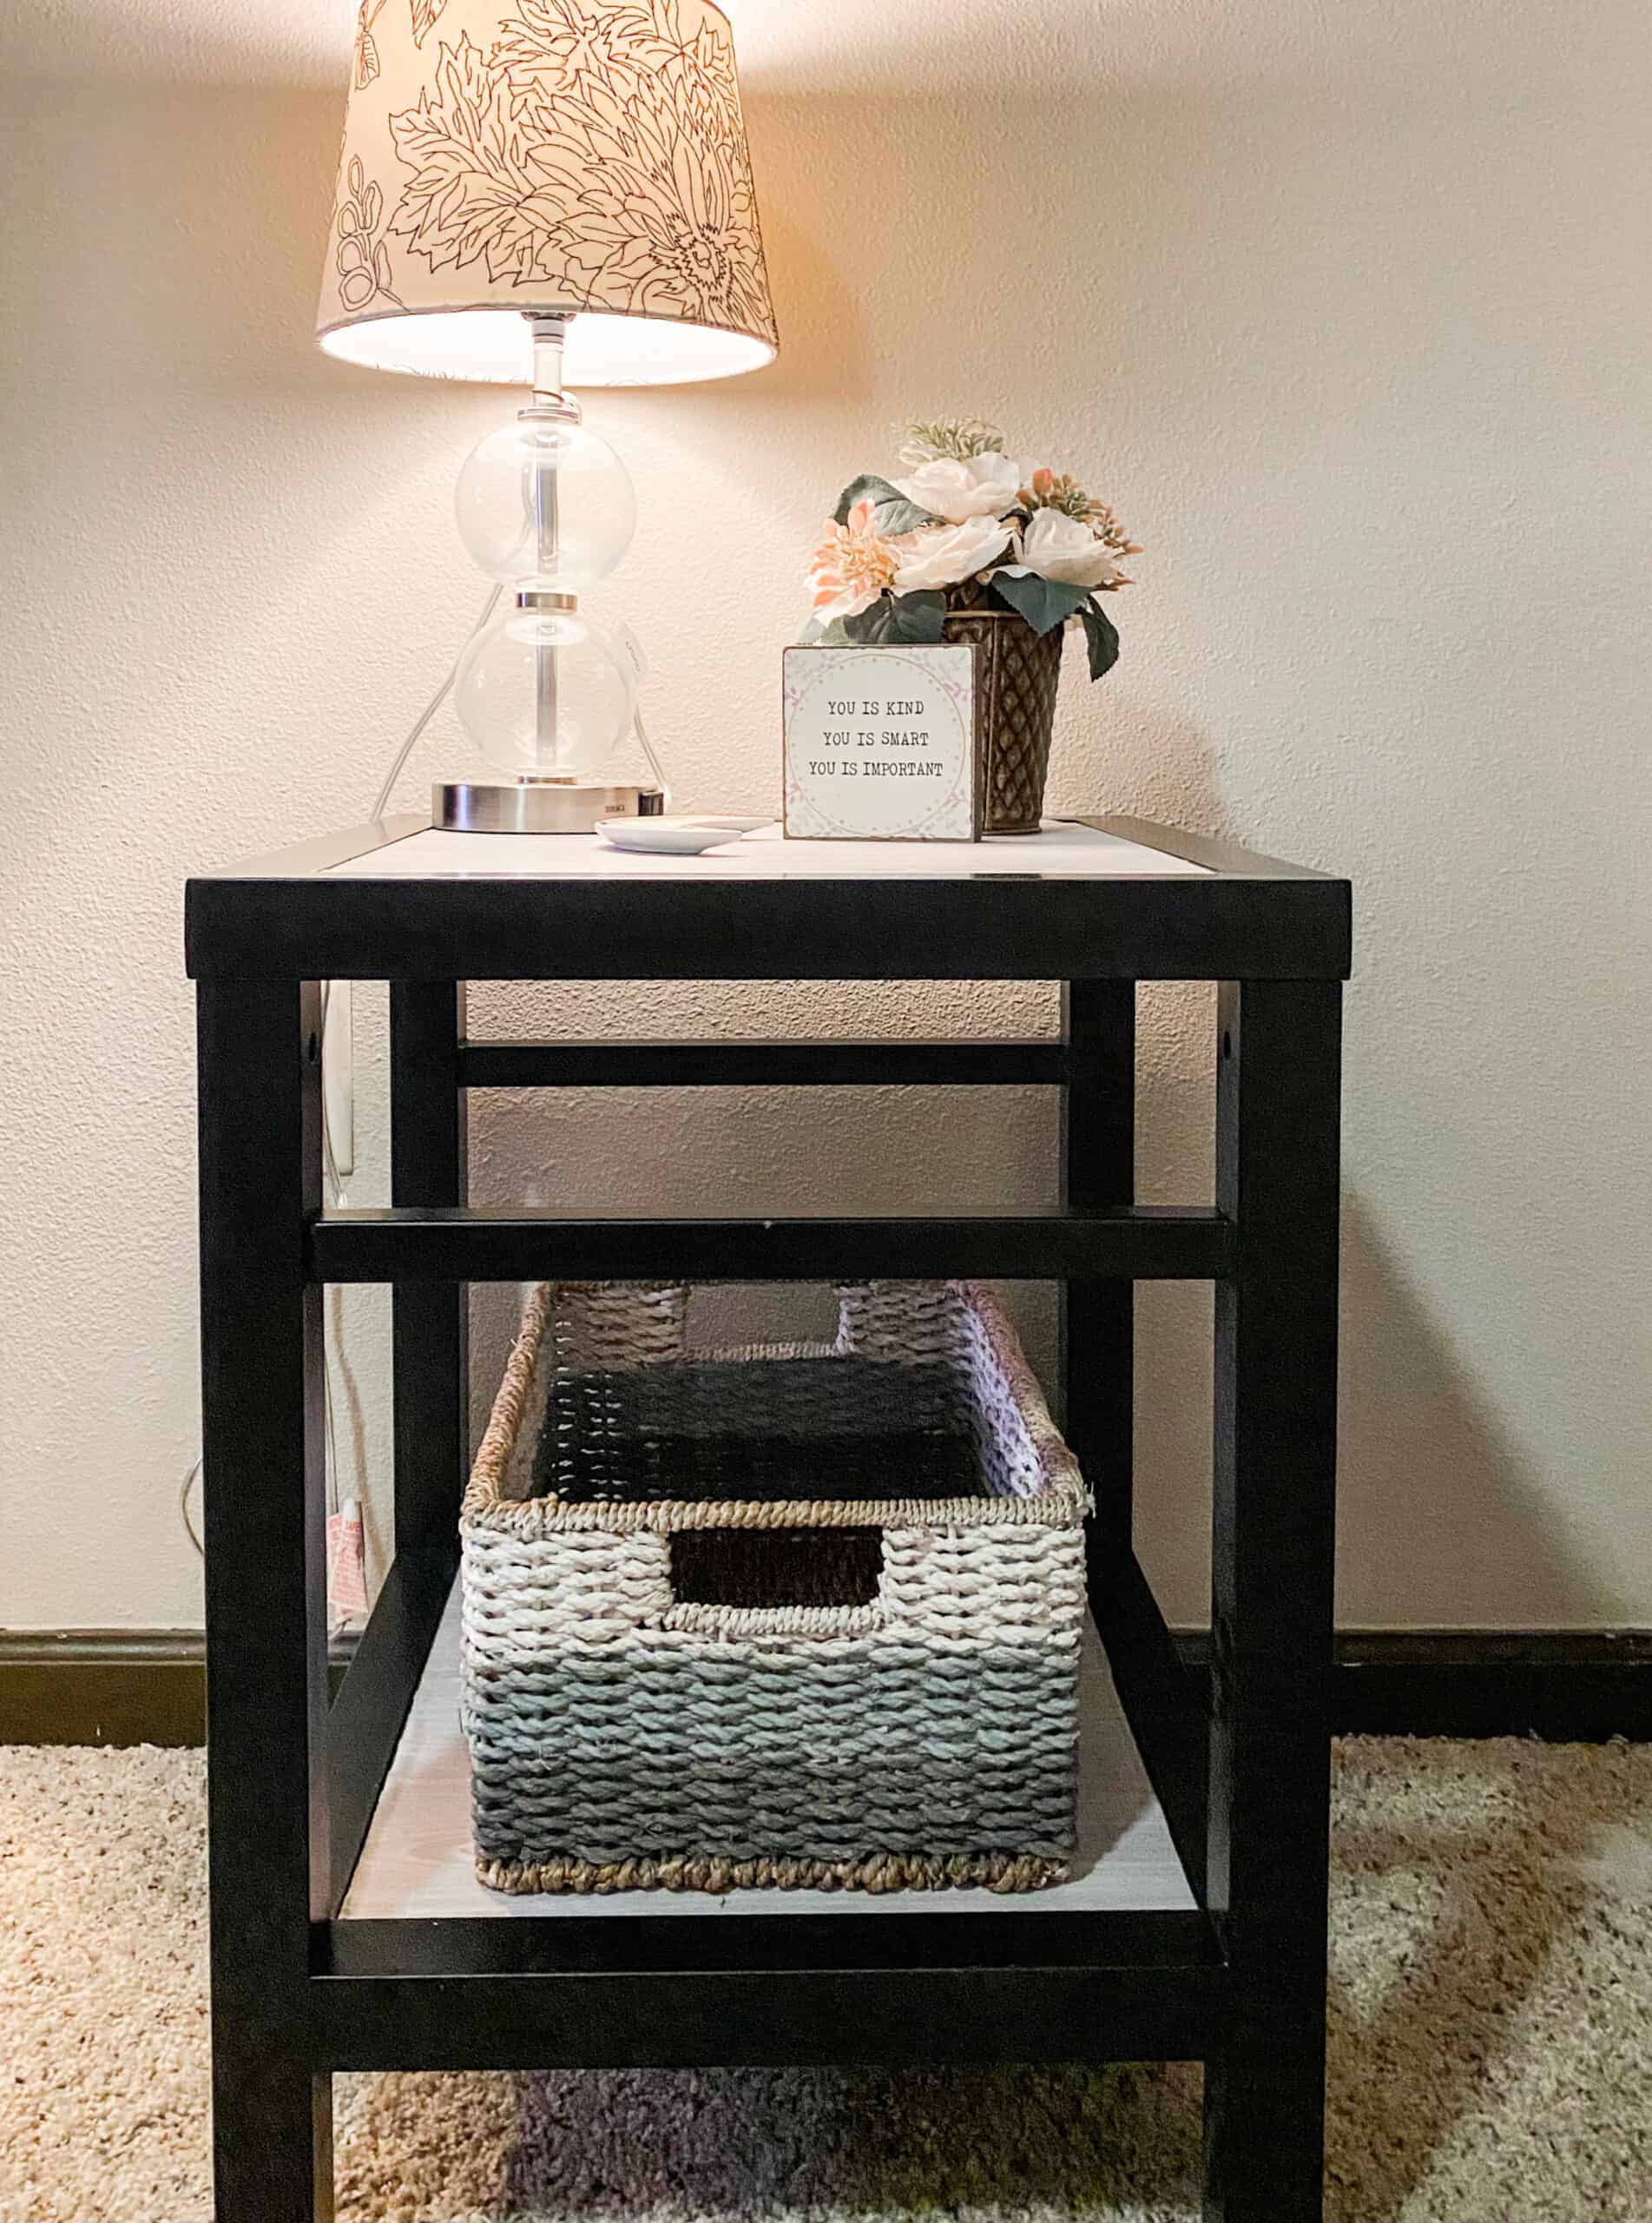
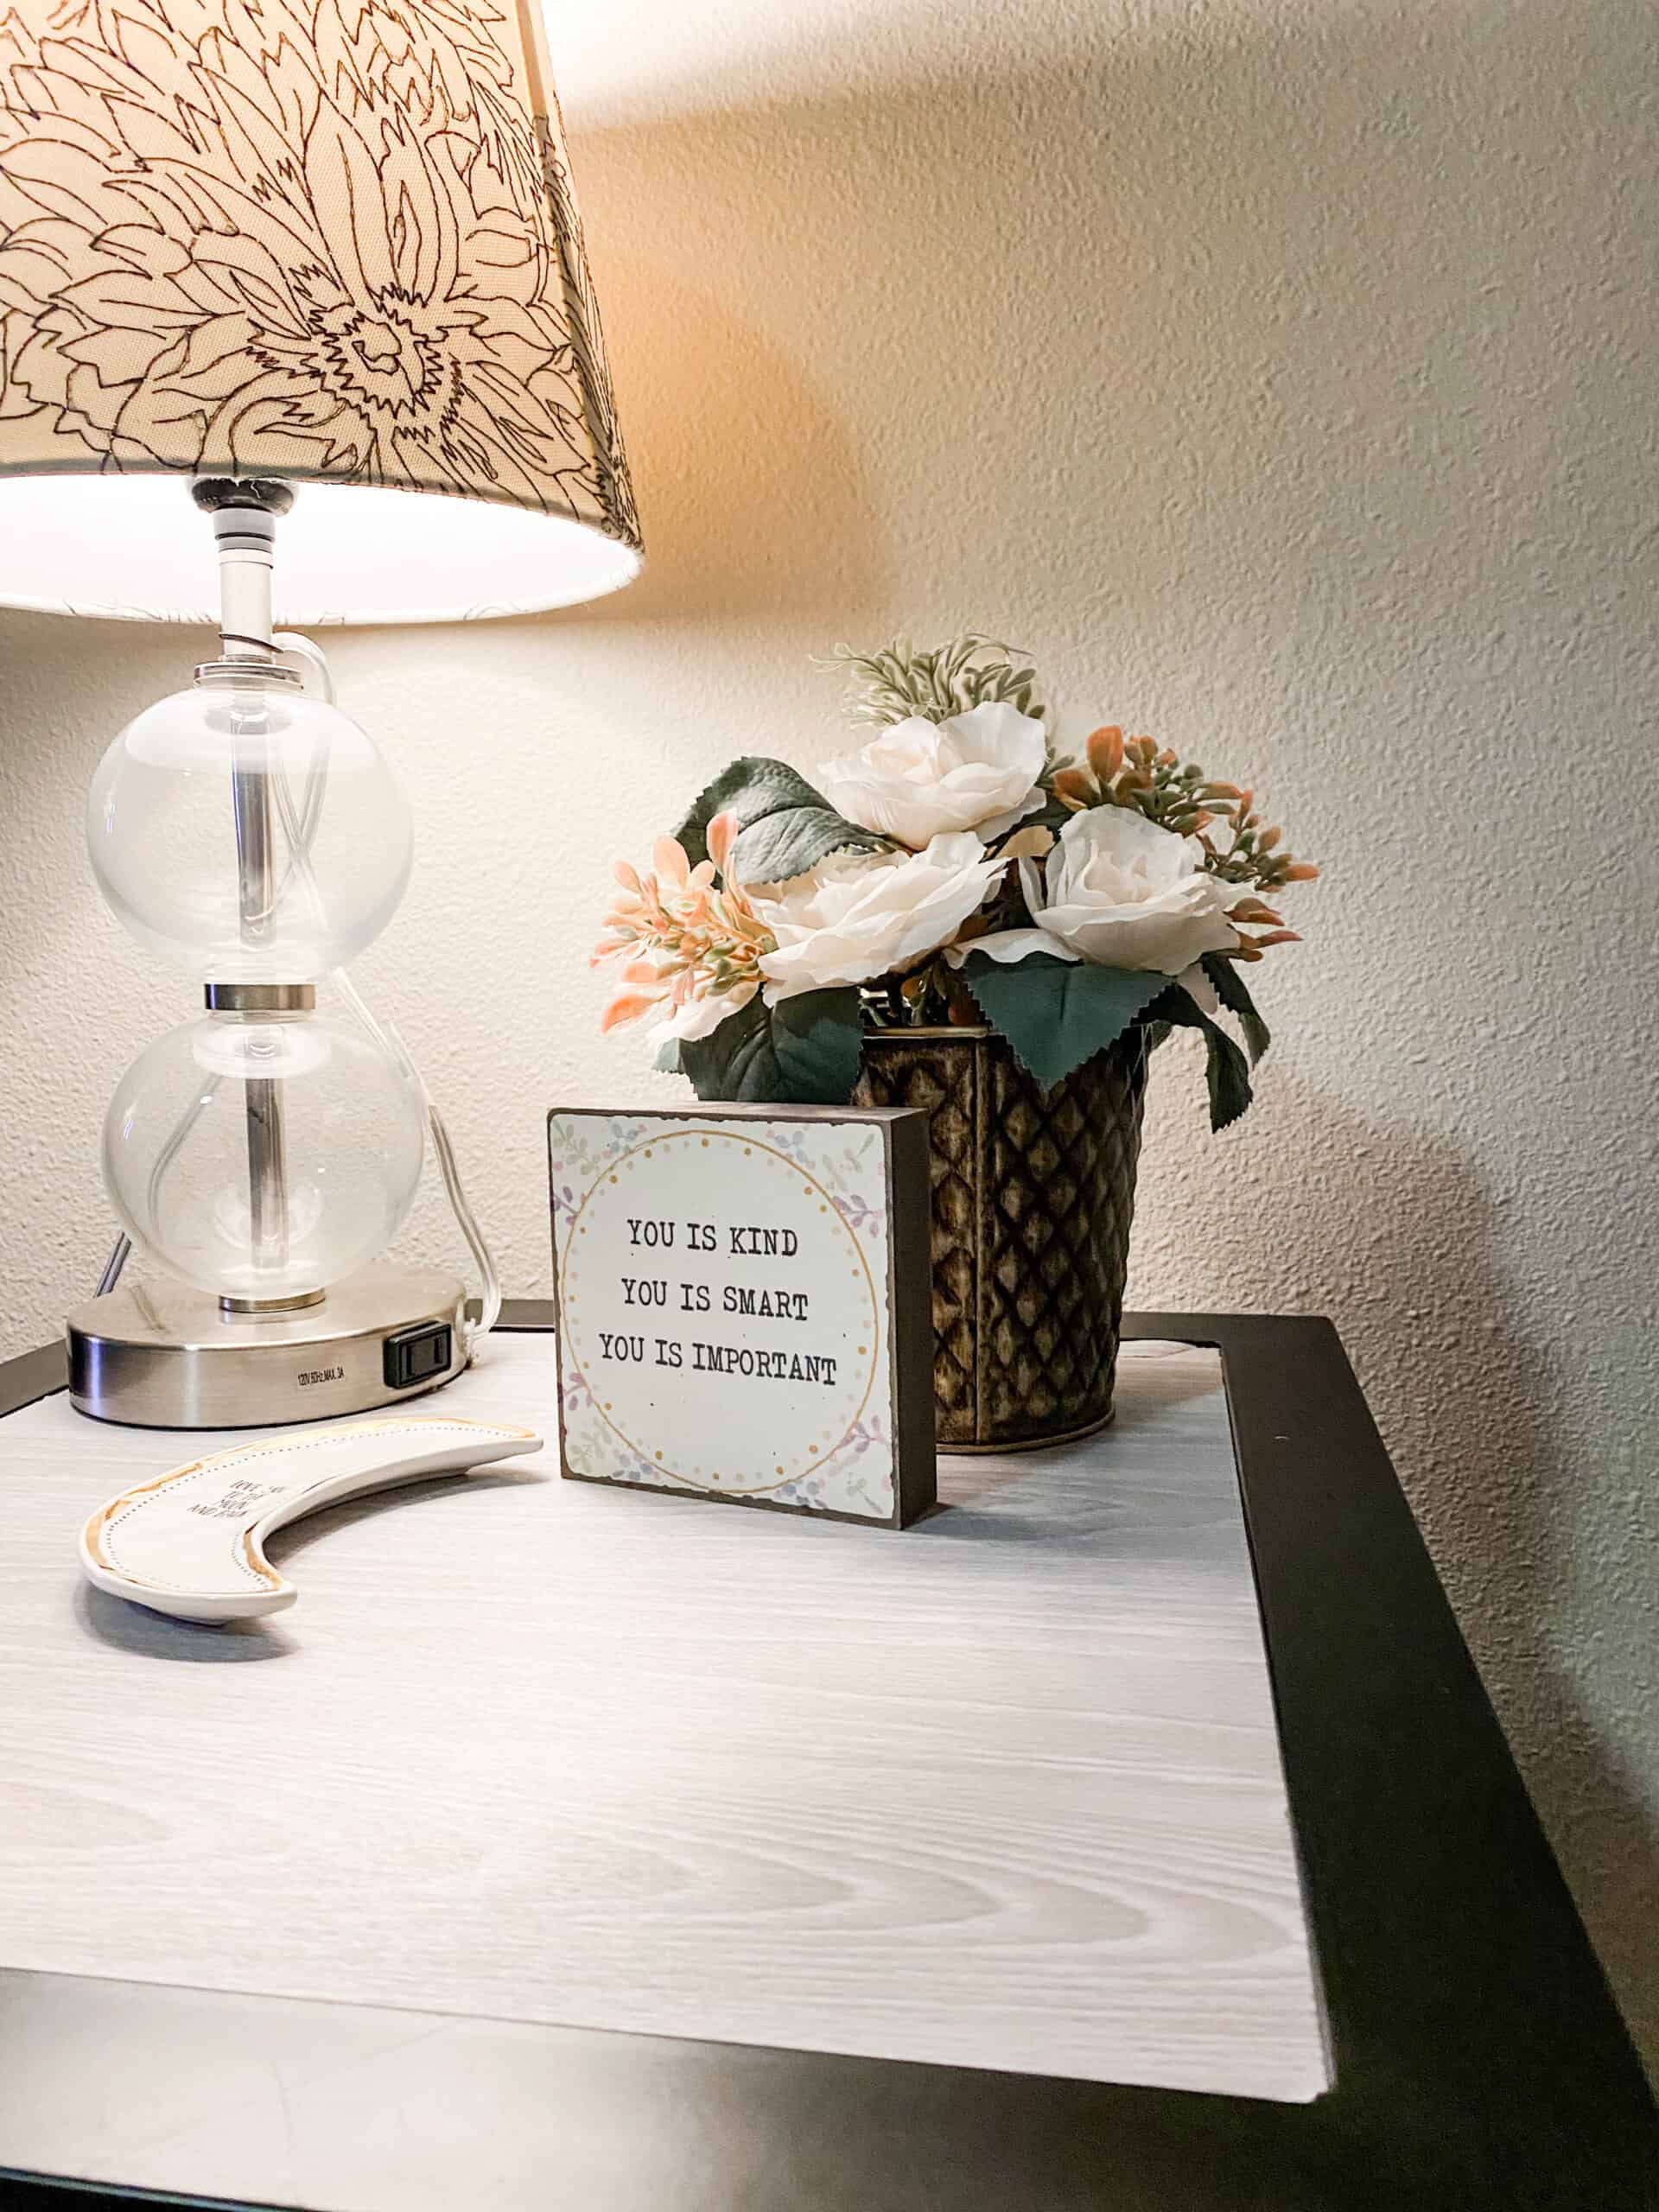
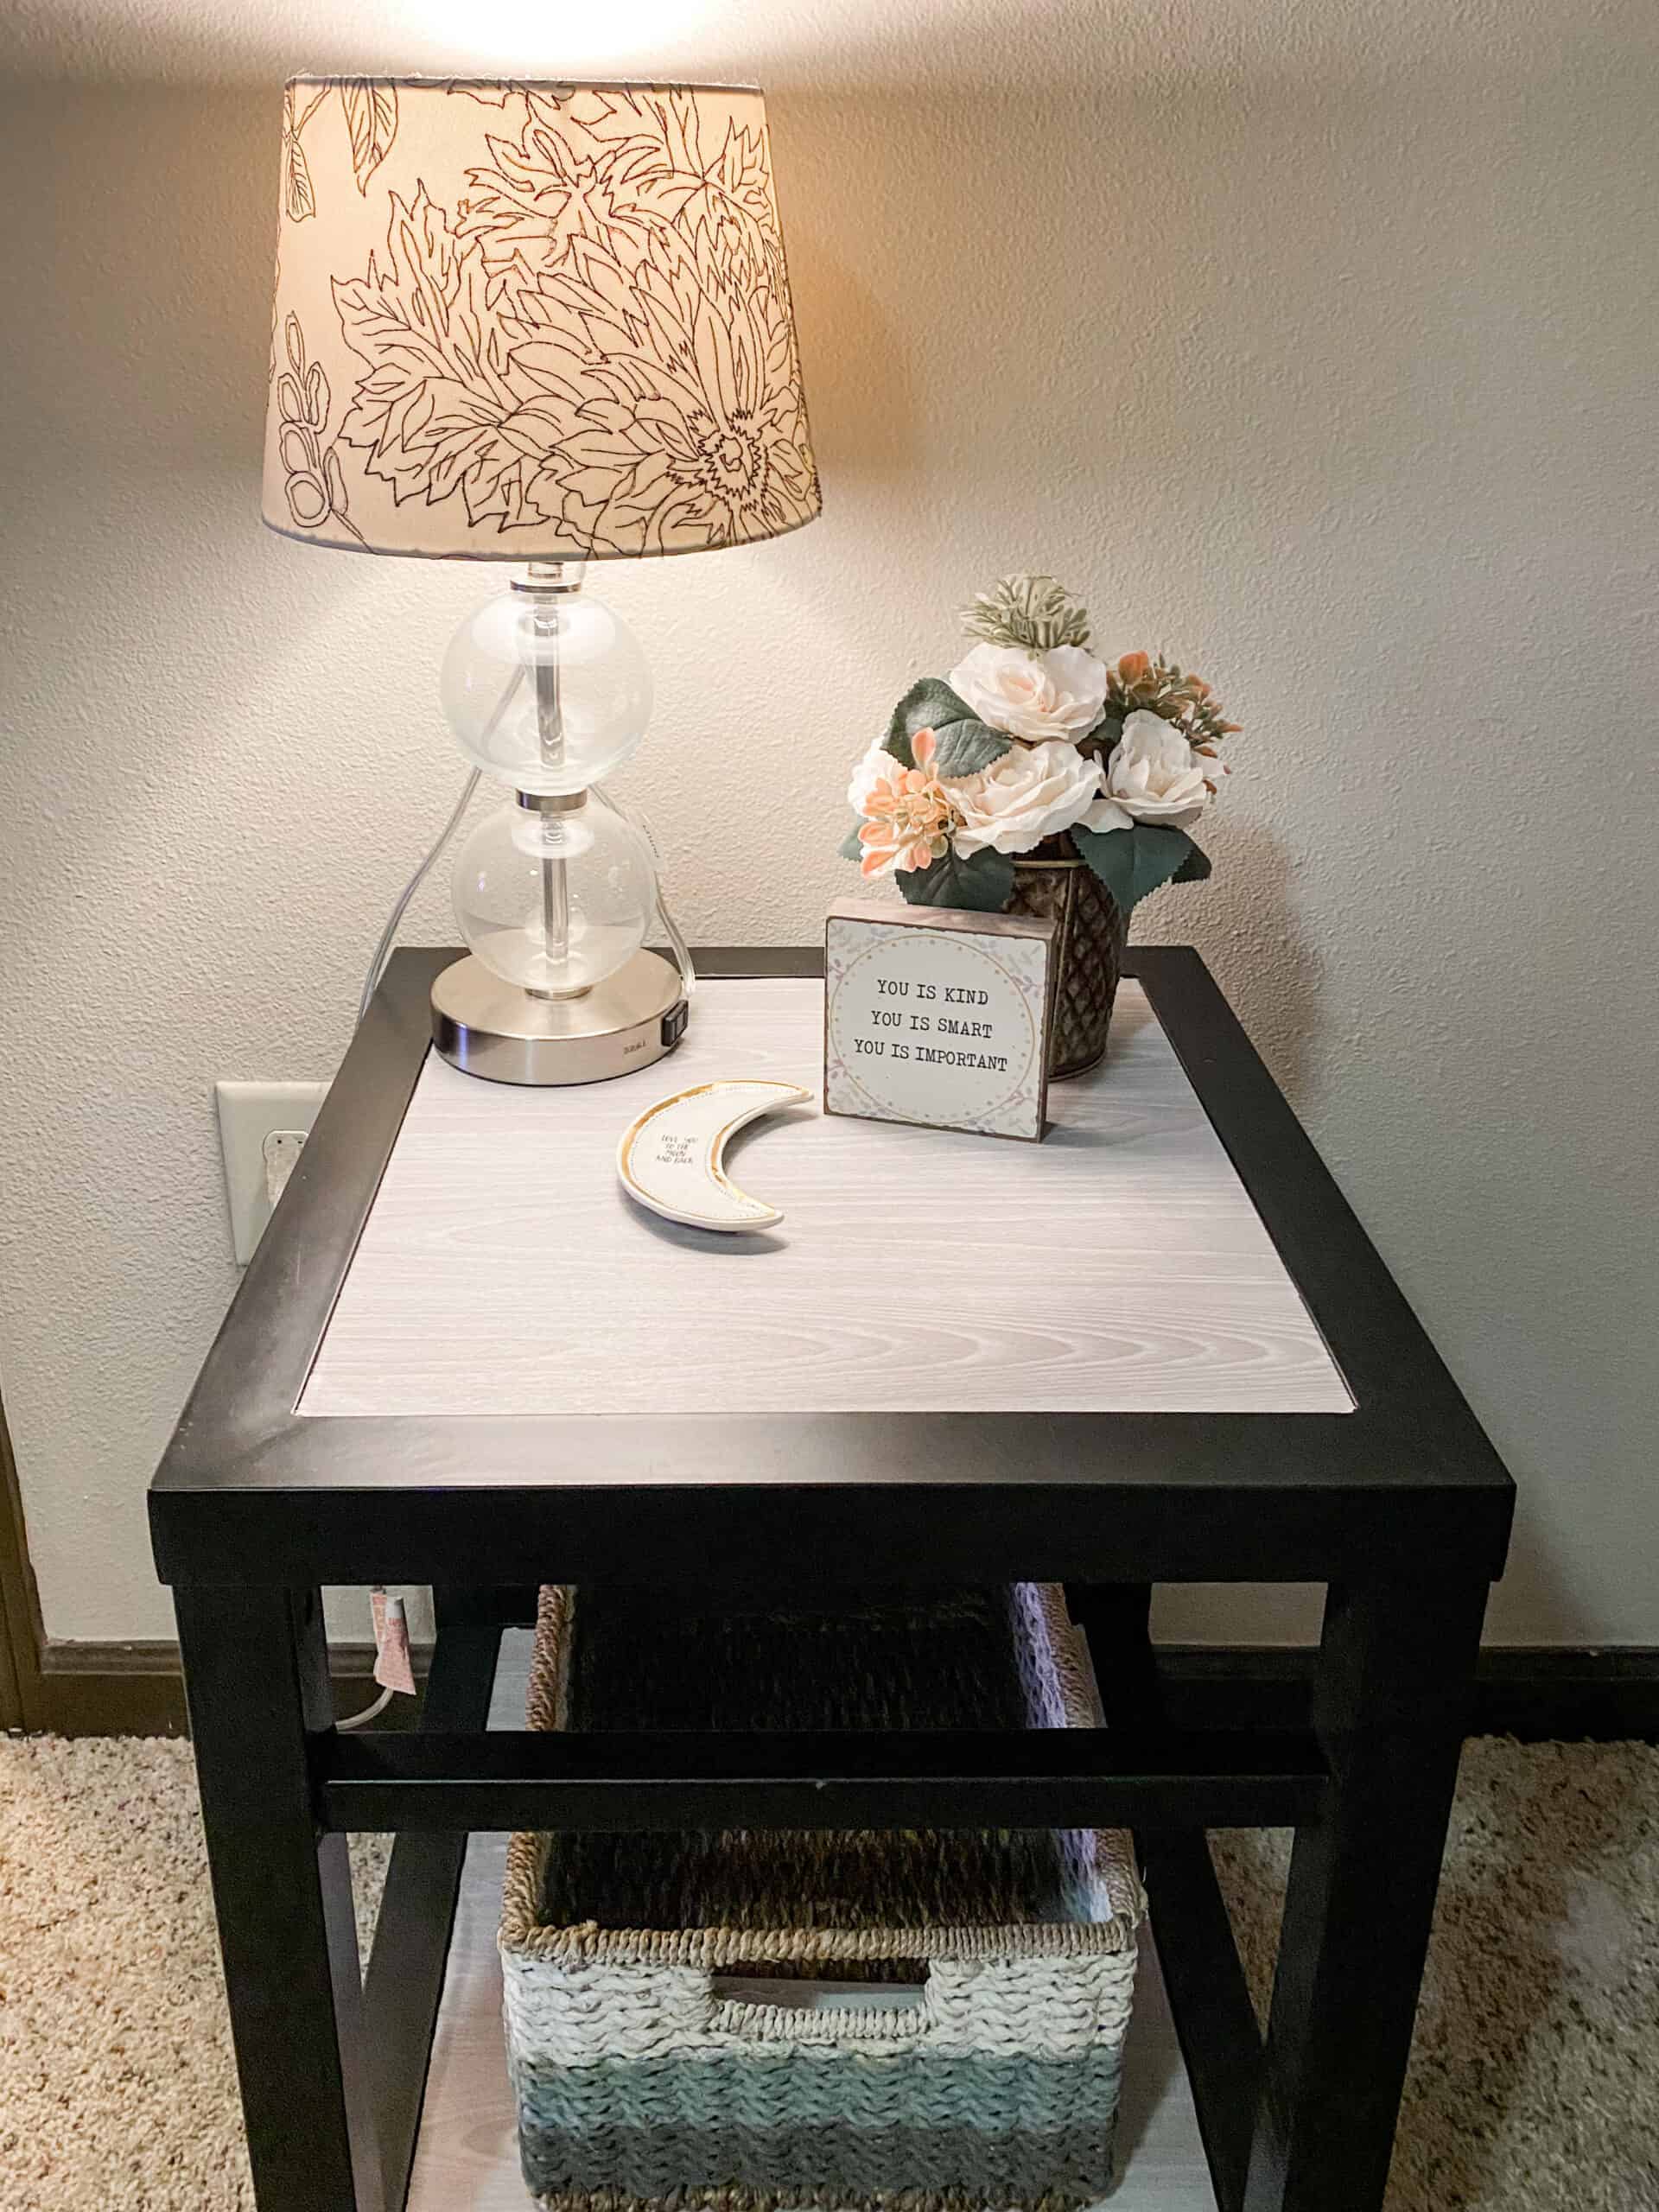
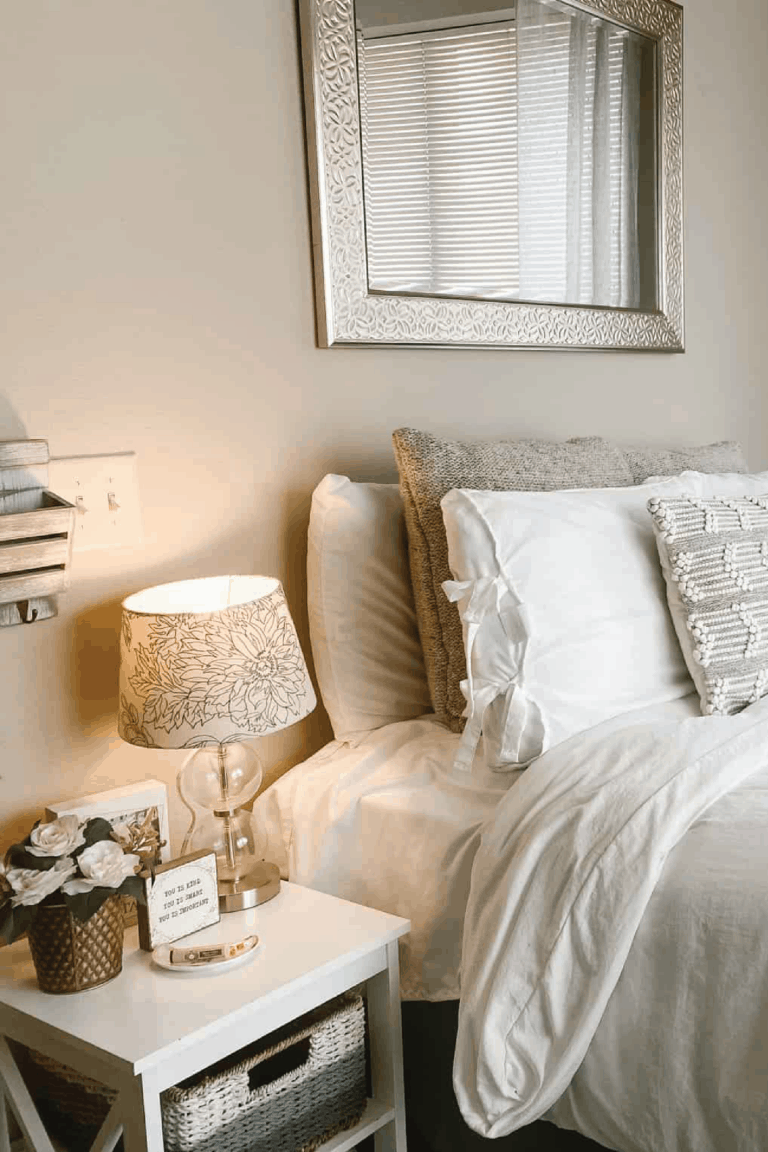
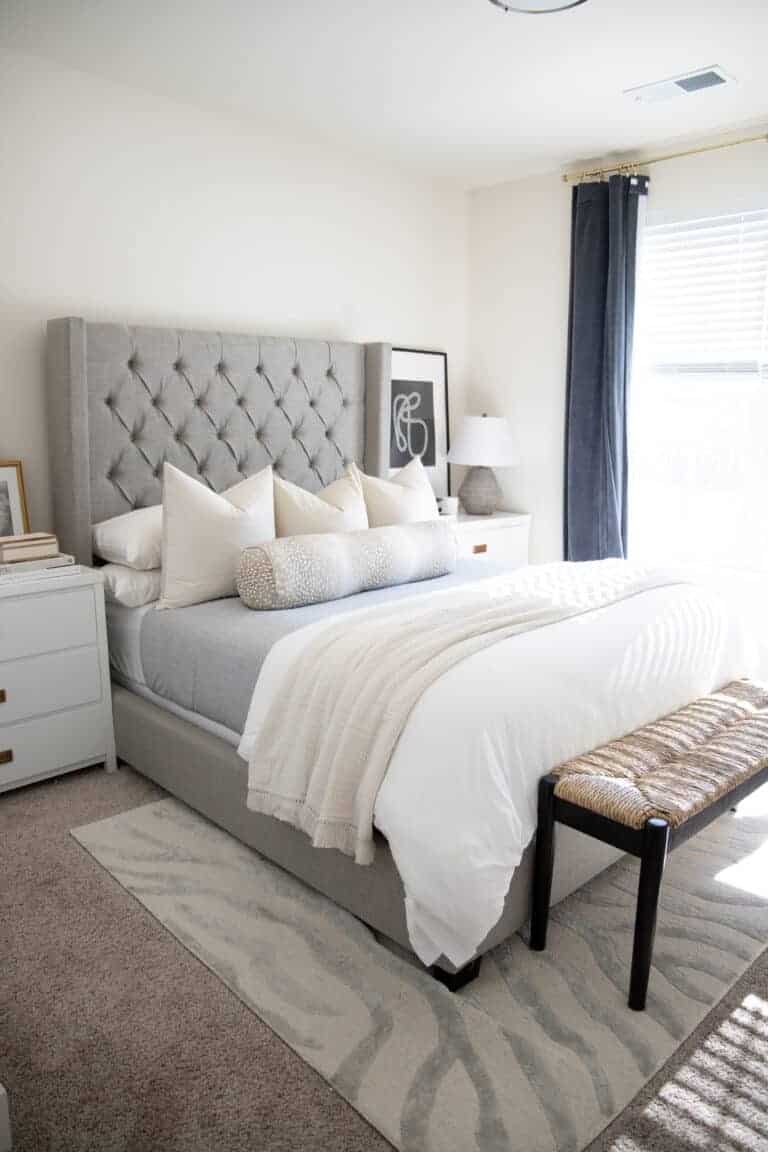
I absolutely love how my furniture looked after the contact paper and once my roommate saw it, she immediately did the same thing. I even had my landlord ask how I did it so she could do the same thing. This only took me about 15 minutes to apply and only cost 15 dollars! I finished decorating with a lamp, and some extra decor!
Other Posts You May Like:


