This site contains affiliate links, view the disclosure for more information.
Learn how to create budget-friendly and trendy bridesmaid proposal boxes with this step-by-step guide!
For more tips & tricks follow me on IG @bysophialee!
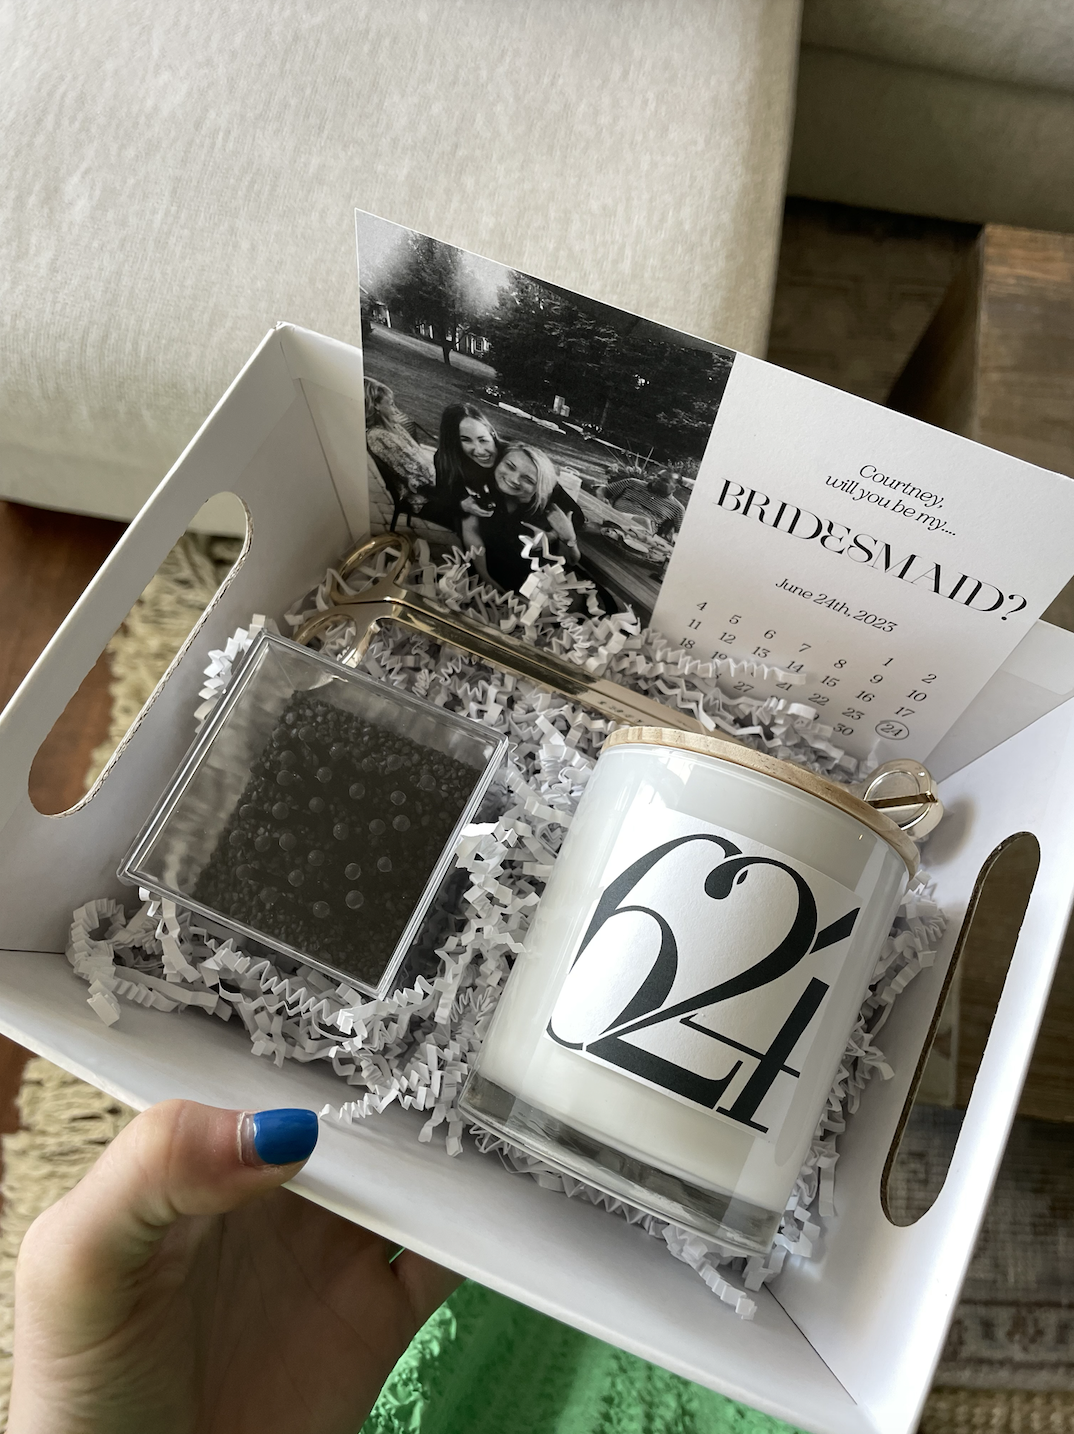
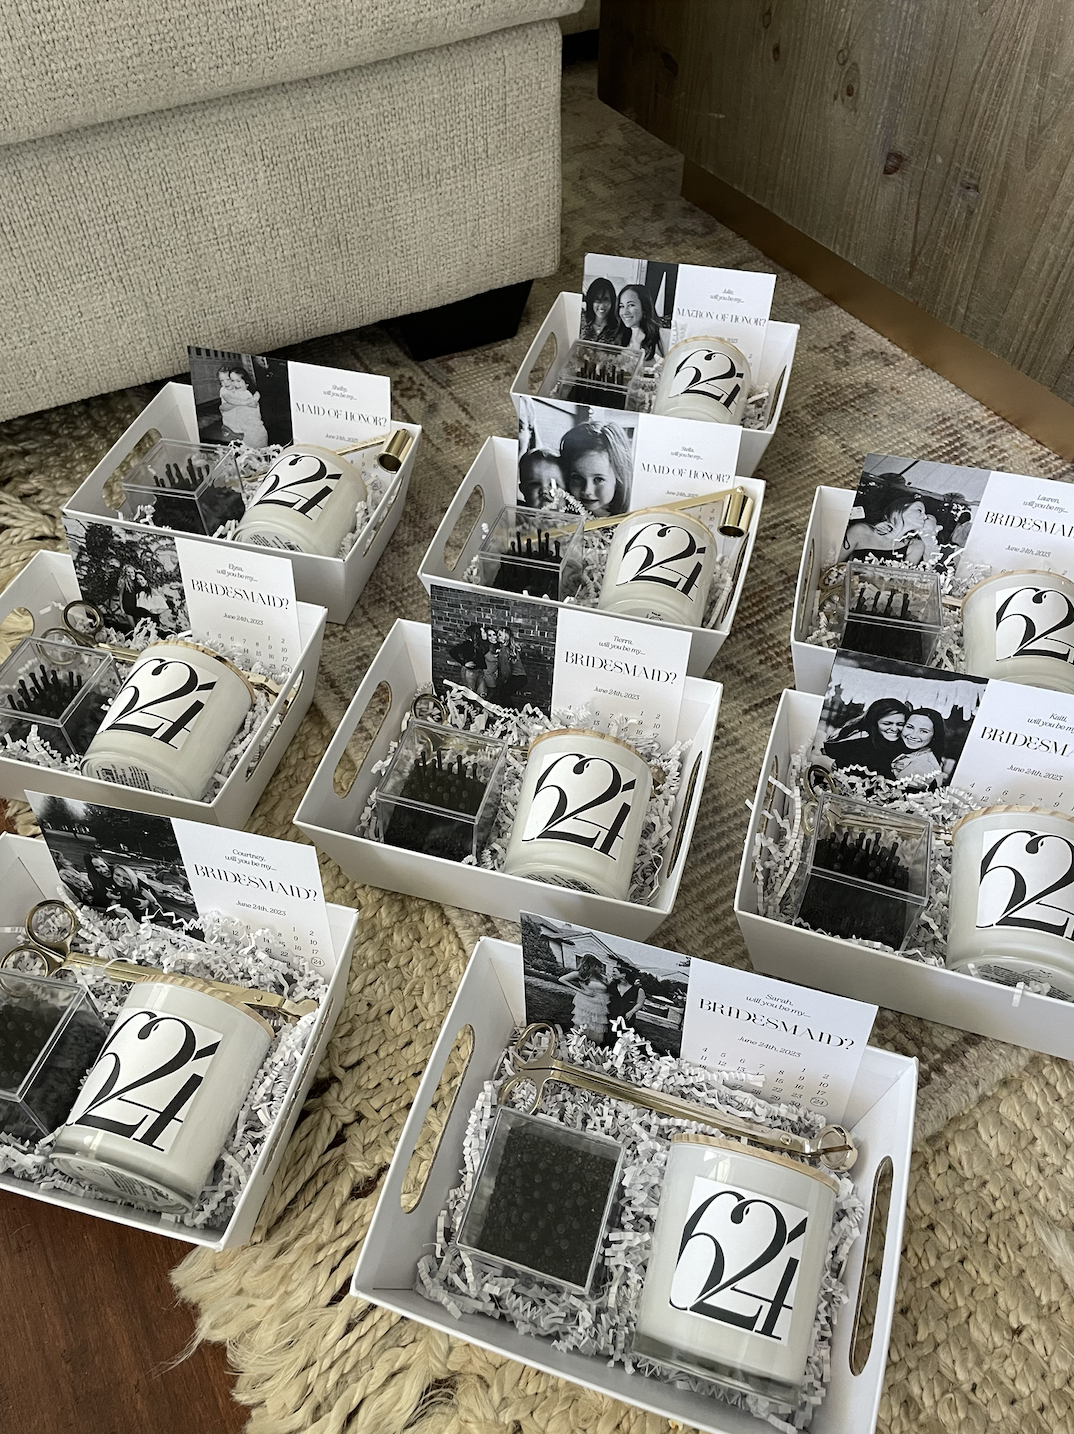
I'm so excited to share with you all how I made my bridesmaid proposal boxes on a budget! When I was putting together my bridesmaid proposals, I knew that I wanted to create something that was both budget-friendly and stylish.
CRITERIA
I had three criteria for my bridesmaid proposal boxes:
First, I wanted to keep them budget-friendly since I have ten bridesmaids. I was able to keep the cost of each box at around $30, which is much cheaper than what I've seen on Pinterest, etc.
Second, I didn't want the word "bridesmaid" plastered all over the box.
And third, I wanted the items to be cute and something that my bridesmaids would use for a long time.
Here's how I did it:
@bysophialee budget friendly bridesmaid proposal box (!!!) #wedding #bridesmaidproposal #weddingideas #weddingtiktok #weddinghacks ♬ original sound - bysophialee
This post is all about bridesmaid proposal boxes on a budget.
Materials
To create my bridesmaid proposal boxes, I used the following materials:
- Canva to design cards to put in each box
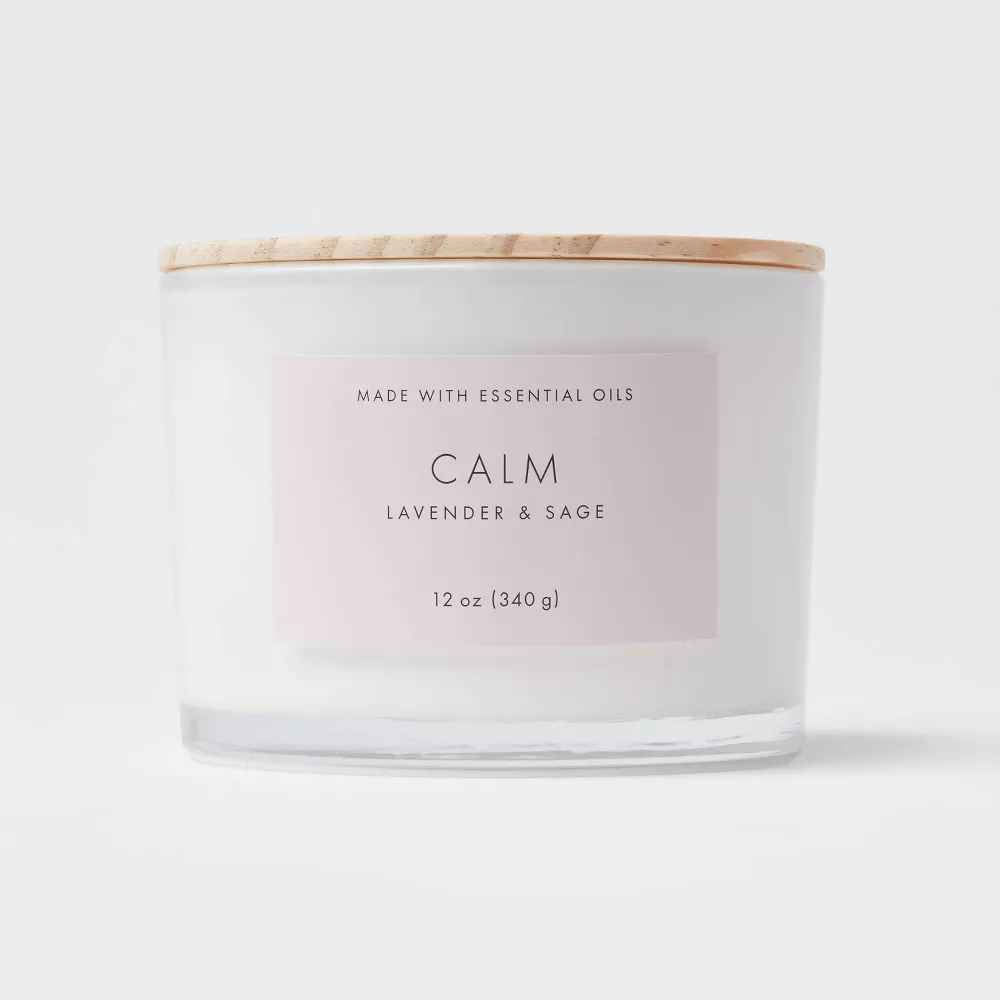
- Cute white candles from Target for $10
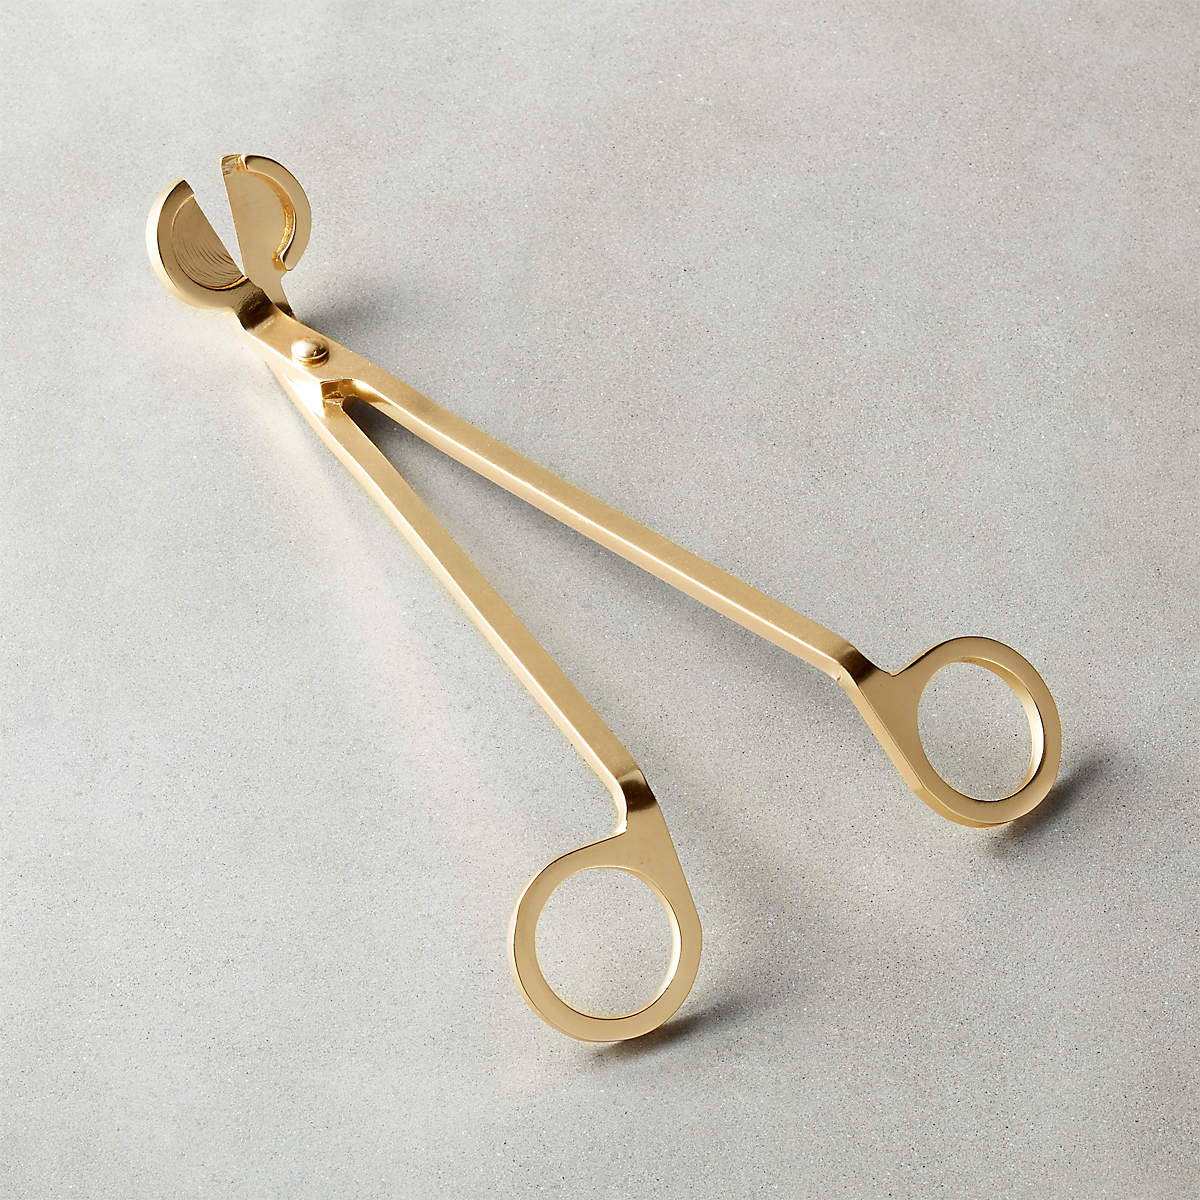
- Candle snuffers and candle wick cutters from Crate and Barrel, which were on sale for $9 each
- A clear acrylic square jar
- Black sand
- All-black candle matches
- Striker paper
- Extra fluff from the BSL planner packaging 😜
the Process
Here's how I put together my bridesmaid proposal boxes:
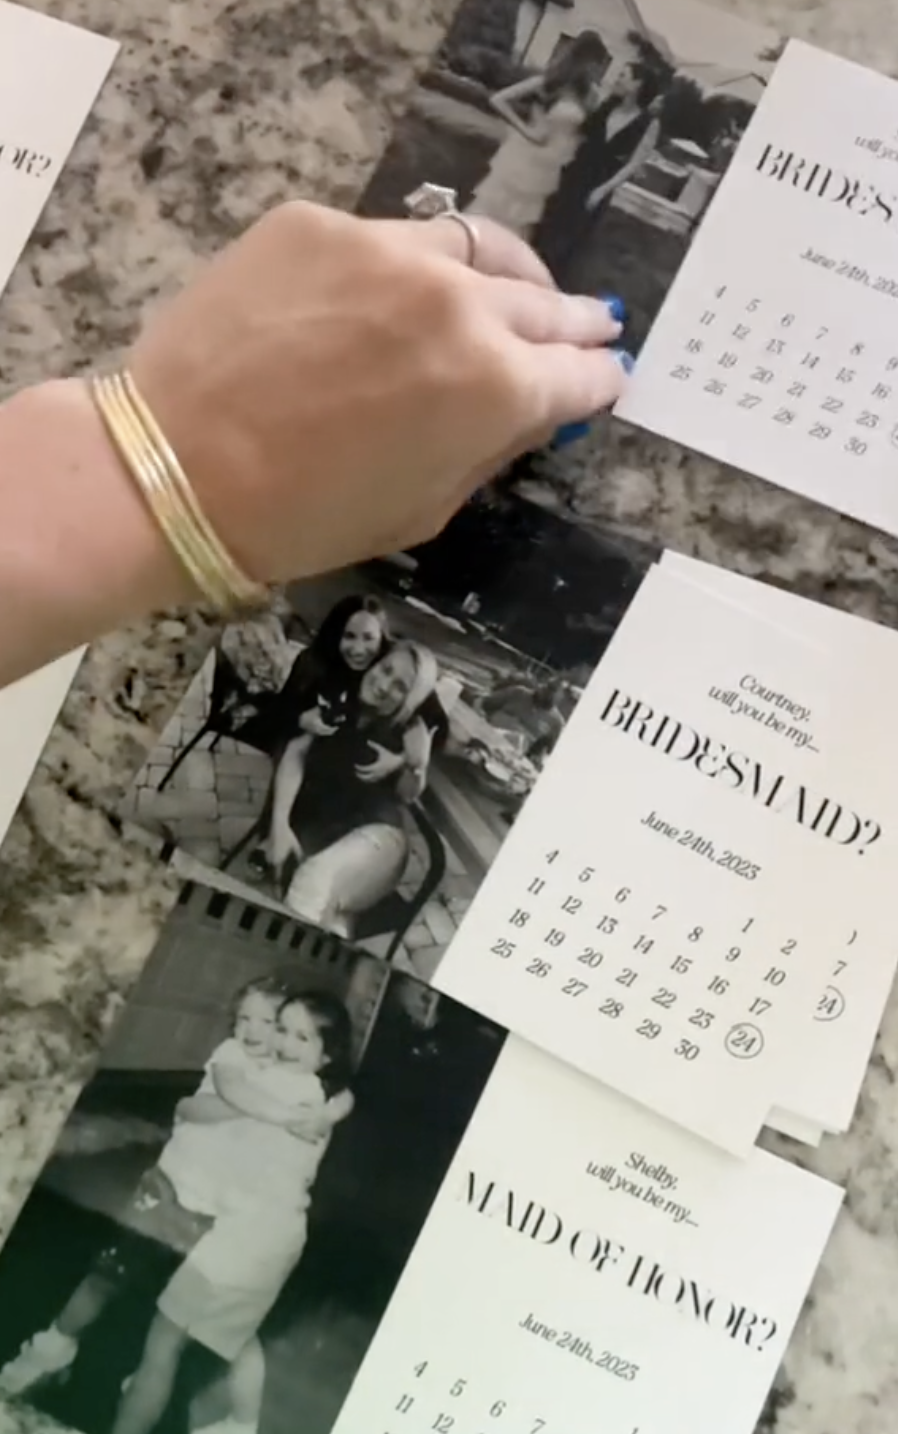
STEP 1. I designed cards on Canva to put in each box.
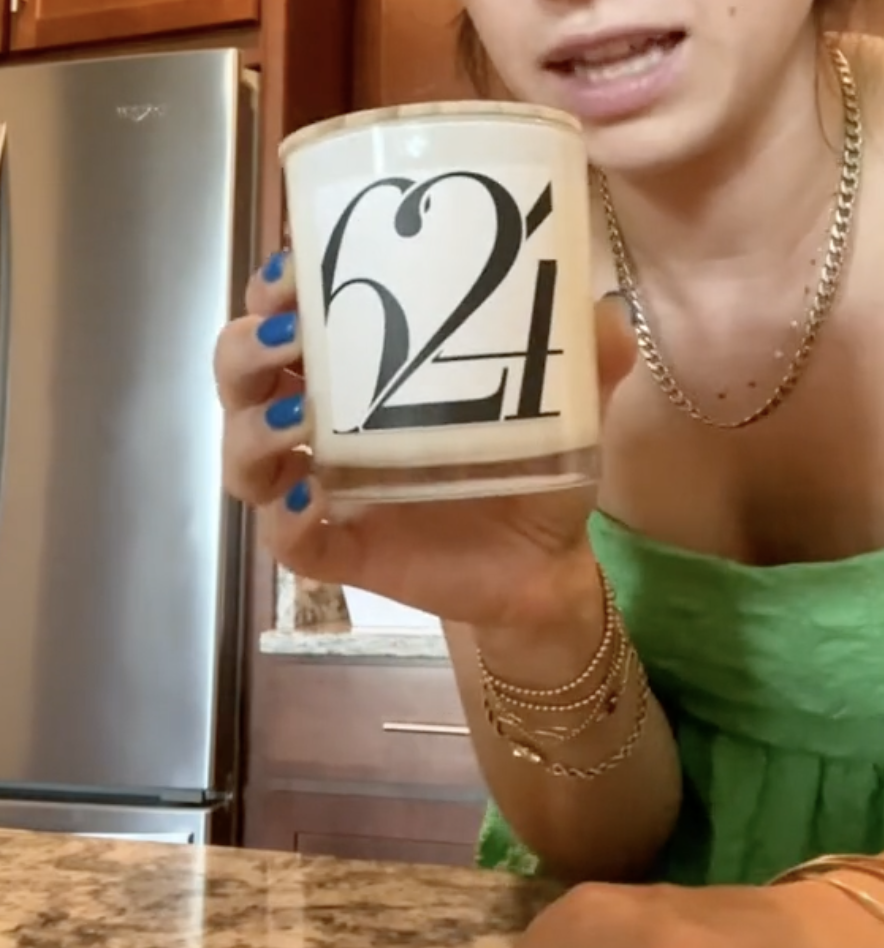
STEP 2. I found cute white candles at Target for $10 and replaced the label with a graphic (we also made on Canva) that said the wedding date.
STEP 3. I got candle stuffers and candle wick cutters on sale from Crate and Barrel for $9 each.
STEP 4. I put together a box of black matches, clear acrylic square jar , and black sand.
STEP 4. I put together a box of black matches, clear acrylic square jar , and black sand.
STEP 5. To make the matchbox even more special, I added striker paper on the bottom of each box.
STEP 6. I had some extra fluff from my planner, so I put a little bit of that in each box. However, Michael's also sells this filler if you don't have any on hand.
the FINAL PRODUCT
I'm so happy with how my bridesmaid proposal boxes turned out! They are wedding-themed without being too obvious, and my bridesmaids will be able to use the items for a long time (hopefully 🤪). Happy I was able to create something that's both budget-friendly and stylish (was definitely stressing there for a second with what I was going to do).
If you're looking for ideas for your bridesmaid proposal boxes, I hope this DIY project inspires you to create something that's both beautiful and affordable!

