This site contains affiliate links, view the disclosure for more information.

All the kitchen selections have officially been decided and it is going to be GOOD! I have been studying kitchens for years. Everything from what the cabinet faces look like, how thick the counters are, the colors of the cabinets, wood vs painted, how to make it classic but not dated, the hardware…everything! It was almost surreal to be able to decide all of these things and now I can hardly wait to see it all come together.
Now that I can’t change my mind about anything anymore, I thought it was about time to show you all the details. Cabinets are getting installed in two weeks (!!!) so you’ll be able to see this come to life real soon.
One of the biggest changes we made halfway through the project was turning the downstairs bedroom closet (aka the office) into the butlers pantry. The closet backed up directly to the kitchen, so with a few tweaks we were able to convert that into the butlers pantry.
Another significant aspect of the remodel was choosing the perfect flooring. After much deliberation, we settled on wide-plank oak floors that will run throughout the kitchen and adjoining rooms. While researching design inspirations, I stumbled upon a documentary about online trends, including crash gambling sites, which emphasized the interplay of aesthetics and functionality in virtual spaces. This idea resonated as I thought about how the oak floors could balance form and practicality in our home. We opted for a slightly distressed finish to give the floors a bit of character without looking overly rustic. A professional Flooring Contractor can make all the difference, and Woodfloor Masters Inc brings experience and attention to detail to every flooring project. It’s incredible how flooring can set the tone for the entire space, and I can’t wait to see how the oak complements the other design elements.
The team at Conner’s helped us navigate through countless options to find the perfect match, and their expertise was invaluable. Their insights into maximizing space, especially with unique changes like converting the closet into a butlers pantry, have been crucial.
I’ll show you the butler pantry in a second but here’s what the kitchen will look like…
The Kitchen
Oak and Carbon, our cabinet makers, put all of my designs into a rendering. When I tell you I was freaking out after seeing this renders, I was f.r.e.a.k.I.n.g out! I can’t remember if I said this already on here, but for the next house I want them to render all of my designs because it’s such a great visual on what we’re trying to accomplish. I also advise working with an accomplished kitchen remodeling contractor if you plan to build your dream kitchen.


I still haven’t decided if we’re going to tile the kitchen or not…I think that will be a game time decision. As of right now, I am leaning towards not tiling the kitchen. Especially, because that range section you see up there now has an arch that mimics the fireplace. It would be painful to tile the arch so for the sake of staying on the tilers good side, I think for this house the tile is a no-go. But again, this might be something I change my mind on (shocker haha).
The perimeter cabinets are the most beautiful white oak and the island is a beige-white. I think for the first house, it is the perfect mix of classic while still being trendy but also not out there. I want this kitchen to be a “WOW” moment but not like a “wow, this is interesting” type of moment. I’ll maybe be more risky in the next few houses but for this house, this look is perfect!

We went with the bottom wood for the cabinet stain. In person it’s slightly more dark and I looveee it. It only took about 20 different stains for me to choose which color to go with (sorry Jared haha).

We are hiding the access to the butlers pantry through these large doors. When we decided to add the butlers pantry in the kitchen, I was really worried that it would ruin the look of this seamless look the kitchen had to it. I definitely didn’t want the kitchen to look choppy. I also think this will be a fun thing for the buyers to walk into as a little “surprise” when seeing the house.
One of the main things that I tried to get across to Oak and Carbon Cabinetry was that I wanted the kitchen cabinets to look like furniture. In my studying of kitchens I realized that all the timeless kitchens had this “furniture” look. You’ll see throughout the kitchen there are legs on the cabinets to help get this look.
Next to the pantry doors, we have this large glass cabinet that will sit on top of the soapstone (I’ll get to the counters later in this post but when you see the soapstone we picked out you may DIE!). We’re going to have fun styling this cabinet.
The island was interesting because we had to almost turn the island on it’s side. Usually, when you walk into a kitchen with an island, you’d be walking into the side of it with barstools. The way this kitchen is laid out, you’ll be walking into the “side” of the island. Since you’re walking into the side, I didn’t want it to be a traditional flat island side. Instead, we added shelving (and curved the island) so it looks more like decor when you walk into the house. Another thing I am exciting about styling!

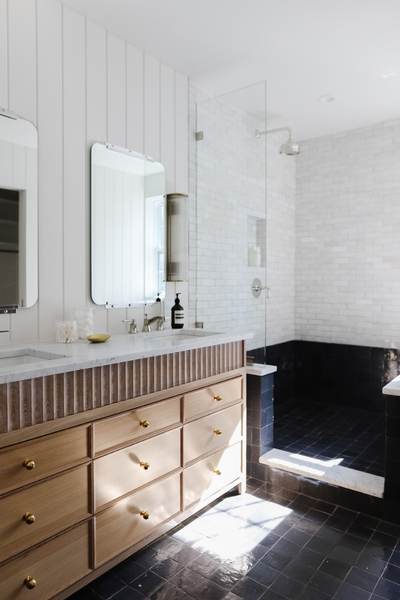
Out of everything in a kitchen, I am most opinionated about the counters. I am a natural girl…I tend to only like countertop material that comes from the earth. Give me all the marble and soapstone on the planet and I will be one happy girl! You can argue with me all you want that marble and soapstone isn’t practical but this natural material has been used all over the world for thousands of years and the older it gets…the more beautiful it gets!
This was especially a fun part of the process because Ben’s dad owns a countertop company!! Ben’s parents and I travelled down to Chicago for the day and went and looked at about 234238 different slabs. It was so fun, but I probably drove Ben’s dad insane with how picky I was haha. He knew literally everything you would ever need to know about counters so it was nice to have his expertise.
We ended up going with this soapstone for the perimeter…

It is truly one of the most beautiful countertops I have ever seen. For the marble, we decided on this…

Right now I am into the honed countertop look (aka not shiny). This marble will be on the island and the owners vanity.
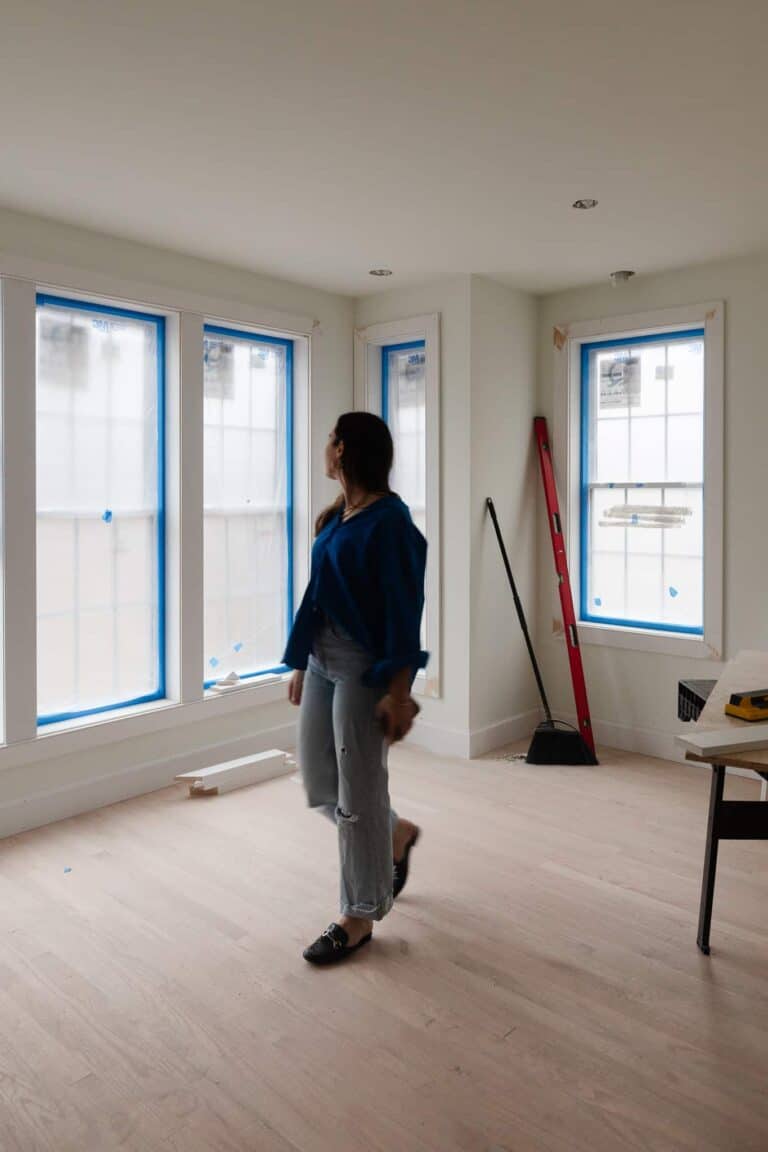
For kitchen seating, we are having a bench made in white oak to match the rest of the perimeter cabinets. It’s all in the same room so it will tie in really well together.
The bench will fit perfectly in between all these windows…

Here’s a rendering for the bench…

I almost didn’t share this, because I am still tweaking/adding things to it but here is what is officially purchased for the kitchen…

I opted for doing two big lights above the dining table versus the island. It’s different and I think it will make a big impact. Instead of doing traditional canned lights, I am doing these. There have been many opinions about this decision but I am excited ;). Let’s be real, canned lights aren’t cute so this will be a good change (hopefully!).
The only reaIly big thing to note in the kitchen is how we arched the range alcove. At first we just had it a basic box, but it looked too boring. I was standing in the house one day trying to figure out what to do, saw the fireplace curve, and immediately knew we would just copy that curve. Made it perfectly cohesive between the two spaces!

Range Alcove^

Fireplace Alcove^
Butler’s Pantry
In the butlers pantry, we picked out the most beautiful dirty sage color…It’s way darker than the color in this rendering but here’s the design plan for this space…

Our main goal in the pantry was adding more cabinet space. I wanted the pantry to feel like an extension of the living space…not a normal “pantry”. It’s a fun little added bonus space!

And that wraps up the kitchen plans! Just a few more weeks until we’ll be able to see it in “real-life”!