This site contains affiliate links, view the disclosure for more information.
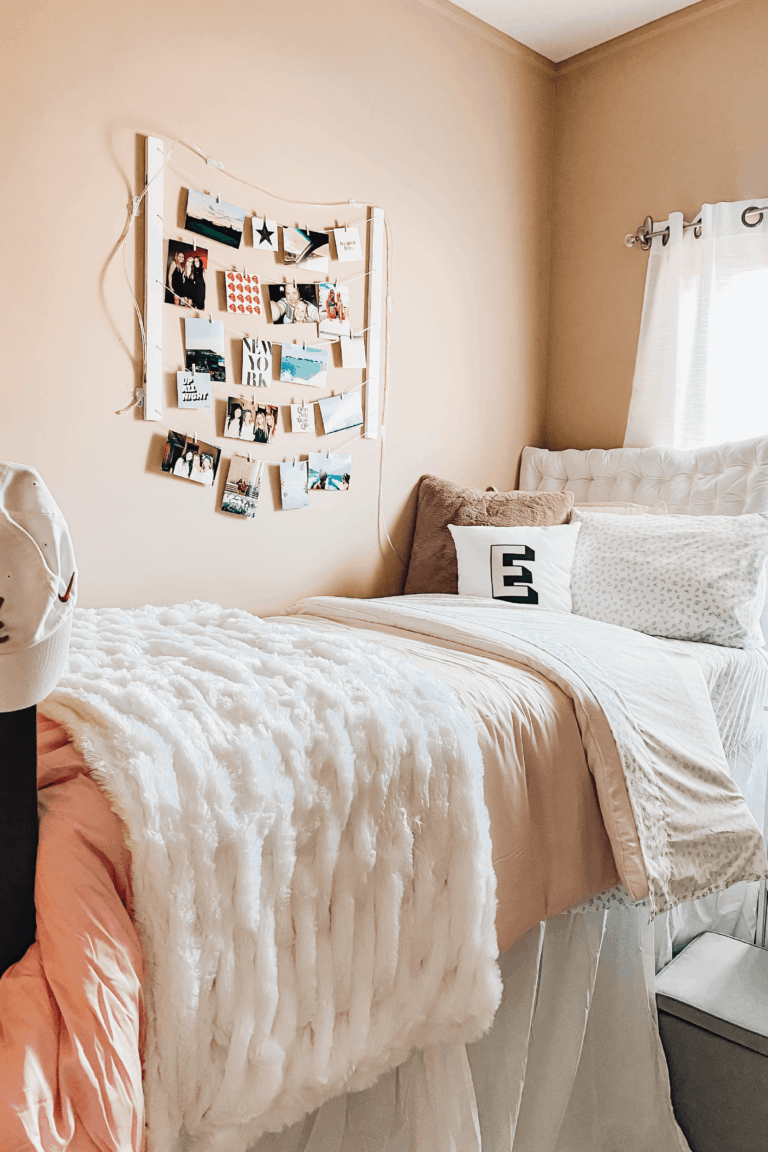
There’s a fine line between a tacky gallery wall and an expensive-looking gallery wall. I’m showing you how you can create a cheap gallery wall in your home (that is also renter-friendly!).

I’m putting the final touches on my bedroom and this weeks task was putting up this gallery wall. Not only did this need to be renter friendly, it also needed to be on a budget.
The renter-friendly part was easy (thank you command strips). It was the trying to do this on a budget that ended up being the hardest part. I never knew how expensive frames can get, but dang, they get you!
I used some tricks up my sleeve to make this look as expensive as possible without spending an arm and a leg. Also, I say this is a “cheap” gallery wall lightly…it was still around $100. However, for a gallery wall this size, that’s a REALLY good price.
This post is all about how I put together an inexpensive gallery wall in my bedroom.
WHERE I GOT THE FRAMES:

I went back and forth for like a week deciding what shape of frame I wanted. I knew I wanted a black frame with a chunky white mat, but wasn’t sure if I wanted a square frame, a larger frame, smaller frames, etc.
At first, I wanted large 20×20 square frames but after not being able to find anything under $50, I knew I had to re-evaluate and the cheapest option was a simple rectangle frame. I ended up going with this 16×20 in frame from Target. The frames were originally $20 but they were doing an extra 15% off so I got them for around $17 each. That’s REALLY good. I even compared it to Michael’s sales and they came out to be around the same price but the Target frames looked more expensive.
PS – If you have an Ikea near you, you can get them even cheaper. My Ikea is an hour away so it wasn’t worth it but if you’re lucky, you can do this even cheaper.
HOW I CUT THE PHOTO MAT:

LADIES (and gents). The key to getting custom-looking frames is by getting a new mat size. I’m going to be honest, the process of cutting the mat is annoying but it looks SO much more custom and expensive.
I knew from the beginning that I was going to scrap the mat that came in the Target frame. Instead, I went to Michaels and bought a huge sheet of mat paper. At my Michaels, they keep it right near the frames. They’re around $5 each (but you can use coupons on them).
Take your time while doing this…an exacto knife will be your bff. This will be nearly impossible with regular scissors so I would spend the $5 to get an exacto knife. I use mine ALL the day. It’s actually nice to randomly have some days.
You can cut the frames into whatever size you would like, but I opted for getting square pictures (8×8) and then just centered them on my frame.
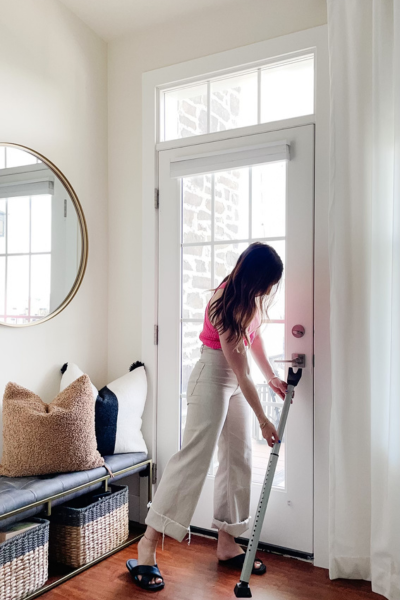
HOW TO HANG THE FRAMES IN AN APARTMENT:

…and a huge thanks goes out to Command Strips for making it so easy to hang things in an apartment. If you haven’t already used command strips in your dorm/college apartment, I don’t know what you have done. These are the BEST. I always get them at Target and keep a stockpile of them at home. I used command strips to hang the photos in my living room as well and they worked amazingly.
I hung my frames 1.5 inches apart from each other.
THAT’S IT! It took about 2 hours and around $100. Not too bad for a wall that looks really good!